Back to main Corvair page
July 8, 2007
Although I've started the assembly process on other pages, this is where I will start trying to start to "put the pieces together". Here are the heads in the custom box that William sent them in.


August 5, 2007
Before I can put the motor together, I
need to establish what my final compression ratio will be. I do not have any pictures
from when I was establishing the deck height, but I do have plenty of pictures from when
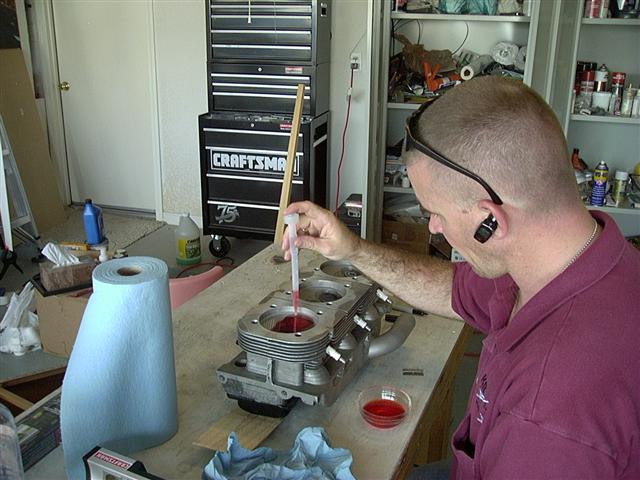
I was CC'ing the combustion chambers. Here is one of those pictures. It looks like my
final compression ratio will be around 8.8:1
Now on to assembly. When I finally got enough of my garage cleaned out so I could work
on my plane, there was only enough room to work on the motor. I went through all of the different boxes I have with parts hoping I still had all the parts needed (I have moved since I started the whole process). I was able to find everything except the little clips that hold the lower cylinder heat baffels on. When I originally got my core motor, only one side had clips attached, so I ordered a couple replacements. The replacement clips were the only things I was unable to find, so I made two of them from an old hanger.
They work.
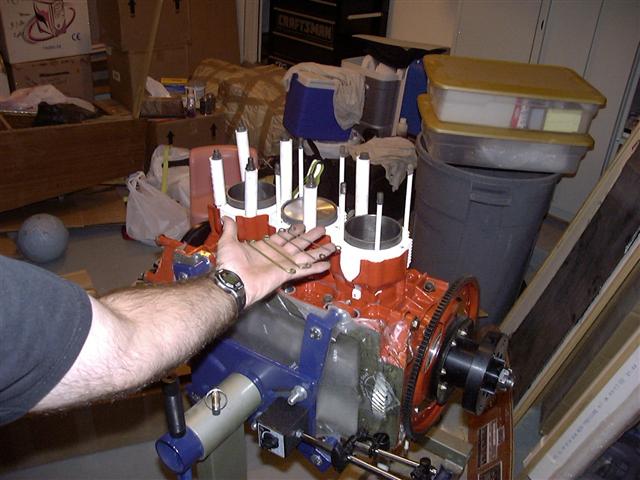
Once the baffles were in place, I lubed up the lifters and put them in place.
Place the head gaskets on the cylinders.

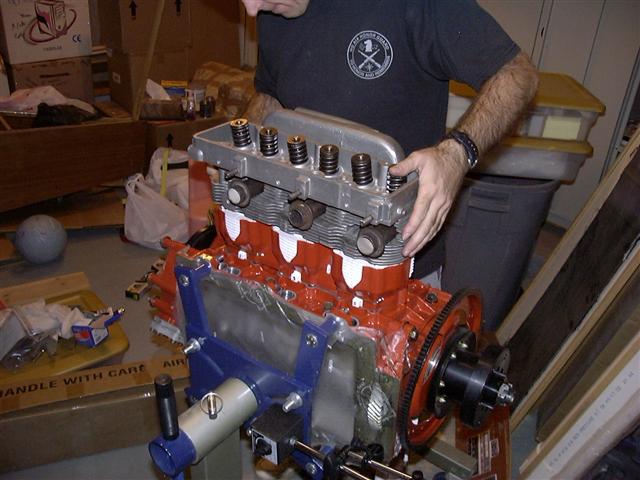
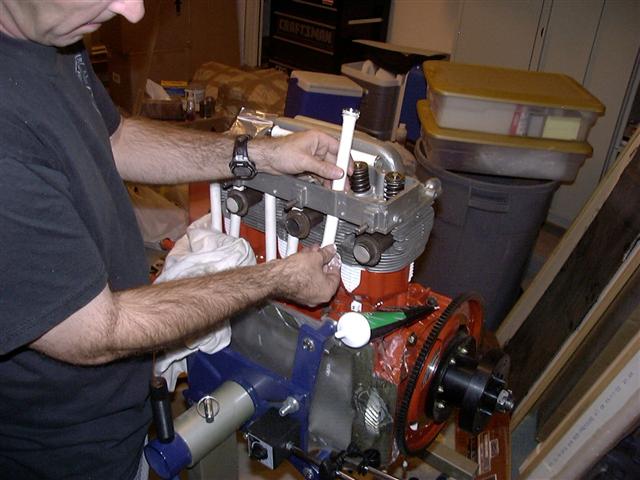
Carefully put the head in place (watch out for the head gaskets).
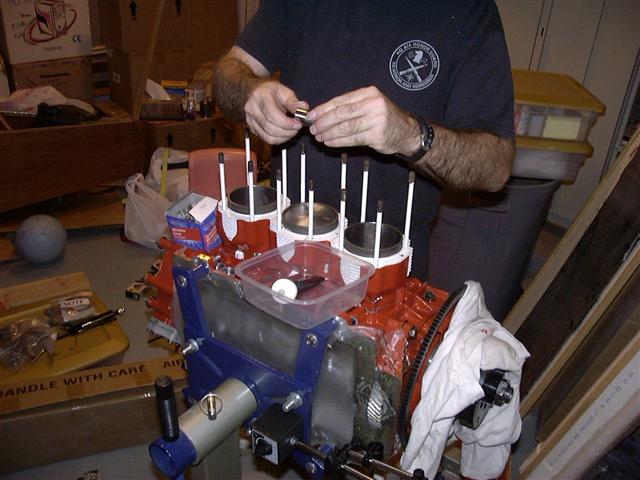
The pushrod tubes go in next. You have to lube the grooves where the o-rings go before you put them in place, then put the tube through the head before installing the o-rings. Then they get firmly pressed into the block.
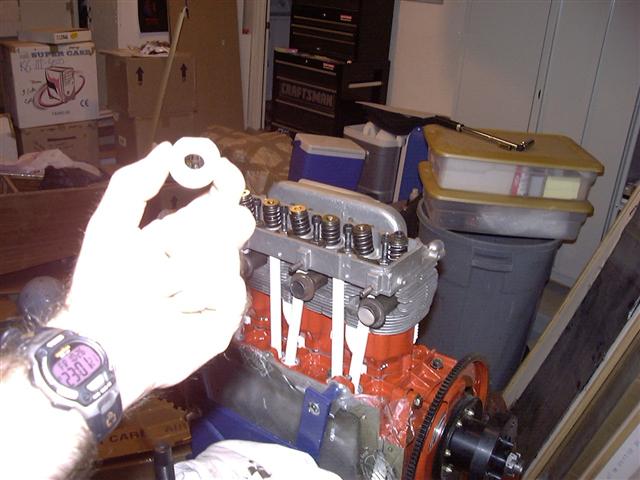
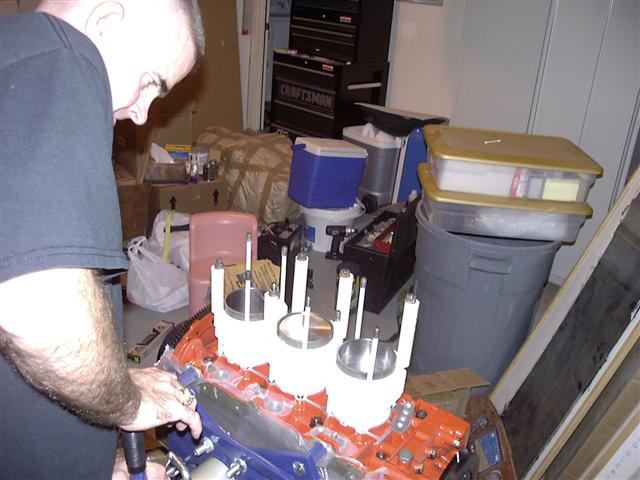
Here the o-rings that go under the guide plates around the rocker-arm studs get pre-lubed. I then installed the studs into the head

This is not a very good picture, but what it shows is the flat edge I had to file into the washer so that it would clear the intake log (for the top row of head nuts).
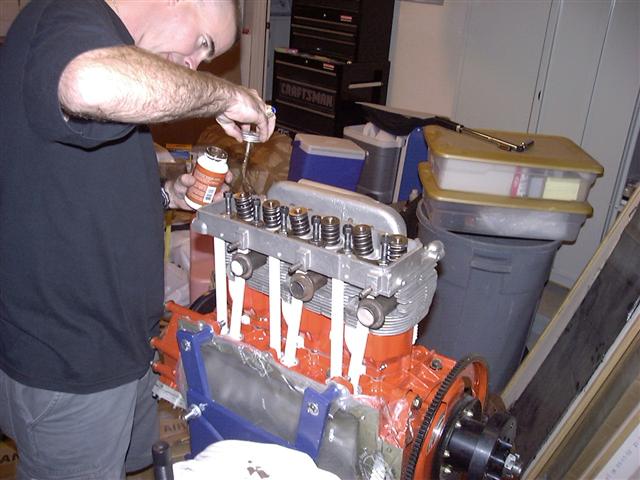
Apply a little thread-lube to the studs.
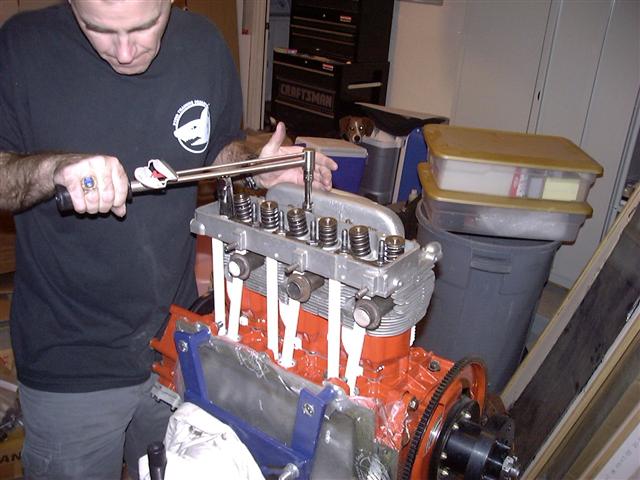
These next two pictures show the two different torque wrenches I have. I prefer the click type (mine is a good old Craftsman), but William recommends the beam type in his assembly video. I used the beam wrench verify that my click type was still accurate, then continued to use the one I like best.
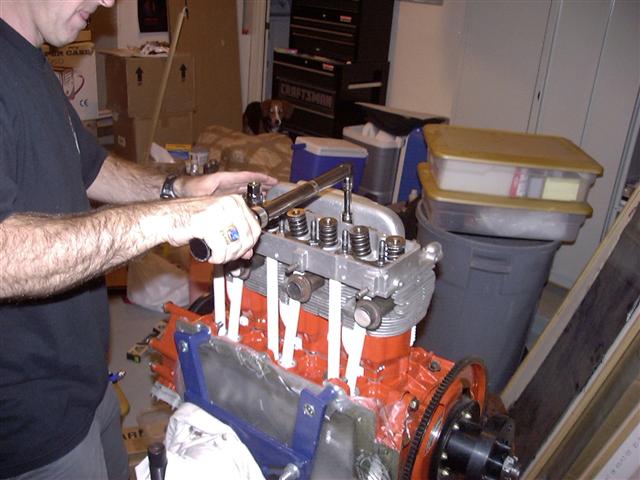
Once the passenger side head is installed, rotate the engine on the stand and repeat the process on the pilot side.
The next step in the assembly process will require me to move the engine off of the stand and mount it to my work bench by the prop hub. I have to make a mount that I can use to do this, then get someone to help me move it.
Back to main pageBack to main Corvair page