This page documents the work table I have built to build my KR2S on.
It is 4 feet wide and 16 feet long and approximately 35 inches off the ground (a little lower on one end to compensate for the uneven garage floor).
All pictures on this page are at 240X320 and average between 5k and 10k in size.
If you click on the pictures, they will take you to larger versions at 640X480 that average between 90k and 170k.
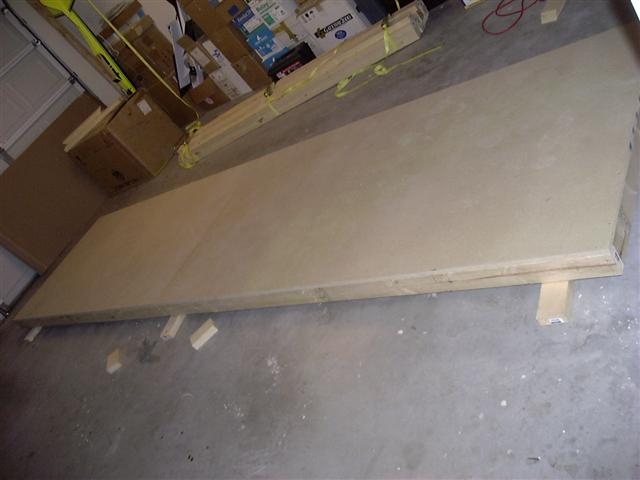
This is part of the stack of 2X4s that I used to build the work table
(one half of the table top has already been built in this picture).
I bought all the lumber several weeks before I was able to build the table, so I used the yellow straps to keep the lumber as strait as possible.

Here is the underside of one table top.
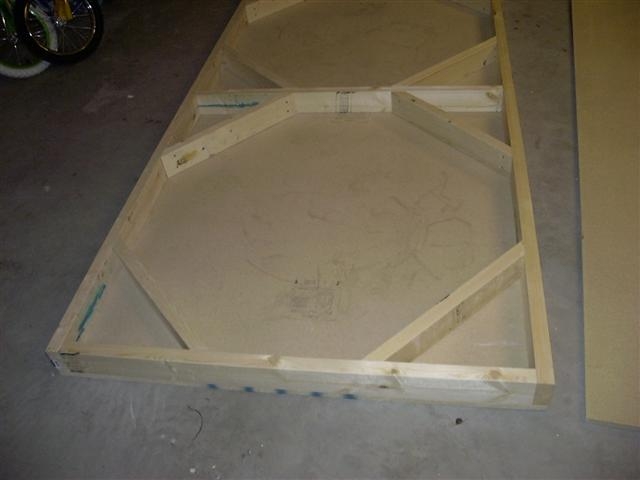
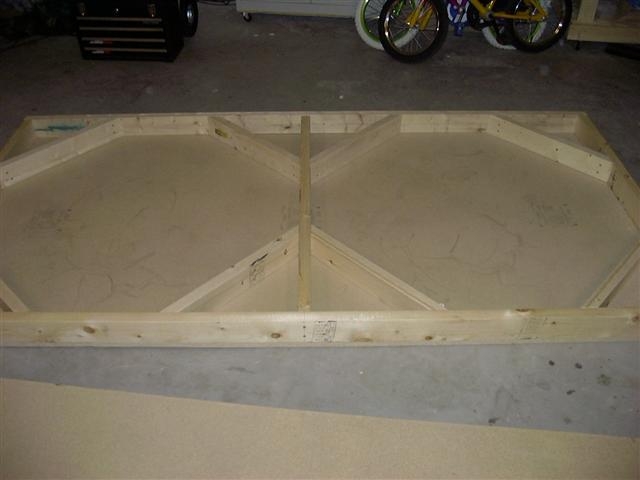
I discovered real quick that having the 3/4 inch partical board screwed to the frame would not work while building.
I removed the top, then built the second side as it was bolted to the first side.
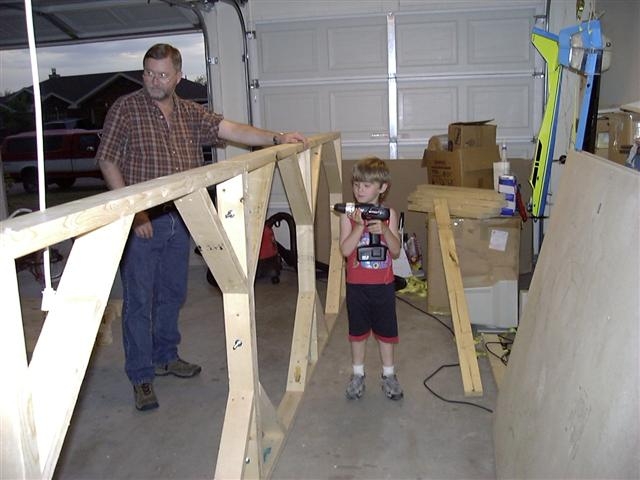
In this picture, my son (Ricky Lynn--5 years old) is "helping" while my dad holds the frame up.
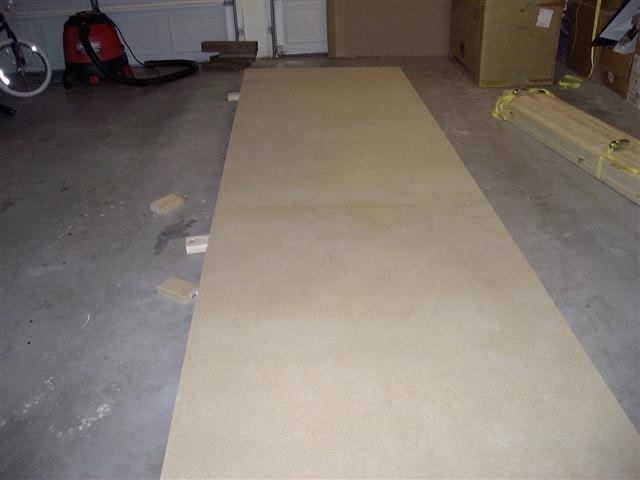
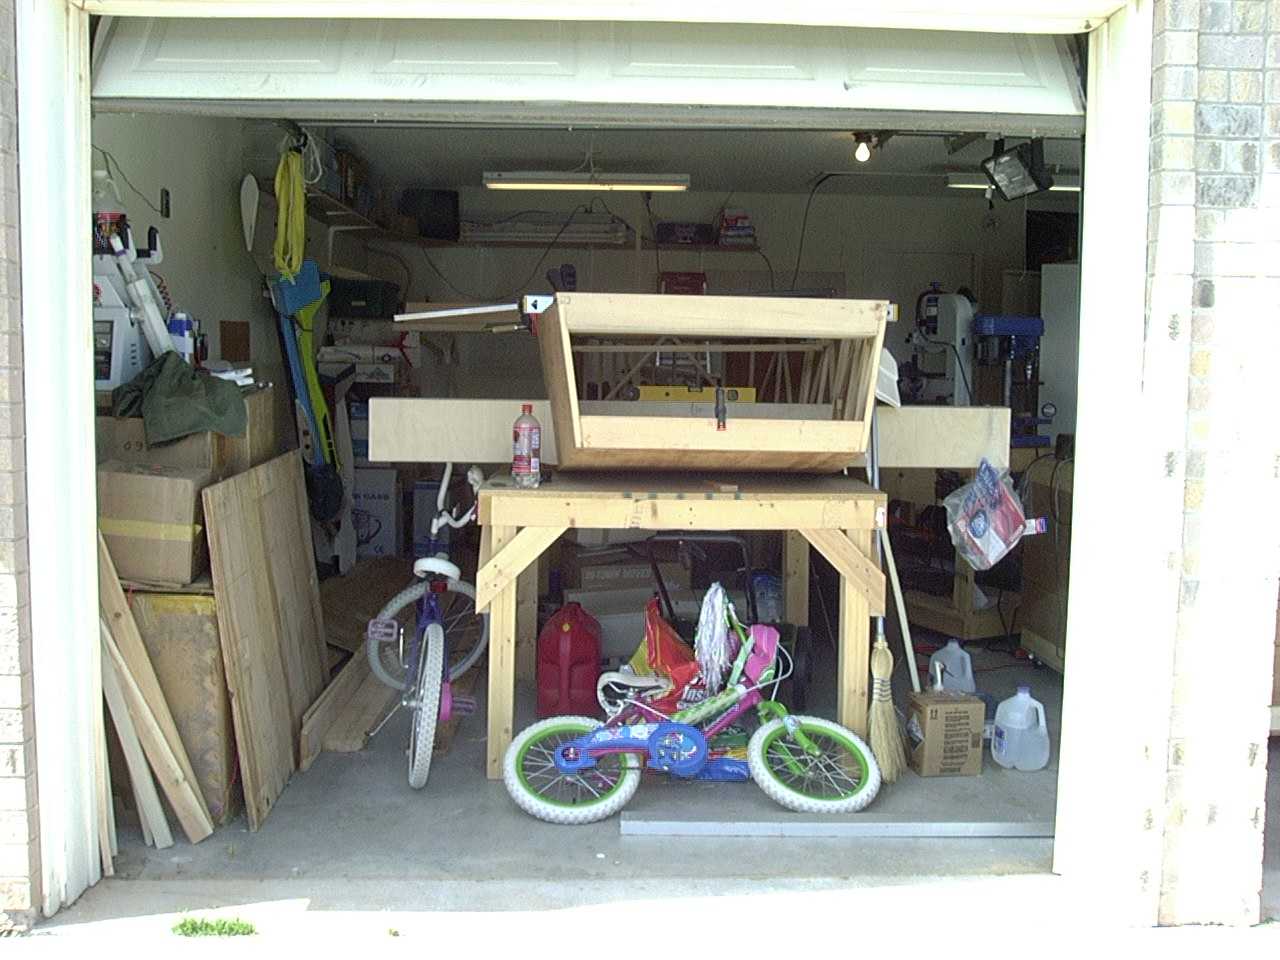
Here are a couple of shots with both tops in place, before the table was put on legs (the tops were removed shortly after the picture was taken.)
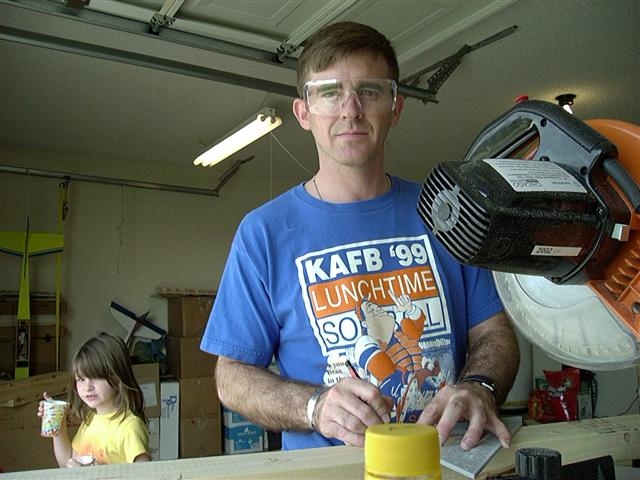
My oldest daughter (Betty Faith--8 years old) took this picture of me as I was cutting the legs. My youngest daughter (Miquela Hope--6 years) is in the background "helping" as well.
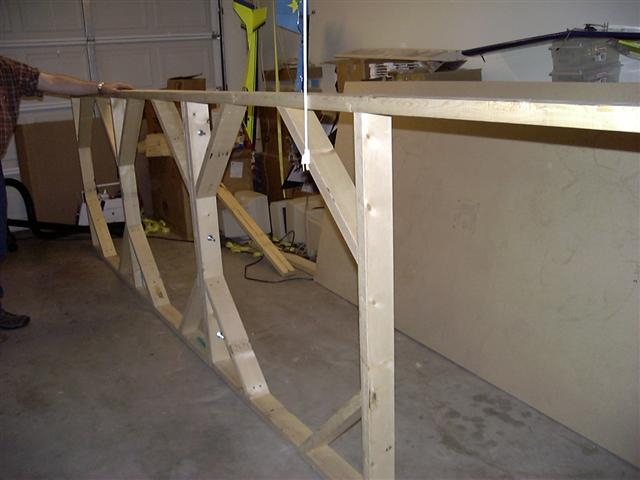
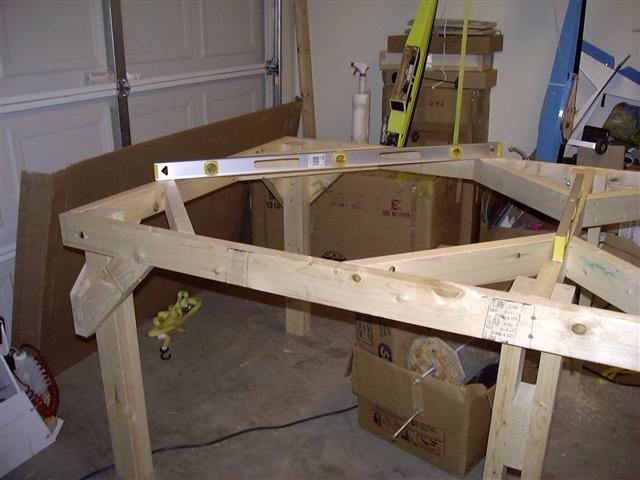
These show the table after I tacked the legs on and went about leveling the whole contraption.
I first put on all the legs, then removed them one by one and adjusted so that the whole table was level.
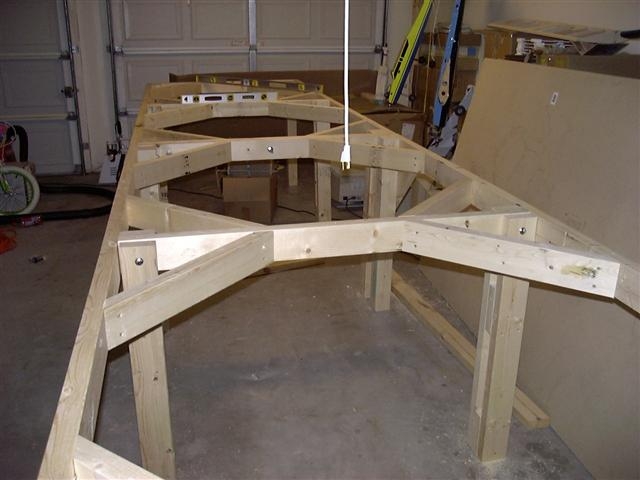
Here is the center leg detail for each table. It is bolted to the center cross piece of each top.
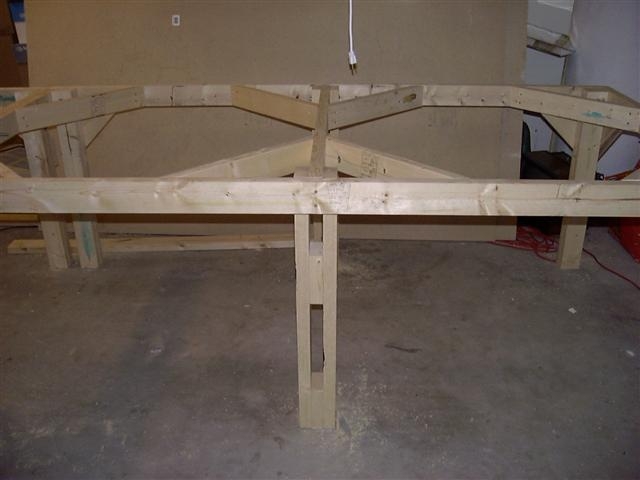
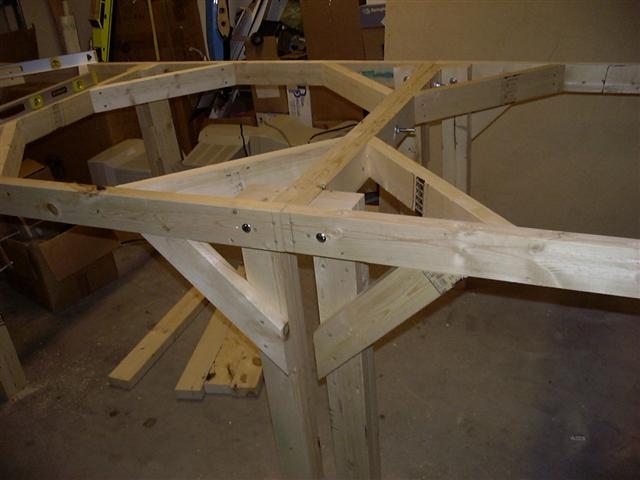
Here is the detail picture showing the corner legs of each top.
The second picture shows the end leg that has been braced in both directions.

Here is the final product. Way overkill for what is needed, but I figure I'll be able to unbolt the two tables and put them on wheels once the "boat" is done and on it's own feet.

When it came time to actually start building, I noticed the table was already starting to sag between the bracing.
I had to go back in and add a new brace to each bay.

Once I'm done with the boat, this table will probably be broken down to create a single table on wheels that I can roll it around the shop. If I had to build it again, I probably would not have built it so large to begin with.
Update 4/28/03
I now plan to just "publish the picture as is" so the file size will increase...sorry dial up users!
Now that the bulk of the "boat" building is done, the table has become more of a junk storage area than anything else.
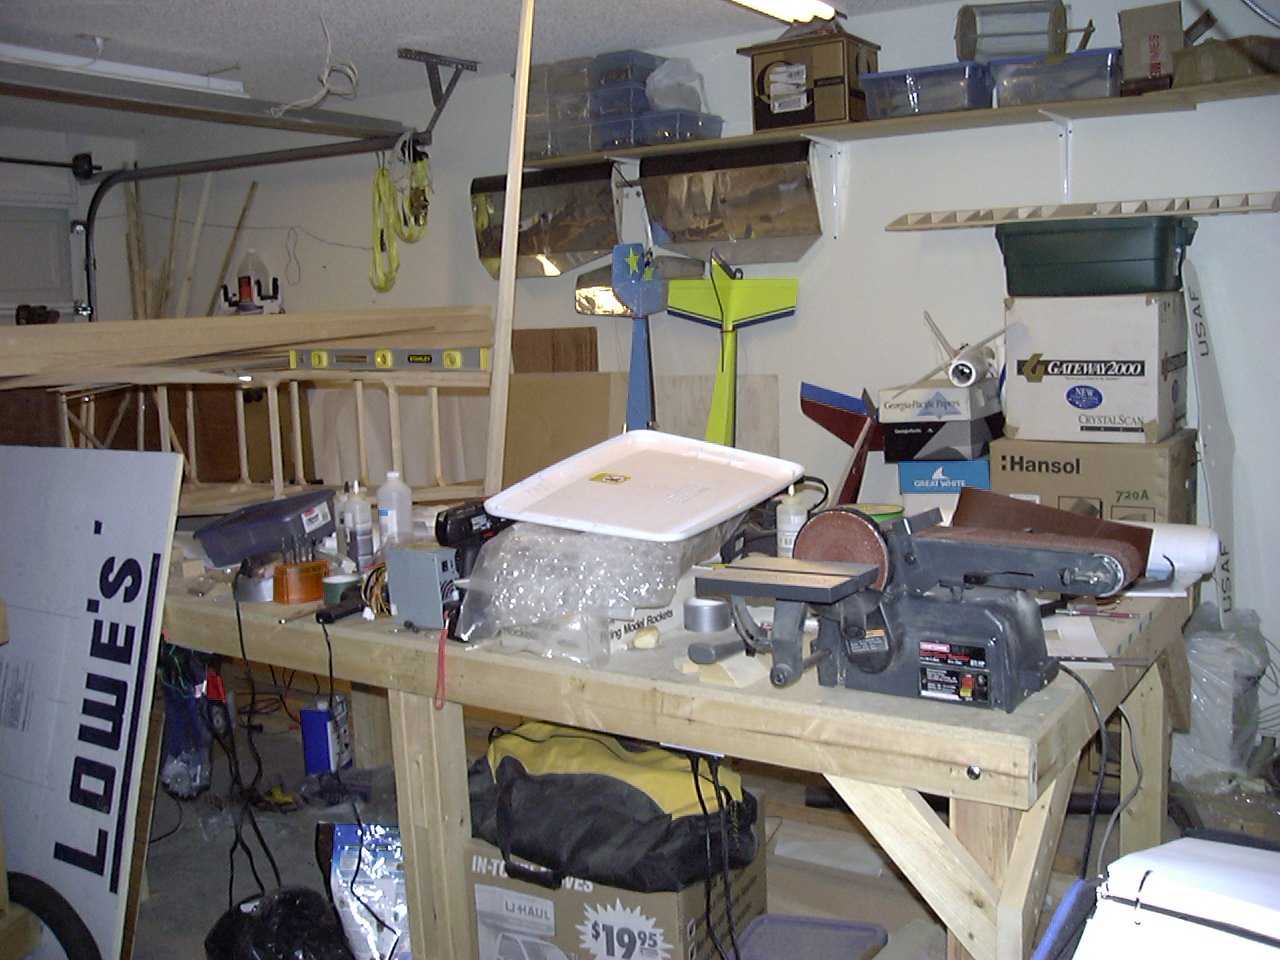
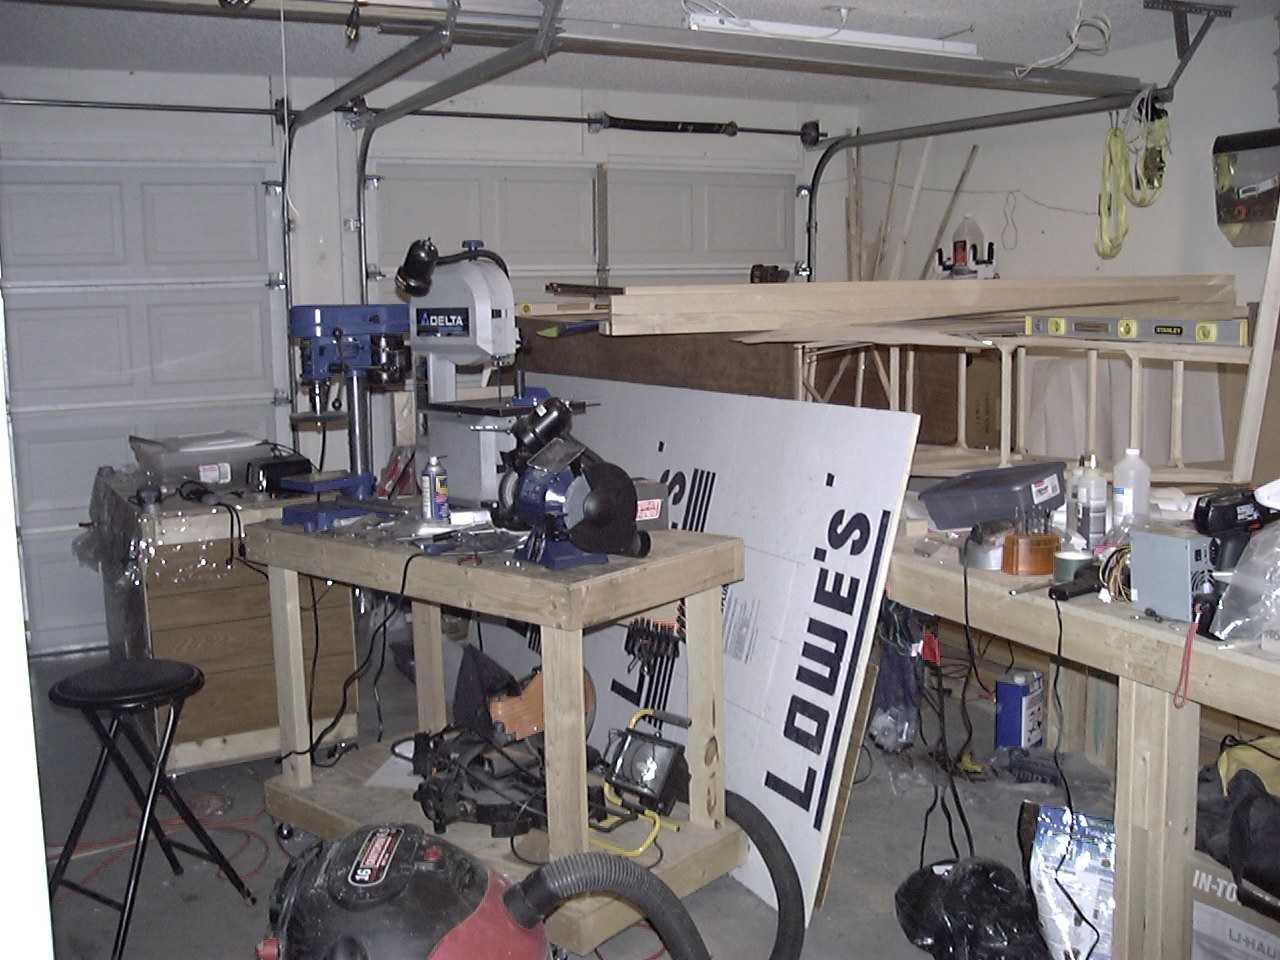
So...It was time to do some cleaning and rebuild that long table into something that is more productive (I hope). What
I have done is take the two haves apart and combine them into one 4'X8" table. I elected to put one table under the other
then put the two of them on wheels. I took them apart, ripped out the under the table plugs on one of the two tables and used it
as the bottom table.
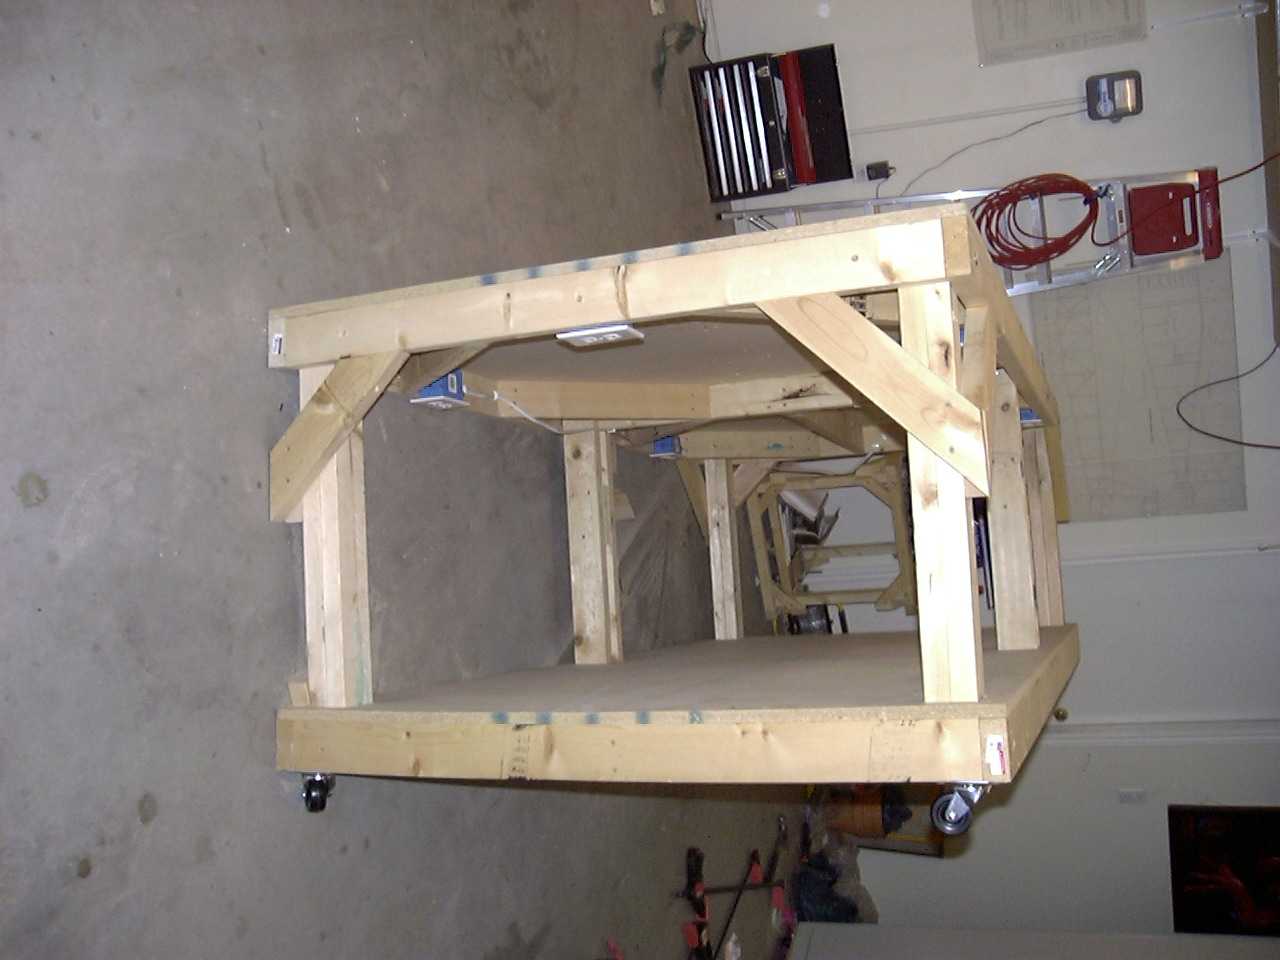
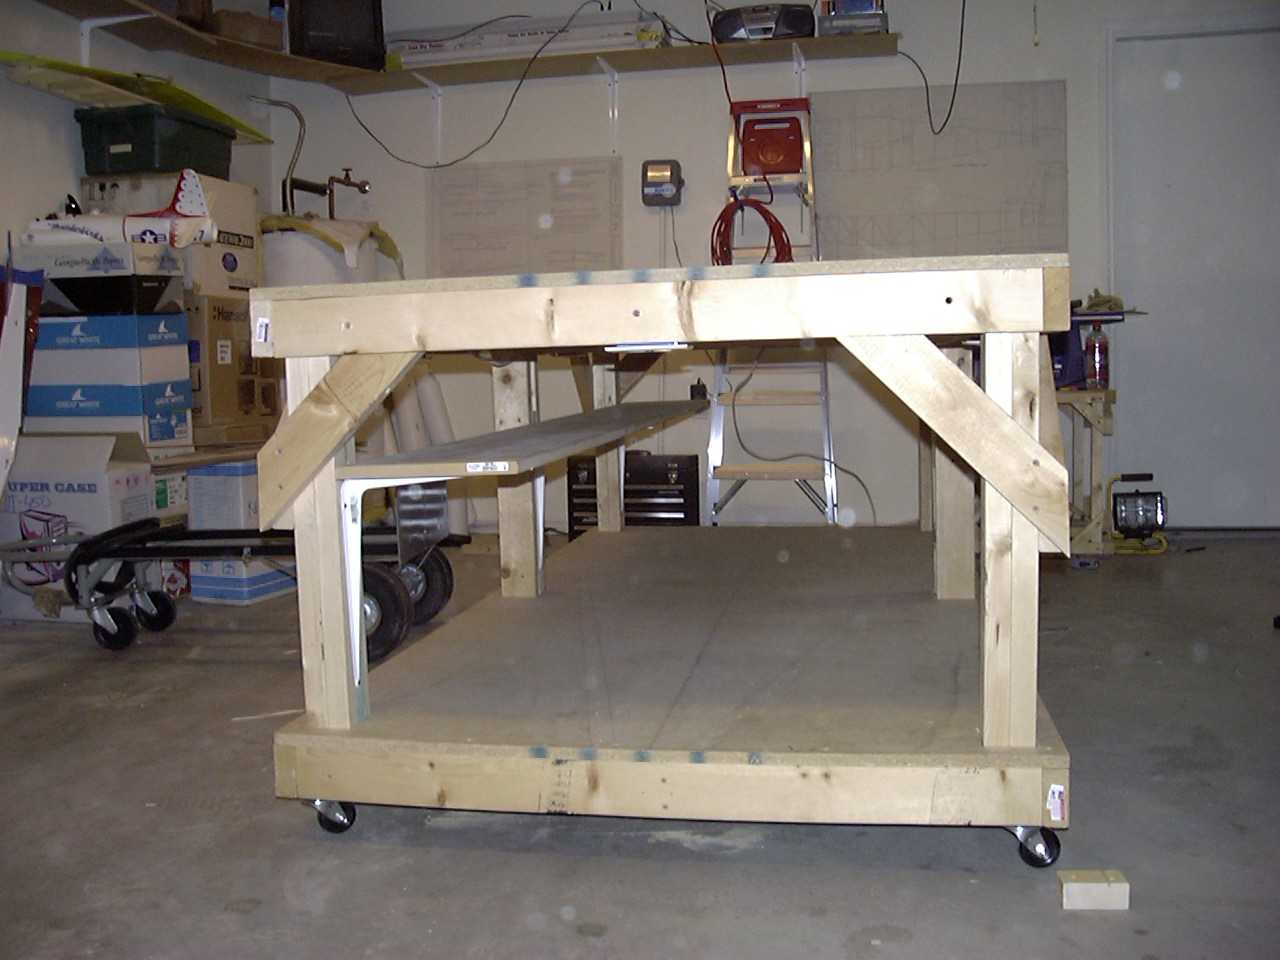
To make the whole thing easier to move around, I added a few wheels.
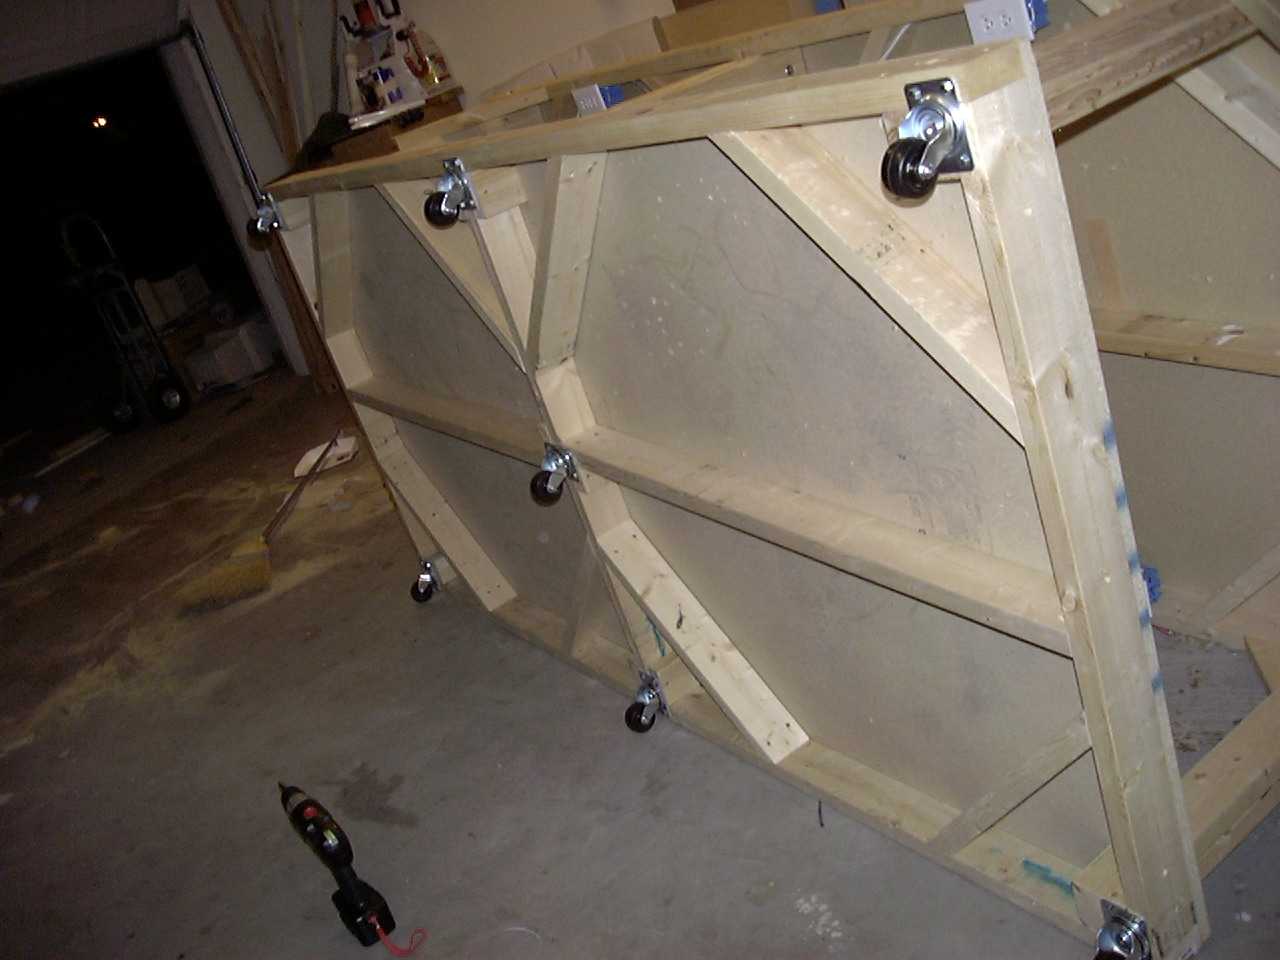
This whole contraption proved to be quite heavy (understatement of the year!) and I had to do some thinking as to
how to get it upright by myself--I could not even pick it up far enough to put a hand under it to start lifting. The
solution came in the form of an equipment dolly. I had planned to put it under one side, tilt it back until I could
rest the dolly on the ground, then use brute force to pick it up and set it upright. Things did not go quite as
planned. As soon as I got the table about three quarters of the max height of the dolly---gravity took over and the
whole thing "fell" over right where it was supposed to. It ended up scaring the heck out of me in the process! Good
thing I had cleaned out from under it in preparation.
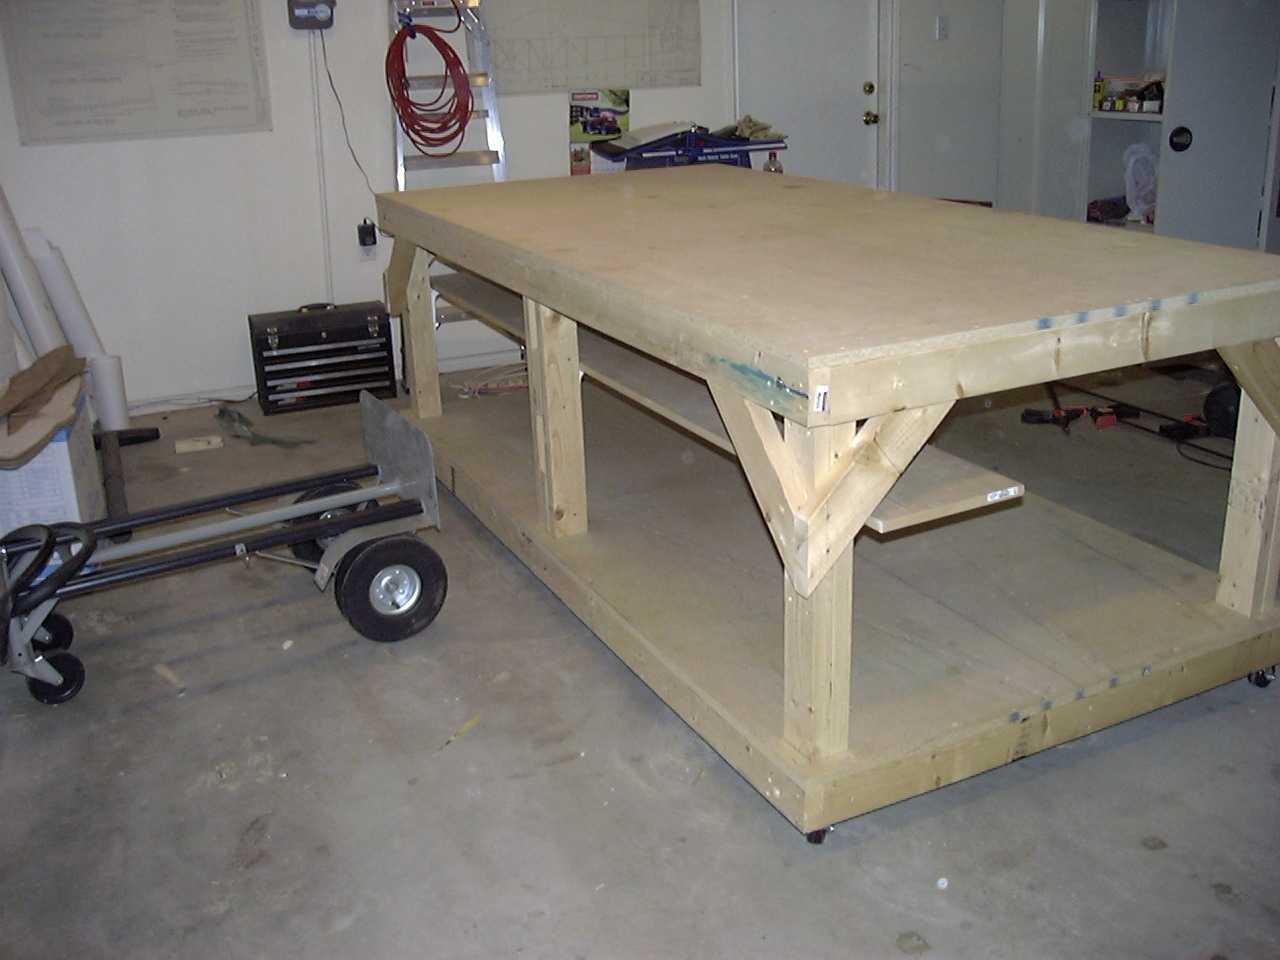
While I was at it, I added a small shelf the length of the table that works well to keep what spruce I have left
that is not yet installed on the airplane (outer spar caps, rear center spar, aileron leading edges, etc.)
Thats all for now...until next time.