This page documents the construction of the spars for my KR2-S.
All pictures on this page are at 240X320 and average between 3k and 10k in size.
If you click on the pictures, they will take you to larger versions at 640X480 that average between 90k and 170k.
As I begin the process of starting my wings, I have yet to join the two sides of my fuselage.
Since I'm waiting on further information about canopy availability, I thought I'd spend some time to
start the spars.
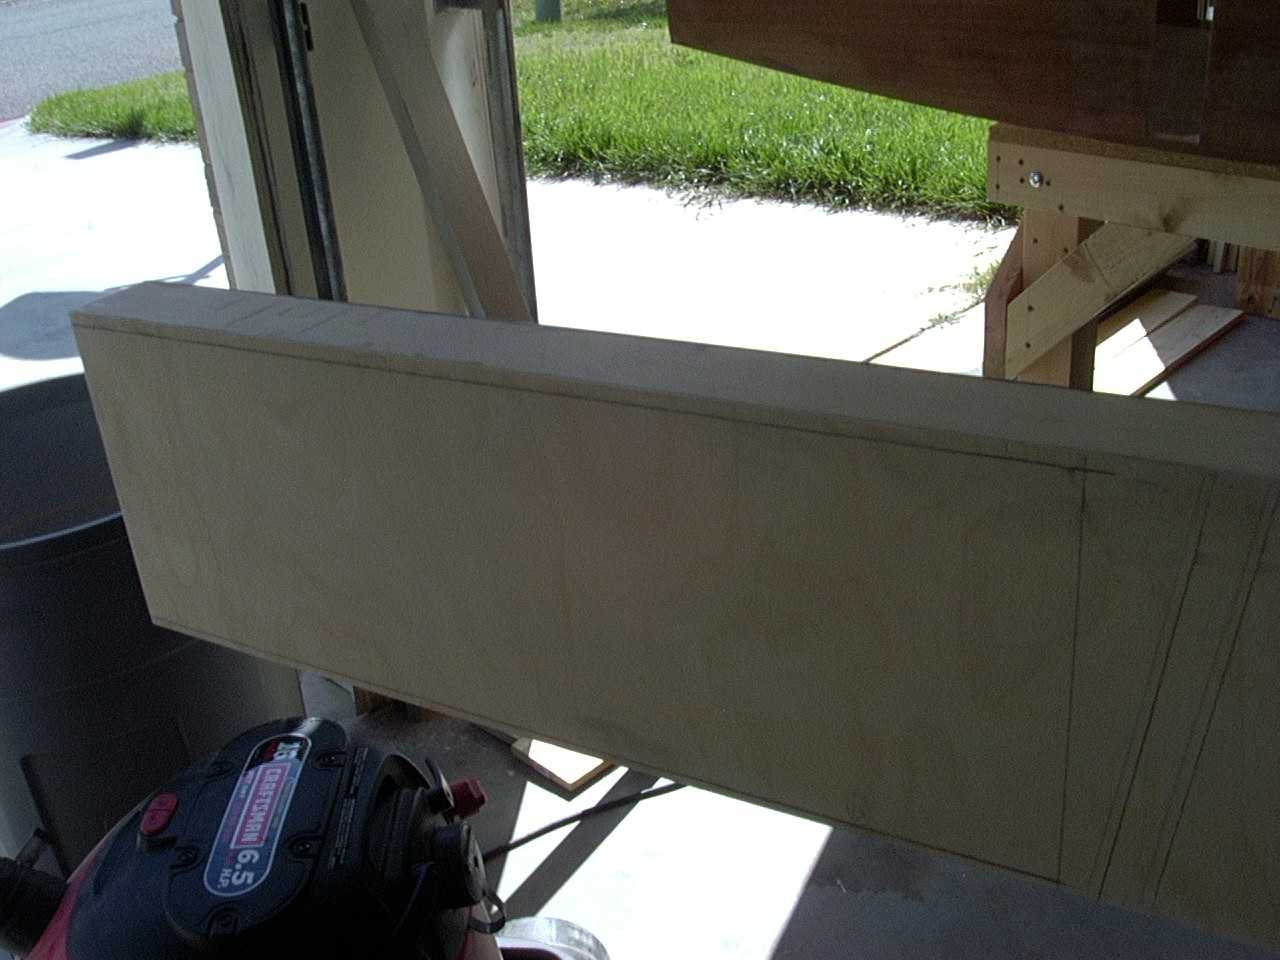
Here is the first spar cap being laminated together. You can see the next few pieces in the background waiting their turn.
10 March, 2003
Once the spar caps are laminated together, I took them to a local cabinet shop to run them through a planer to get them to the right deminsions. Over time, my table collected more and more junk so that trying to find a good spot to build the spars became a chore (I know, that means its time to clean and I have since). So while trying to find a good way to build the spars such that I could guarantee they would remain straight and flat, luck found its way and I was able to pick up on a good deal (read free) on a used whiteboard frame. This worked out well in that I got two, 2"x4"x4' rectangular pieces and two 10' sections of extruded aluminum. These were perfect for bolting to a block of wood bolted to one of my small roll around tables. Once I put them on the table, I coated them with a layer of duct tape to protect them, yet that became a problem because of the seam (would have worked with a wider piece of tape). I ended up using freezer paper instead and it worked well.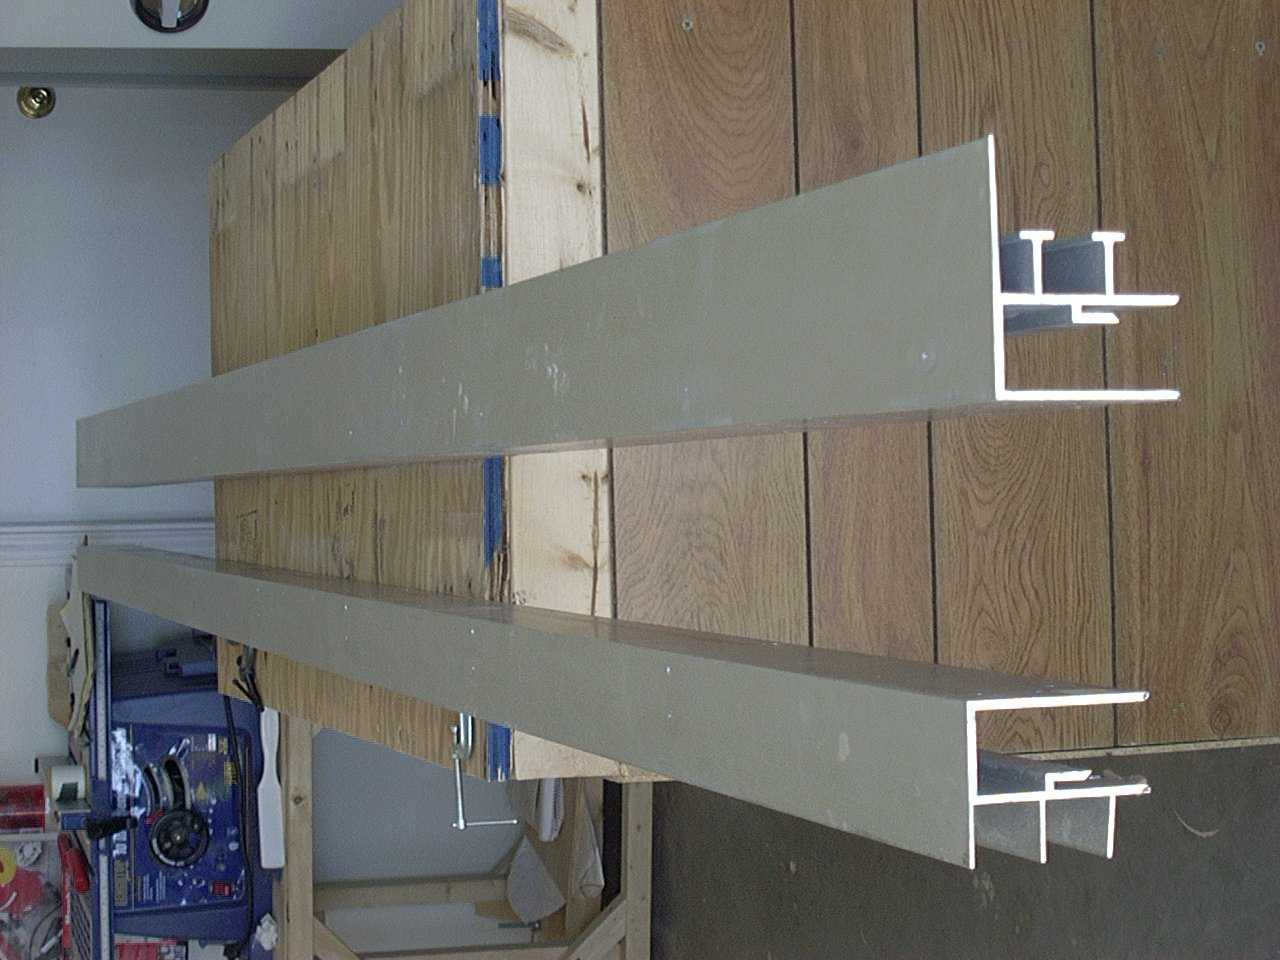
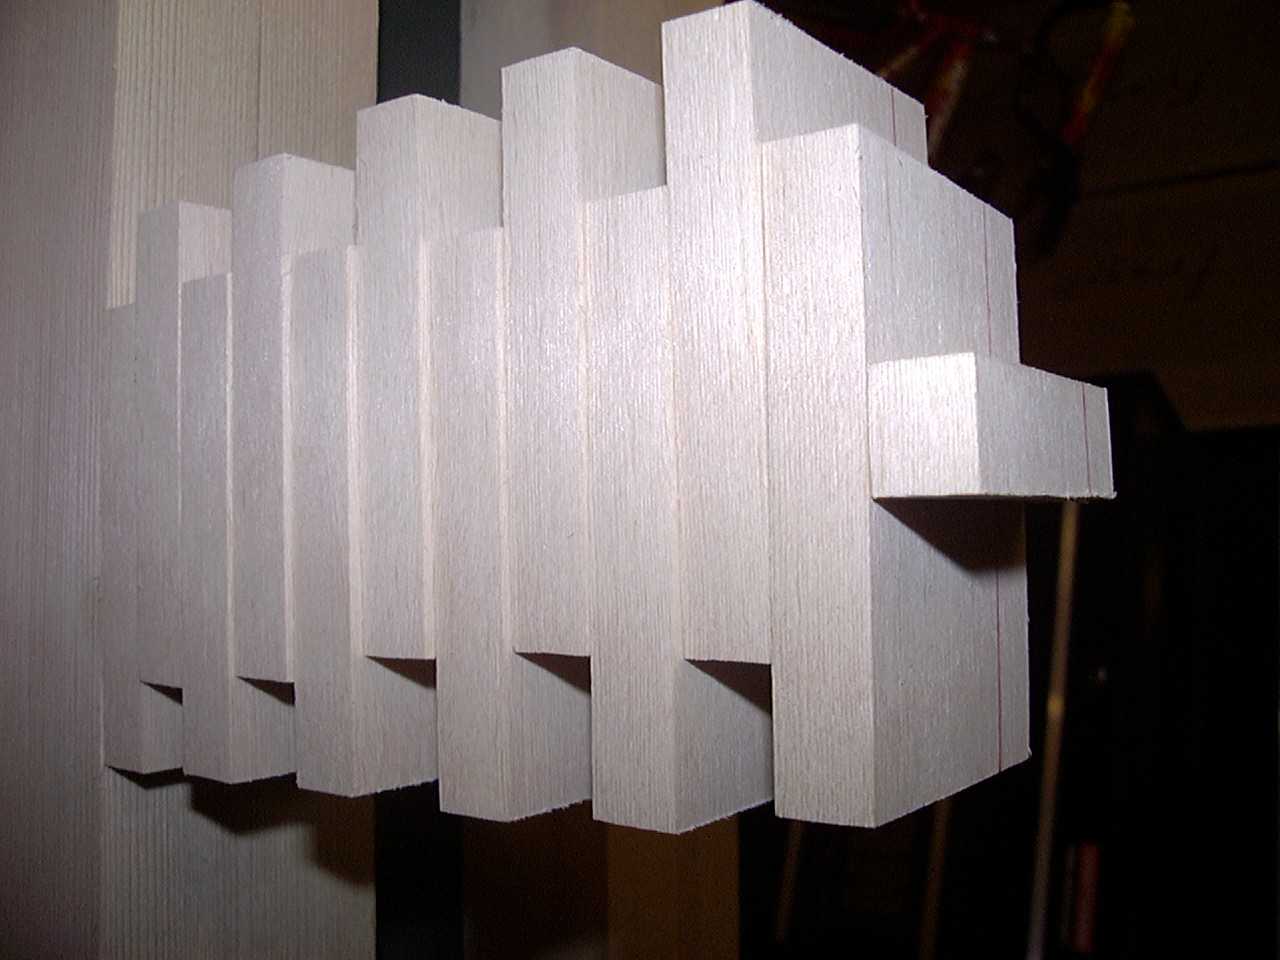
Next I cut out the spar webs using the recommended methode of drawing a line down one side to ensure all are installed
the same way as the one next to it, then using a guide block to ensure they are all the same lenght. Here are the spar
webs for the front center spar. The rear ones use the same process.

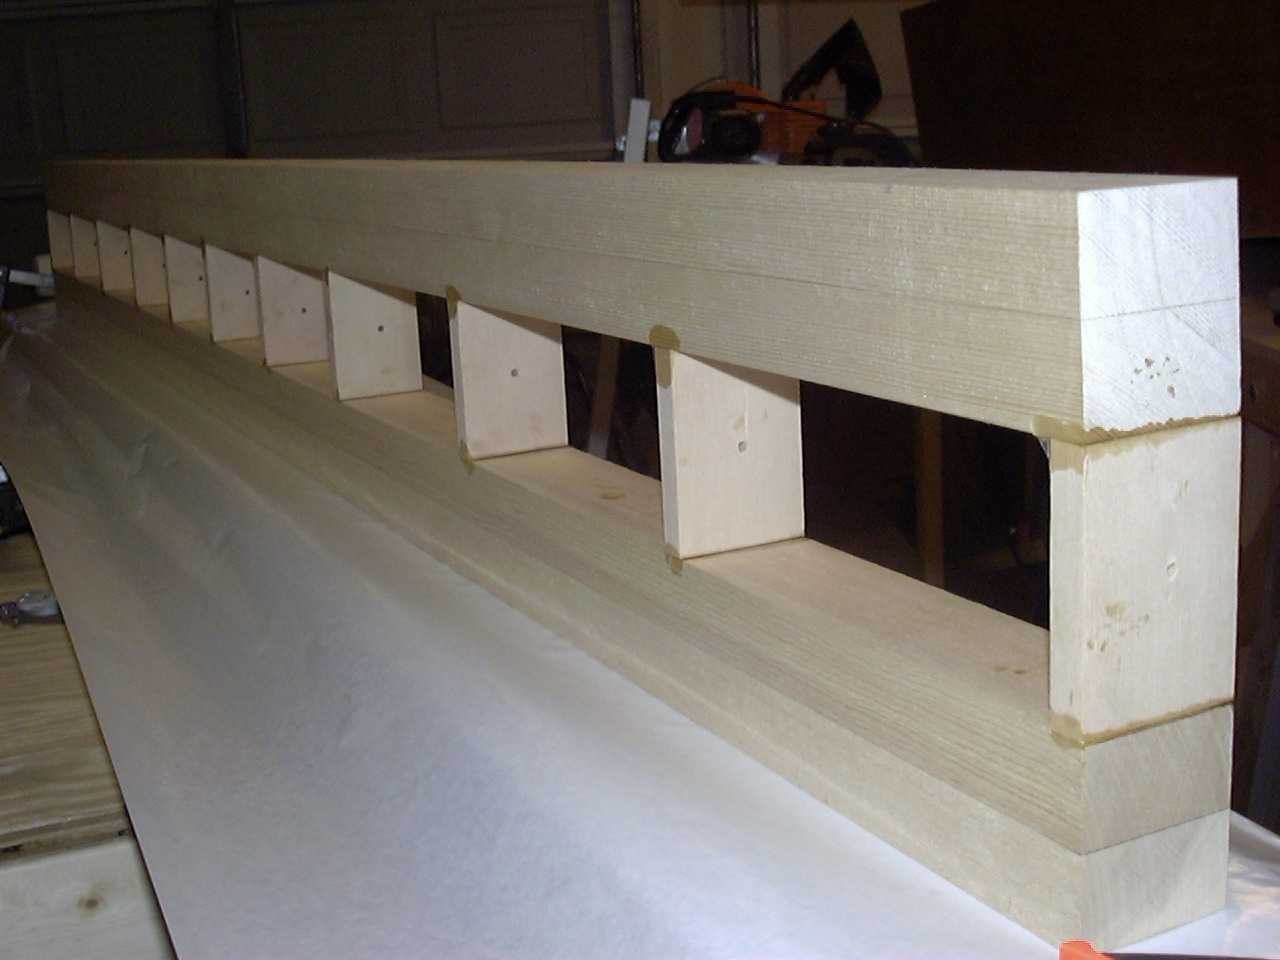
The process of building the spars was pretty simple actually once I figured out how I was going to do it. I jigged
everything up on the spar jig and epoxied the spar webs in place, taking great care to make sure everything was
square. Here is the front center spar and the rear center spar.
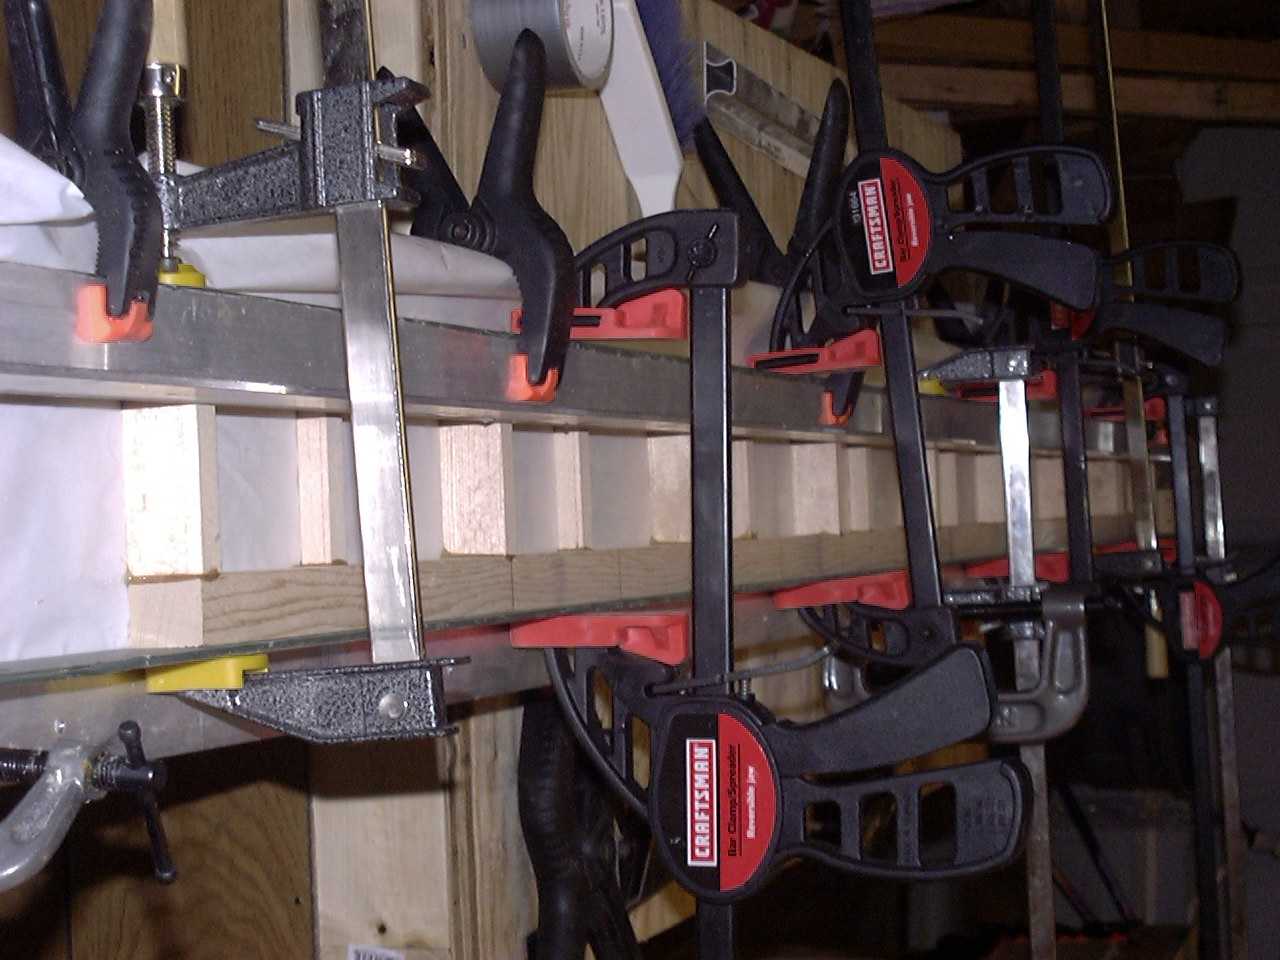
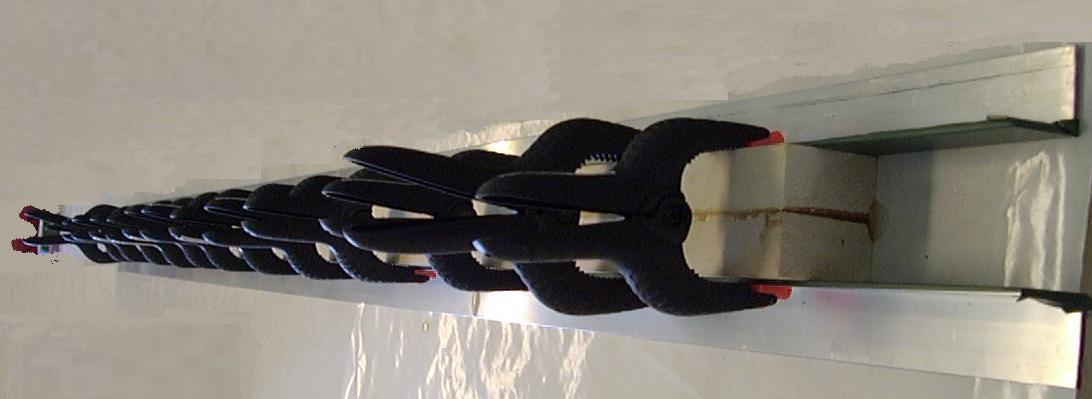
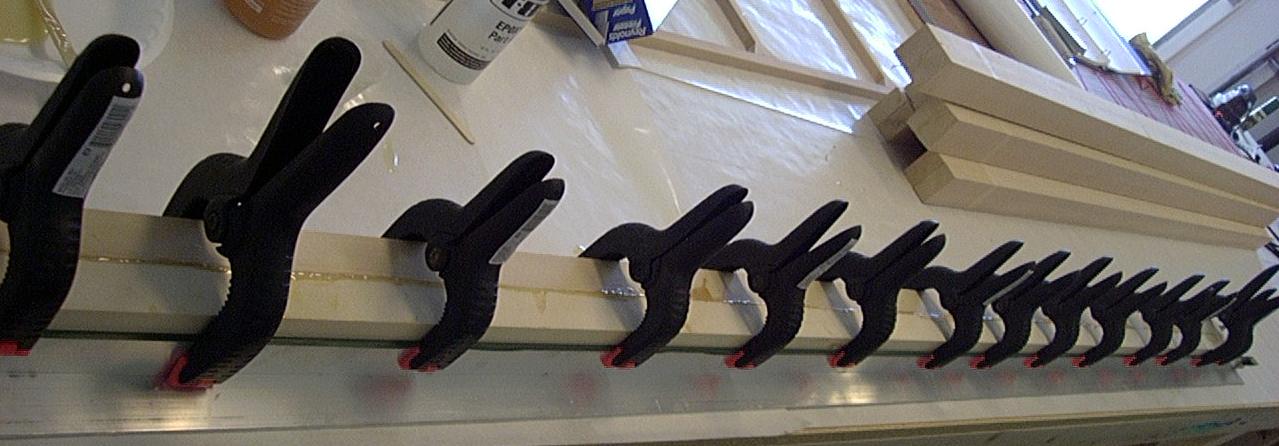
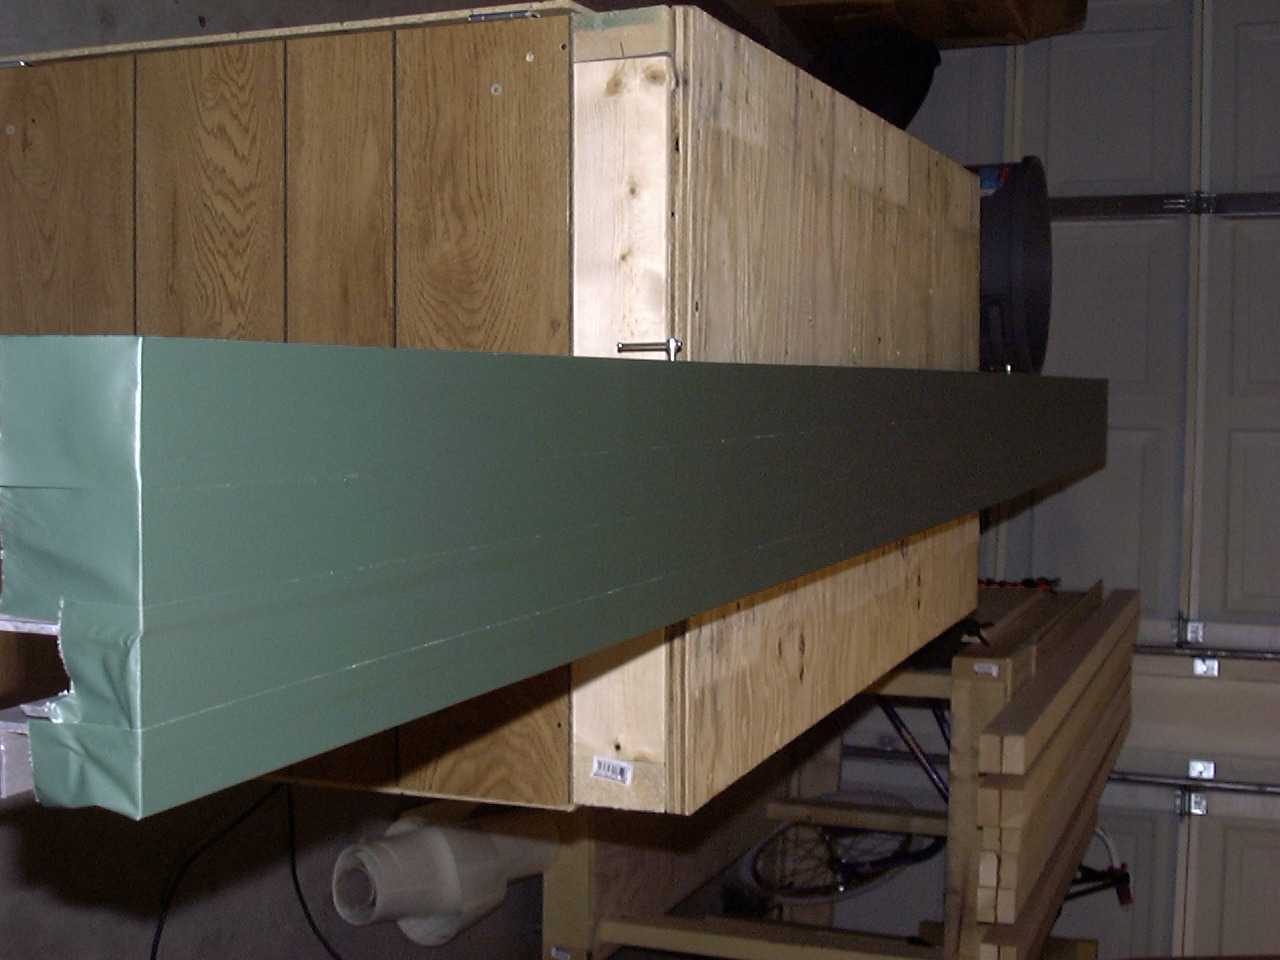
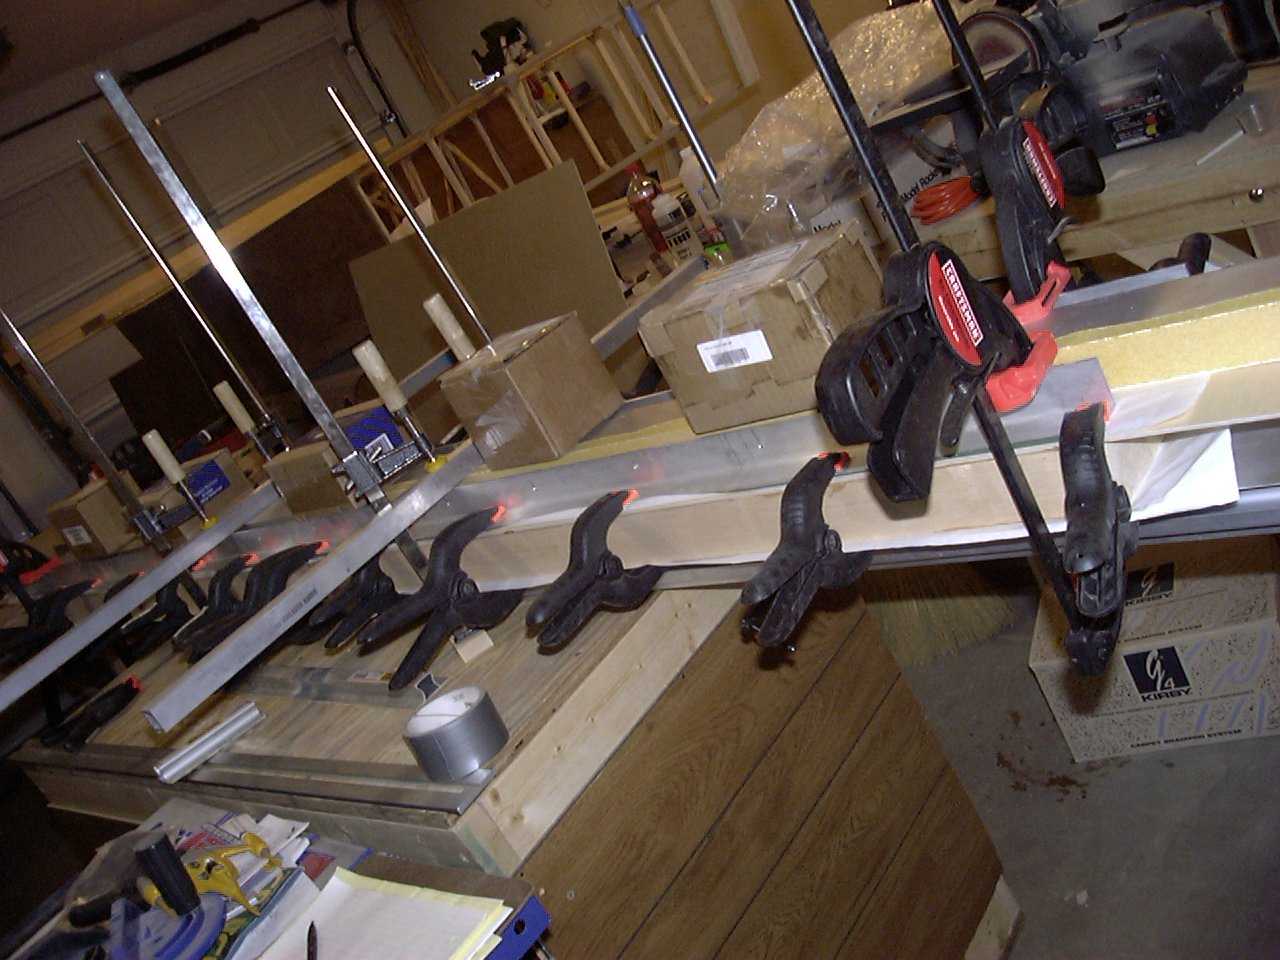
These next few pictures show how I attached the plywood to the spars. Although not shown, the first step was to
scarf one end of a sheet of 4'X4' 3/32" plywood so that when cut into strips of the appropriate height, the
plywood grain would run vertical to the spars. On the front center spar, I had to clamp the plywood down onto the
top of the built spar and the rear center spar was clamped down onto the plywood (I would have done the front center
spar the same way except I would not have had adaquate clamping power). On the rear center spar, I was able to use
some of the epoxy that squished out from the clamping power to spread into the plywood to help seal the wood.
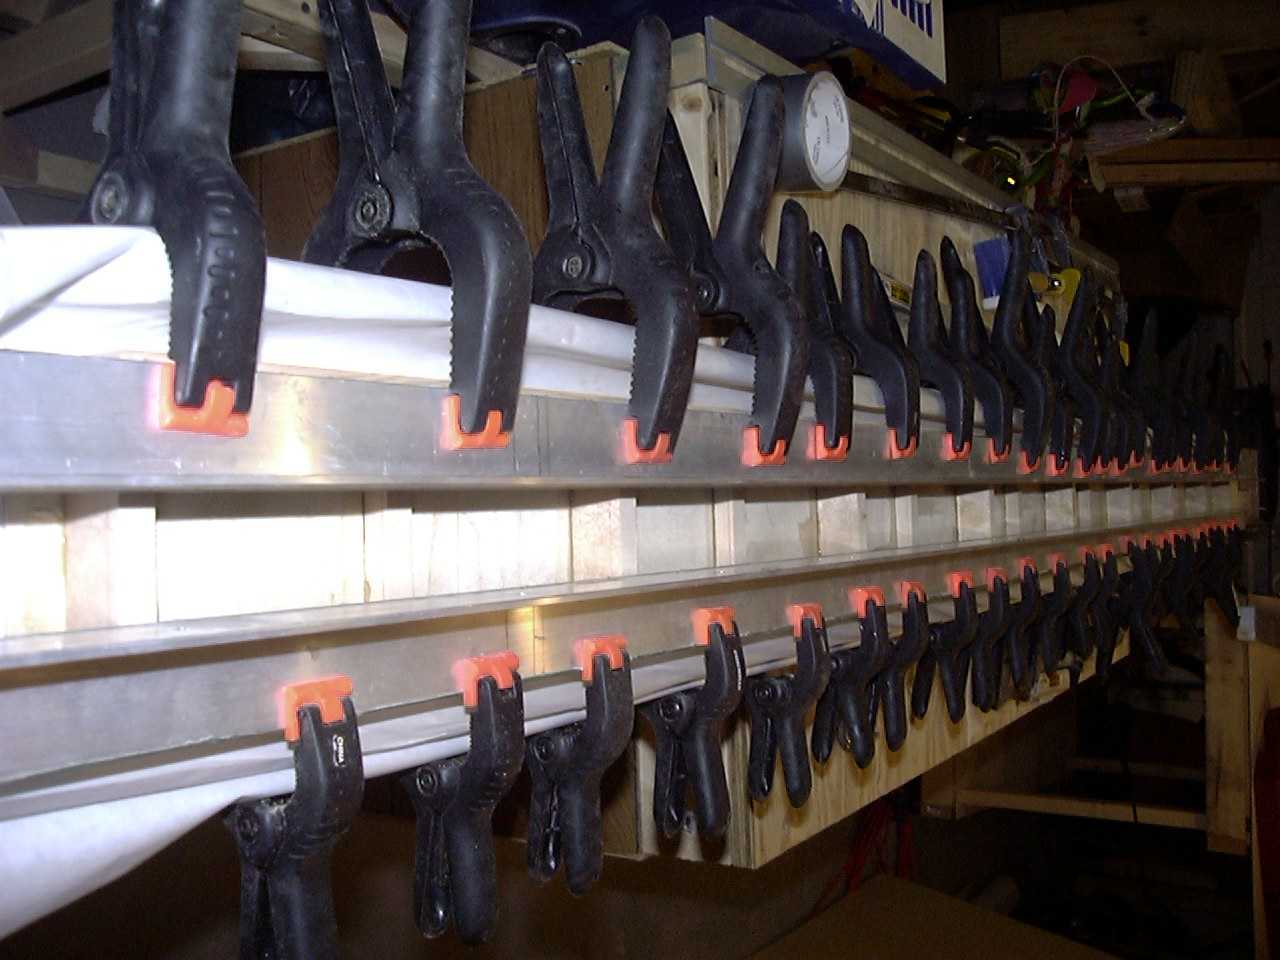
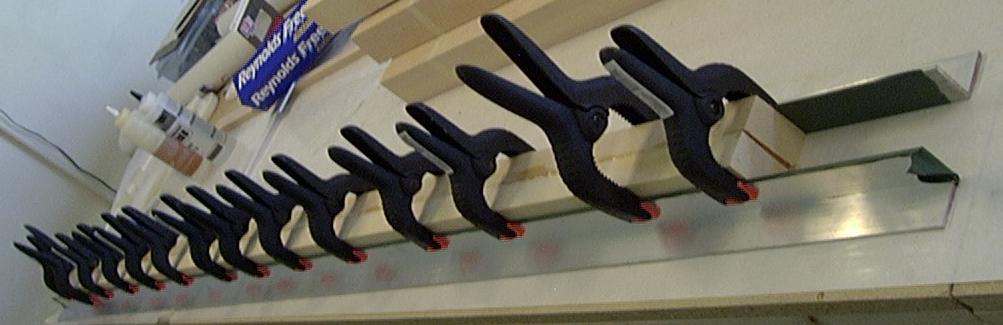
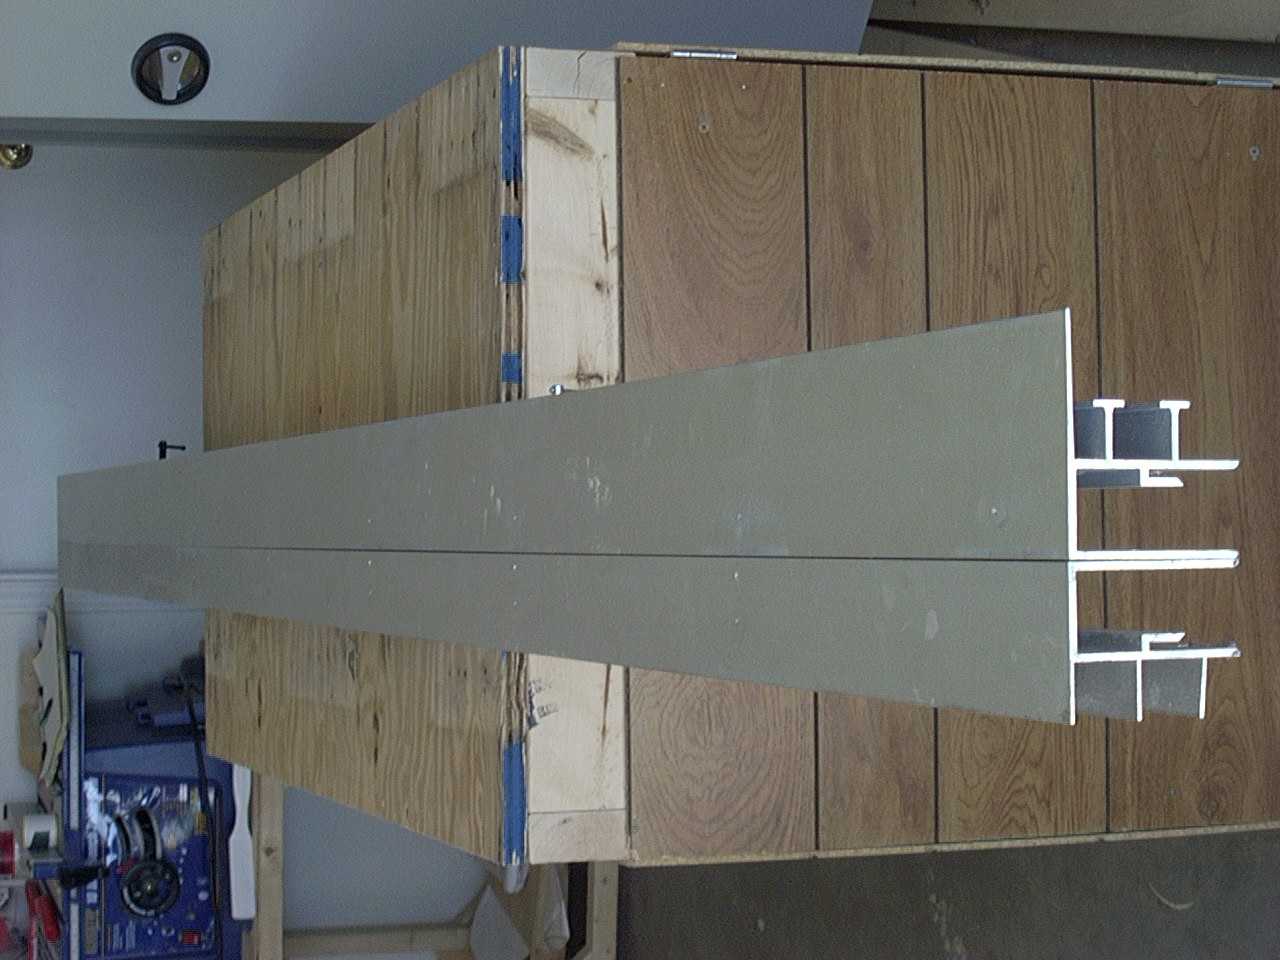
AFter liberal coats (2 times) of spar varnish to complete the sealing process, I put the other piece of plywood in
place. I made sure to coat the entire piece of plywood with epoxy so that it would be sealed as well. (only front
spar shown here)

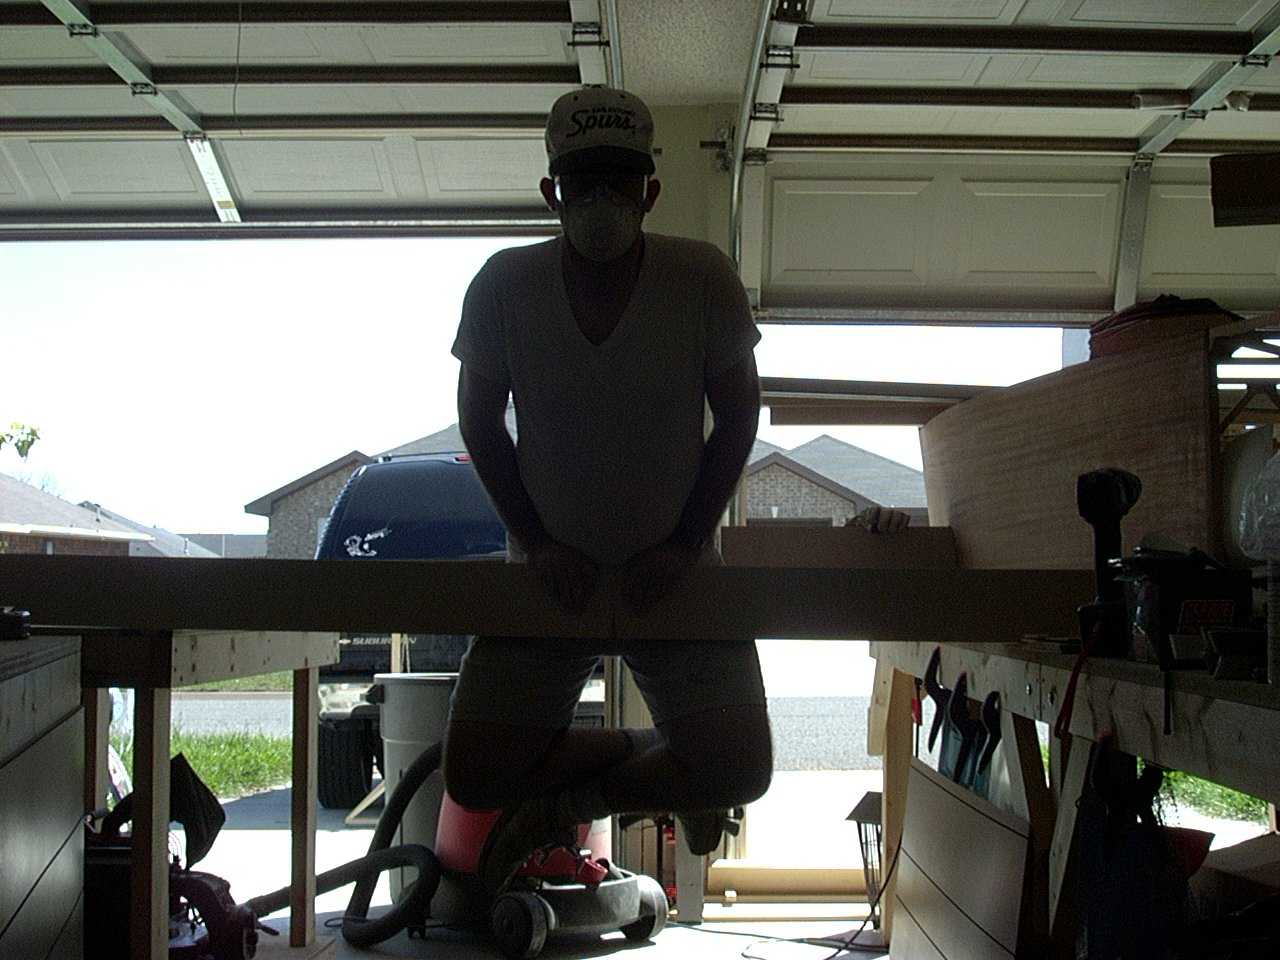
Yes, that's me putting all of my weight on the center of the rear center spar! Great confidence builder!
Once I had cut out the slot in the fuselage, I installed the front center spar and marked where it entered and exited. I
then measured from the airfoil templates and marked how much spar material I would need to remove to match the airfoils.
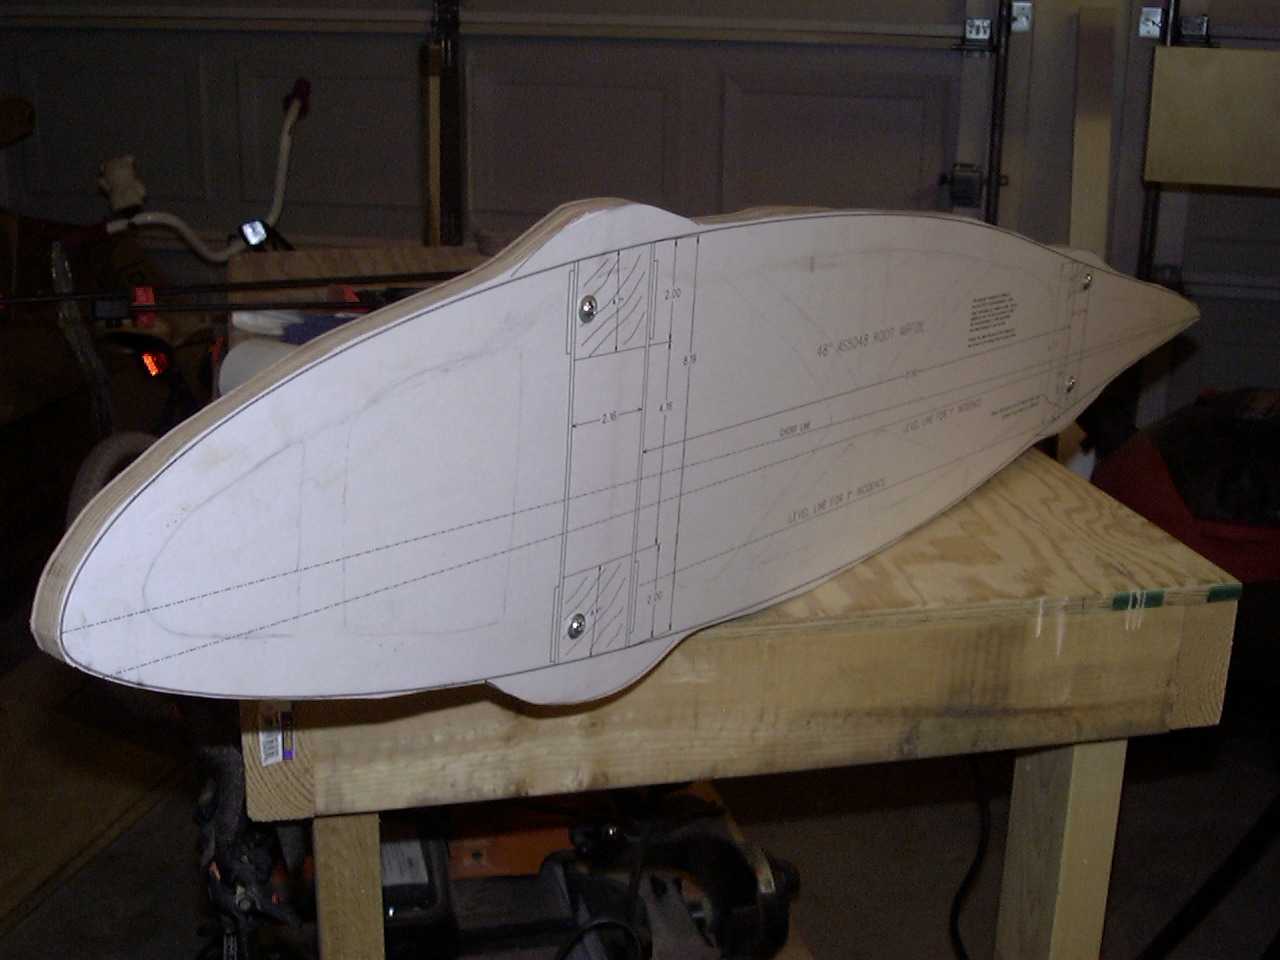
I went through all of my leftover mahogany plywood and gathered up what I would need to create all of my airfoil
templates. Since there were not a lot of pieces big enough make all of the templates, I scarfed a few smaller pieces
such that the joints fell where the spars will be. Now there will be no joints on any part actualy left on the
airplane. These are the templates I ordered from TET. In this picture, you see all six of the large templates bolted
together so that I can make sure they all match. (these have been cut out, but not yet sanded to the line) I will
eventually cut lightning holes in them as well.
More to come....
Back to main page