2 July, 2005
I decided early on that I wanted to have a carbon fiber seat (I really don't know why), so set about
making the simplest seat I could. Rather than go through the steps Mark L did, I elected to keep it simple.
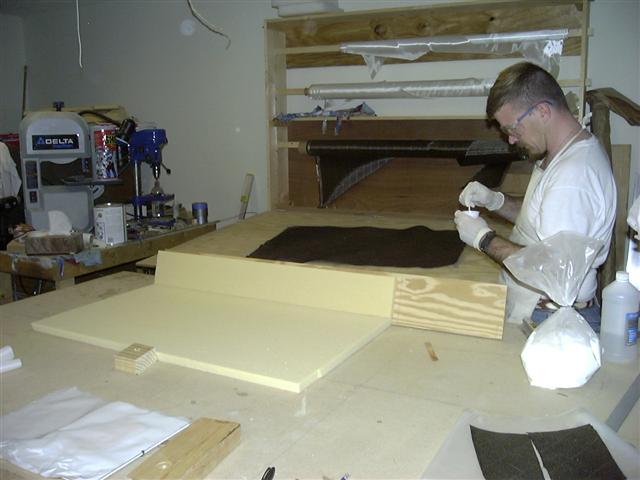
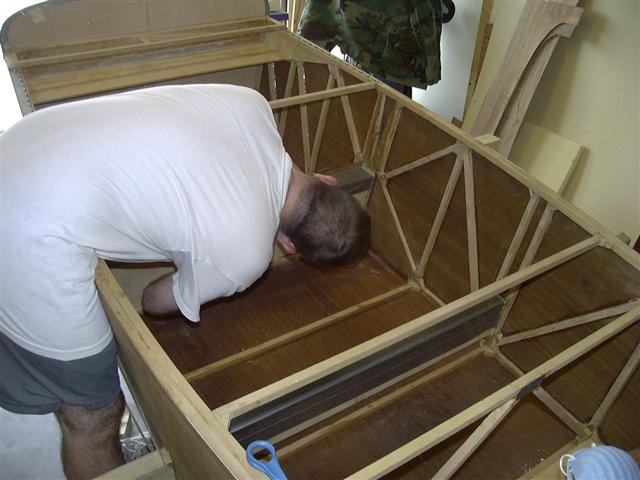
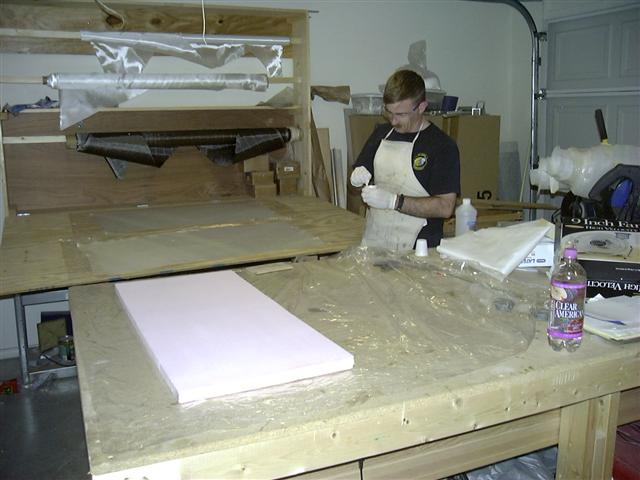
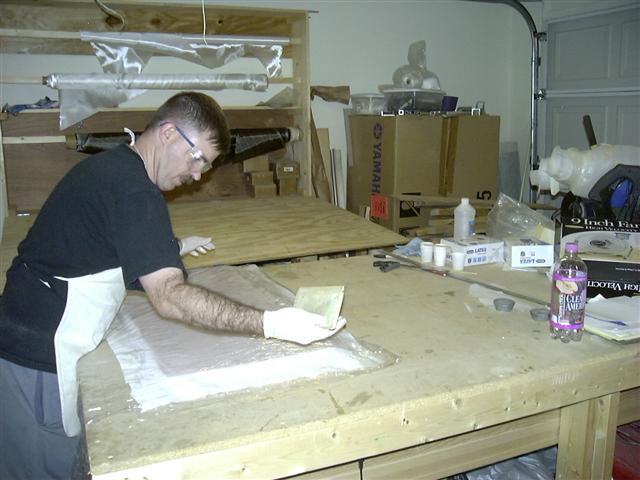
Here you can see that my seat is nothing more than two pieces of 1" foam glued together at an angle. I used a
strait-edge between the front seat brace and the rear spar to determine the angle. This way the seat and the
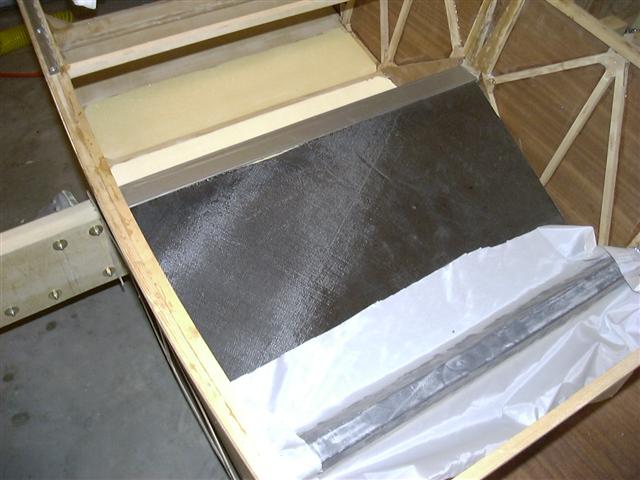
seat back will have the same angle. The piece of carbon fiber is on the plastic waiting to be wetted out.
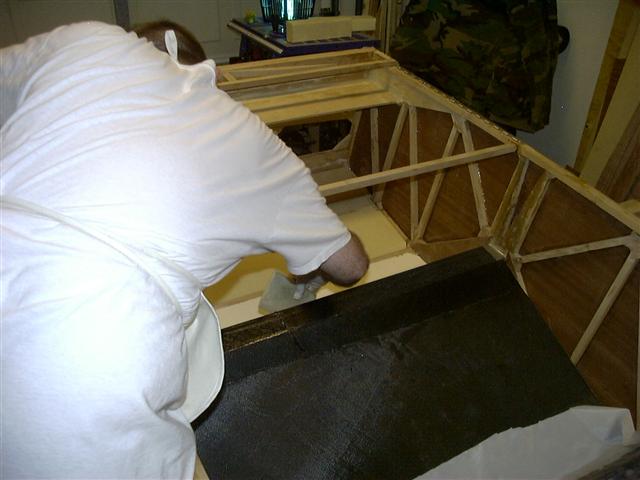
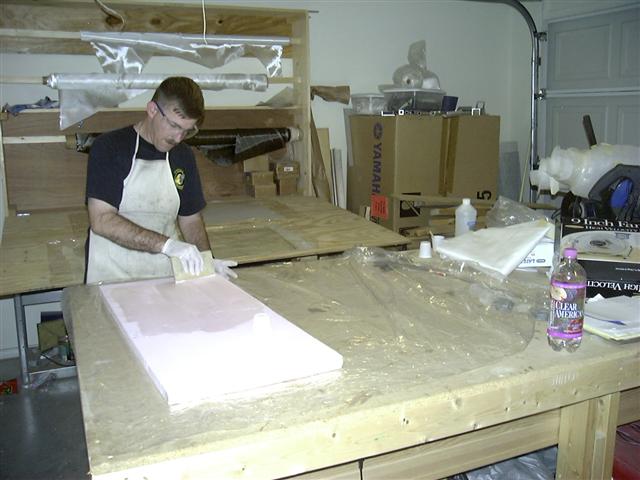
After spreading out the thin micro mixture on the foam, I added more micro to "stiffen" it up to create the fillet.
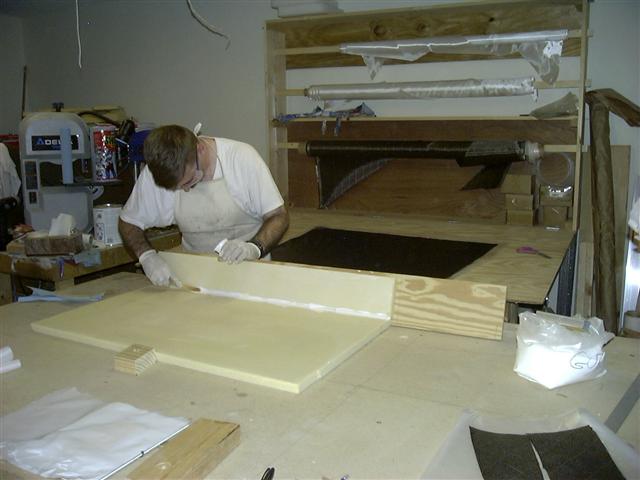
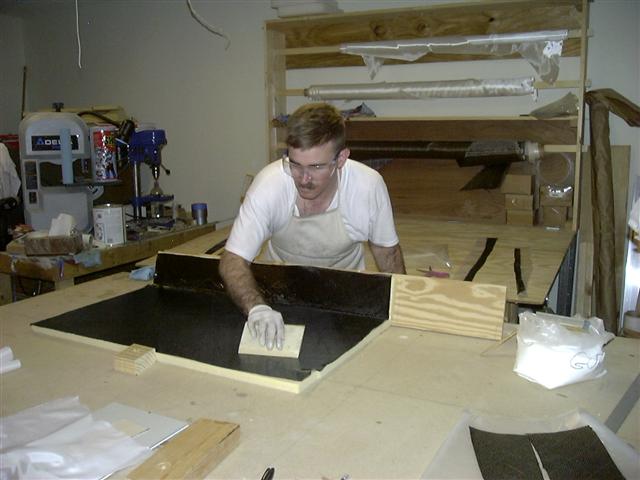
Then squegee the carbon fiber cloth into close contact. One drawback to carbon fiber is you can't see your marks
on the plastic like you can with fiberglass. I will say however that I found carbon fiber to be MUCH easier to wet
out and keep the weave alligned.
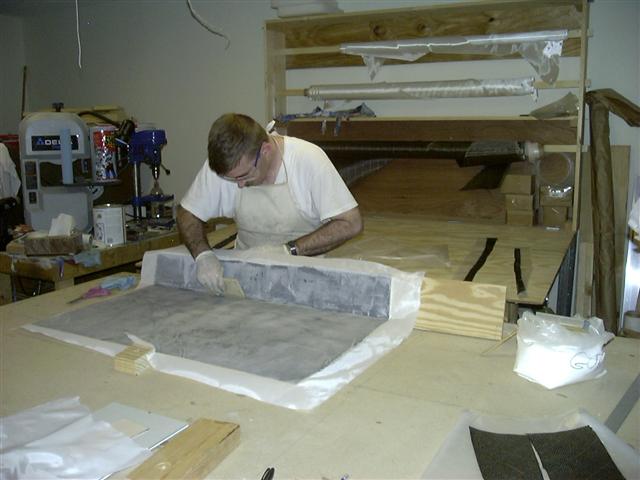
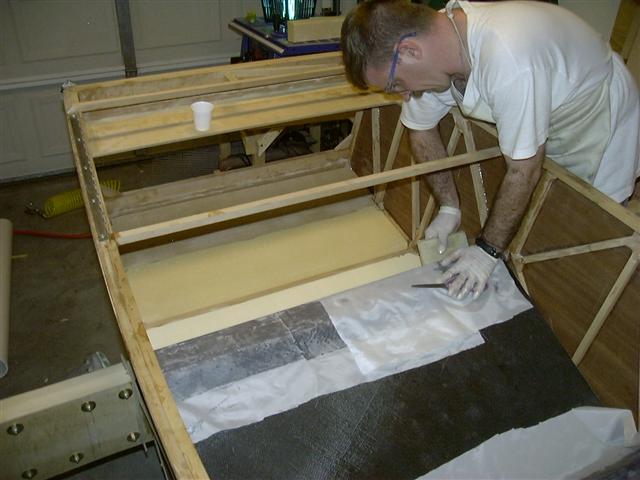
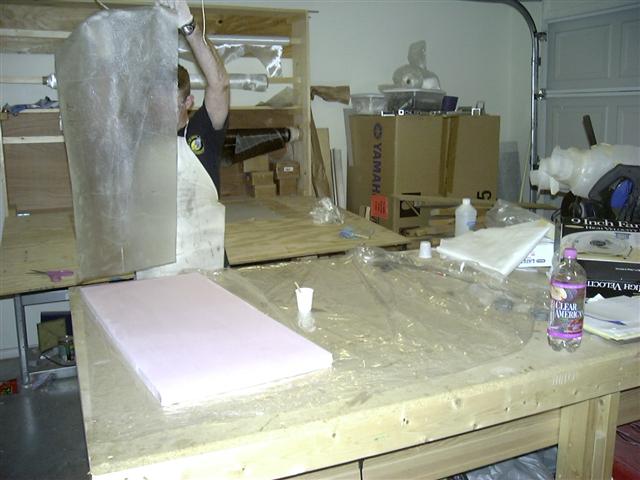
Apply peel ply and let dry
Here I'm applying duct tape on the front and rear spars to act as a release agent.
Put the seat in position between the two spars...

I put a strip of carbon fiber over the rear spar (on the duct tape) and down onto the seat. Here you
can see the peel ply in place.
Next I did the same thing with the front spar. First a srip of carbon fiber, then follow with peel ply.
After the carbon fiber cured, I removed the seat (it was a tight fit), and added a piece of carbon fiber to the back side. When doing this piece, I tied the seat bottom in with the flanges that overhang the spars. I'll try to remember to get some pictures when I take it out to cut the holes for the sticks.
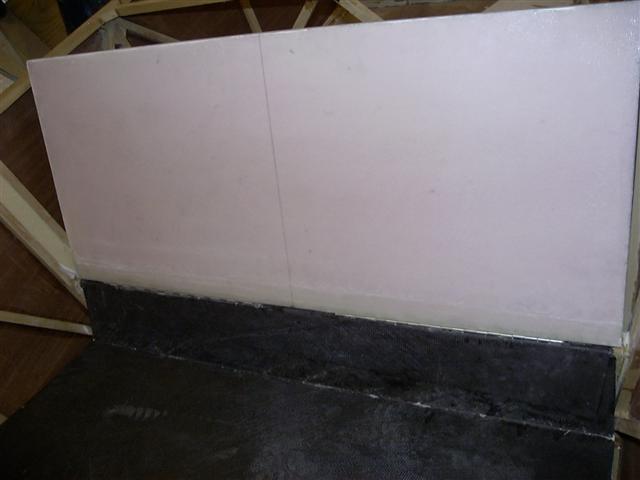
To start the seat back, I decieded I would try a different kind of foam. Here is a piece of pink extruded foam cut to
size and you can see the front and back pieces of glass waiting to be wet out in the background.
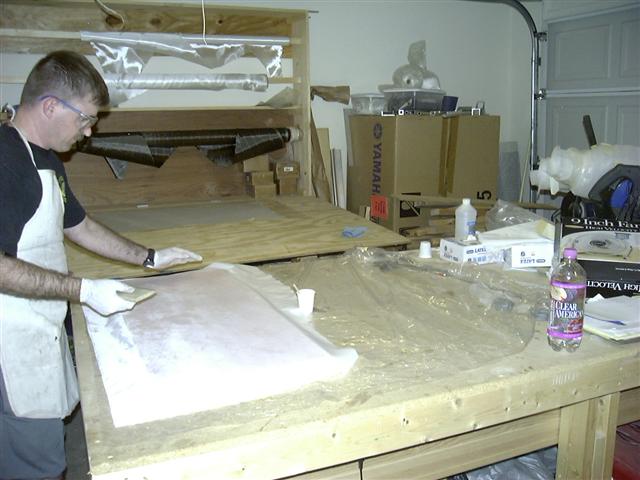
Spreading the micro on the foam. This is the next lesson I learned (the first was CF wets out easier than glass),
it is easier to spread micro on the pink foam than the tan foam.
Using the plastic transfer method, here I'm about to put the glass on the first side.
Put the peel-ply in place.
I then turned the whole thing over and glassed the second side. Here is the peel-ply going on for the second side.
I put a piece of 3/4" plywood on top and weighted it down while I cured.
As luck would have it, I did not take any pictures of installing the seat back hinges. Here is the seat with both
hinges installed. I decided to install both hinges before I cut the seat in two so that both seat-back halves would
be inline.
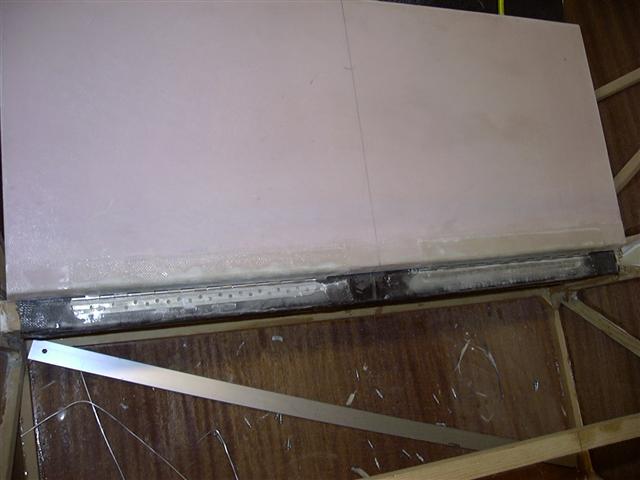
In the up position. I have since cut it and it works great.
13 November, 2005
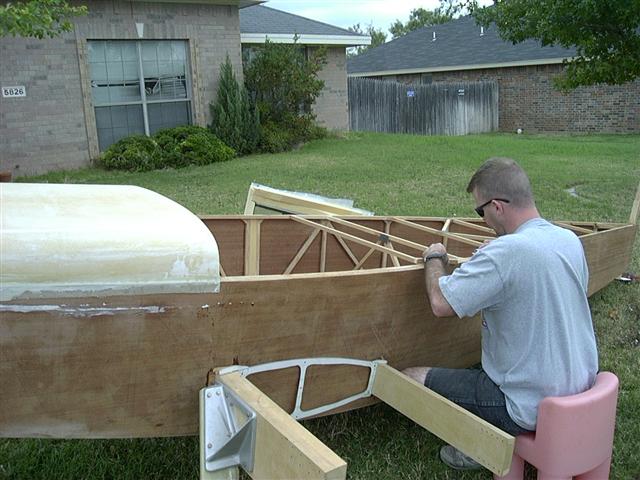
I'm not real sure where this post needs to go, but I figure this is as close as any (I guess I could have put it in the
fuselage pages, but this just seemed better). I had to get this piece installed in order to work on the rear deck. After
reviewing the extra pages sent with the plans about the seat belts and how the rear shelf needed to be modified in order to
make it strong enough to take the stress of having the seat belts attached directly to them, I came to the conclusion that I
needed to make the modification. When I originally built the fuse, I put the small corner gusset blocks in the four corners
that are covered by the 1/4" plywood. The extra pages show the calculation that are used to determine how much surface area
the 1/4" plywood needs to have epoxied to the frame in order to take the calculated loads. In a nutshell, you need to remove
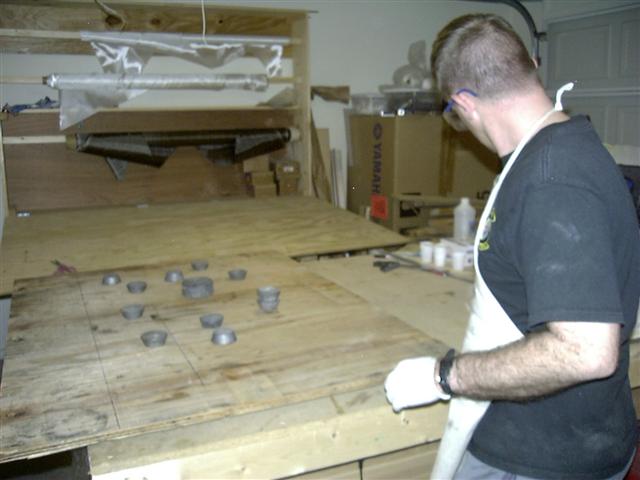
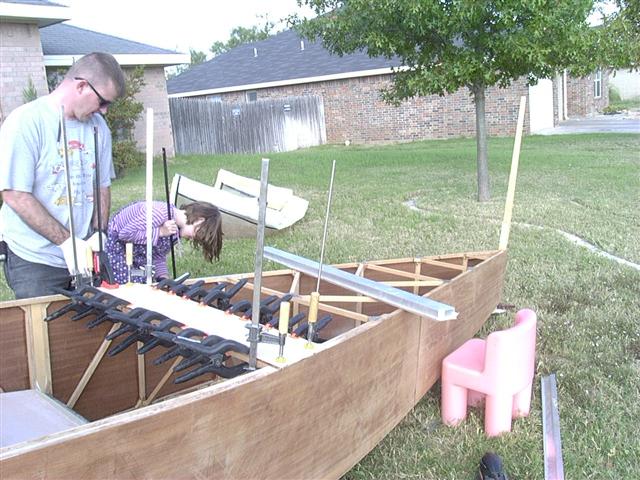
the corner gussets and replace them with another 5/8"X5/8" spruce block between the forward and rear cross brace. Here I am
cutting out the gussets.

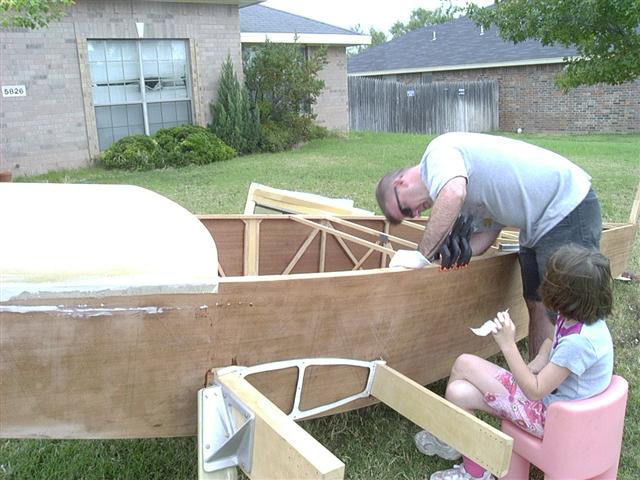
Getting the block just right.
Epoxy in place and clamp.
I could have done a better job with "plywood managment". I never "planned" out what all pieces needed to come from the one 4'x4'
piece of 1/4" plywood, so I was lucky to be able to get the piece I needed out of what I had left (I still should be able to
get the other two pieces I know I need to get out of it--lets hope there are none others that I have forgotten!).
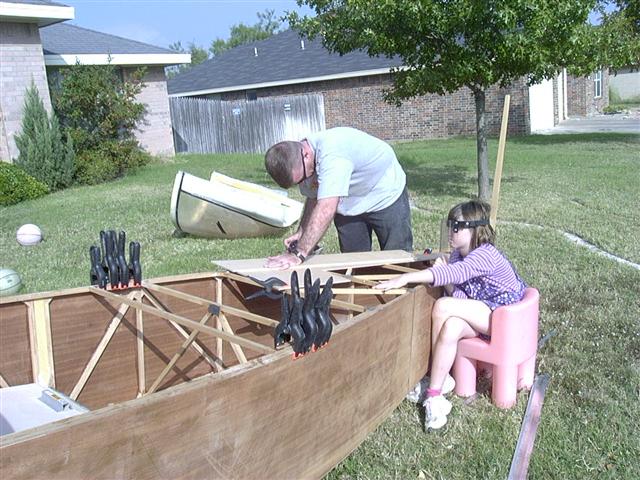
Sanding everything down to make sure I get a good bond.
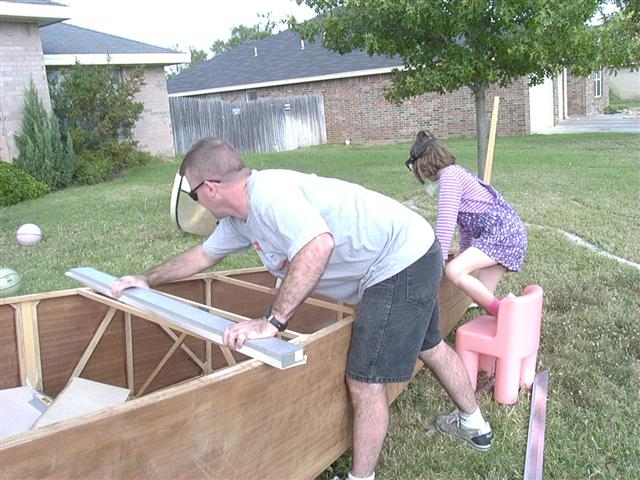

Clamp in place and let dry.
More to follow!
Back to main page