13 November, 2005
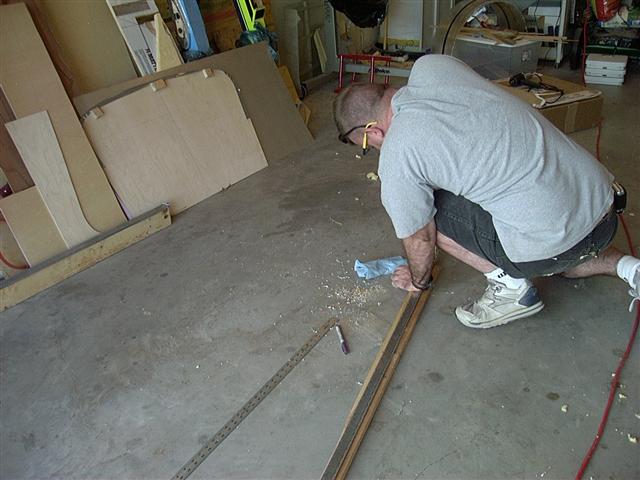
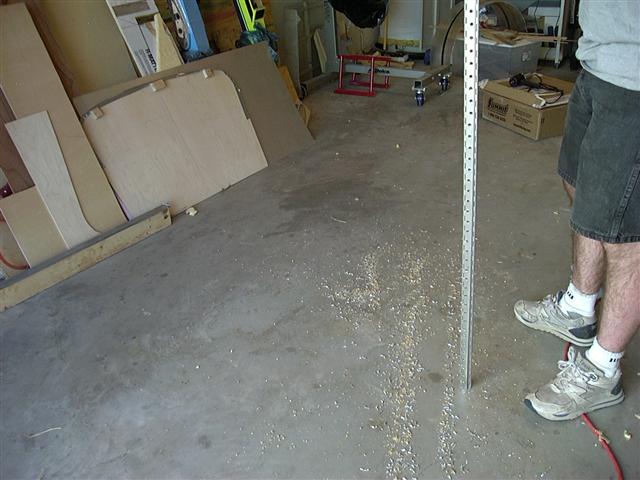
Since everything has to start somewhere, I started the rear deck with the piano hinges that will be used to make it
removeable. I did this while I was waiting for the seat brace to dry and had a few minutes to work on it.
I "nested" the two hinges together and drilled a series of 1/4" lightning holes every 1". I've set them aside and will
return to them when I am ready for them.
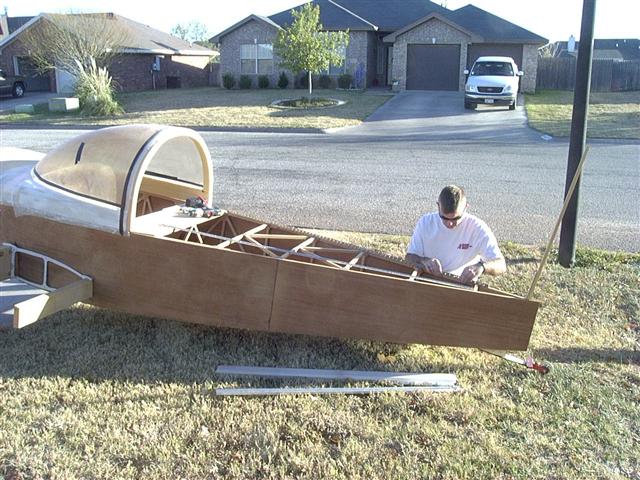
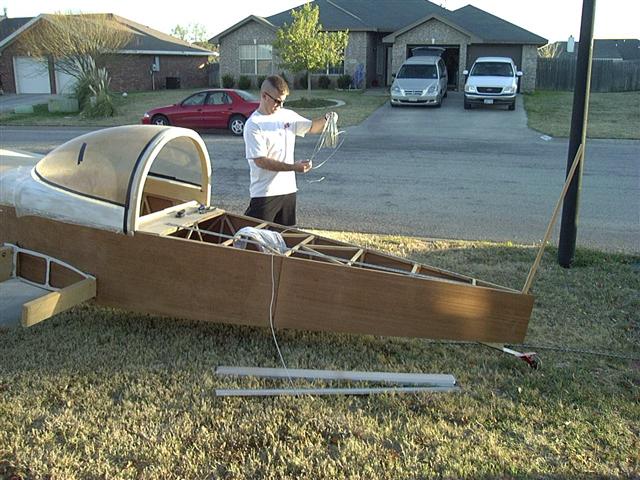
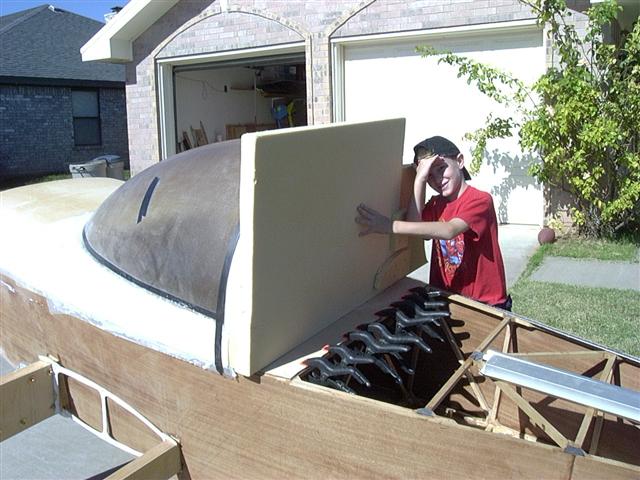
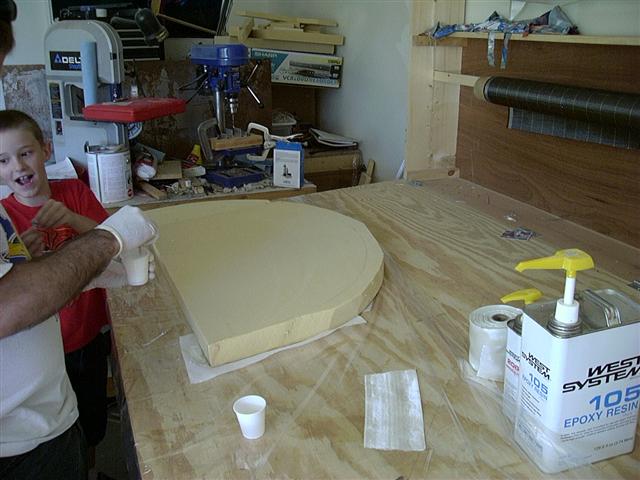
I enlisted the help of Ricky Lynn Jr. to hold this block of two inch thick foam up to the rear of the canopy frame so that
I could begin the process of creating the roll bar. While he was holding it up, I traced the outline of the canopy on the
foam to give me an idea of where the glass needed to go.
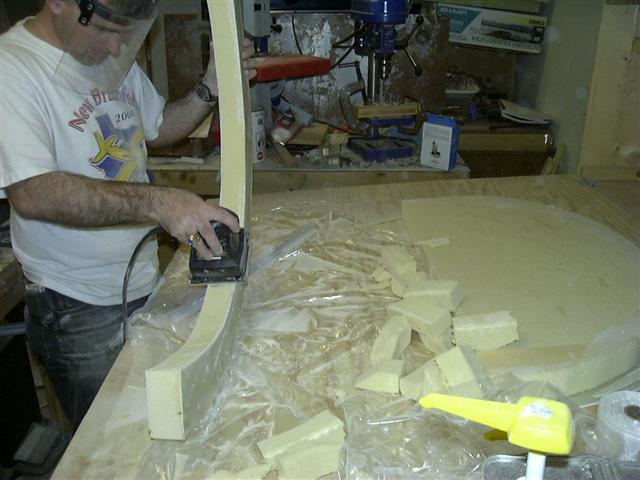
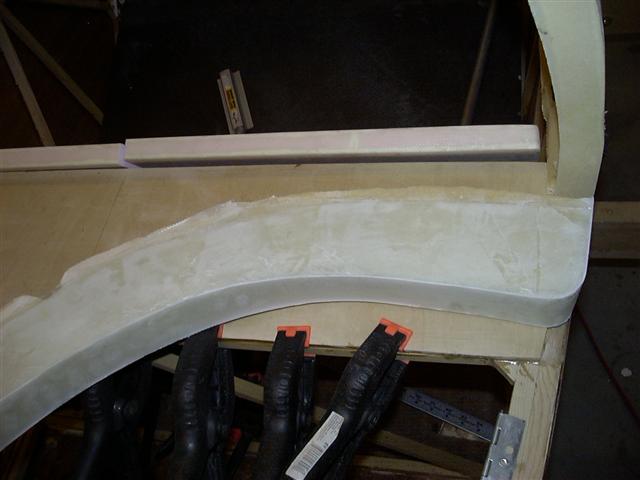
Once I had the mark, I set it on the bench to start laying up the glass.

This is the first of five layers of glass on the first side.
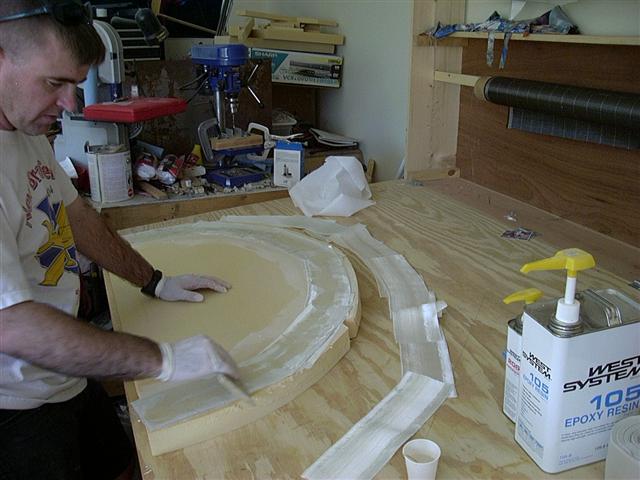
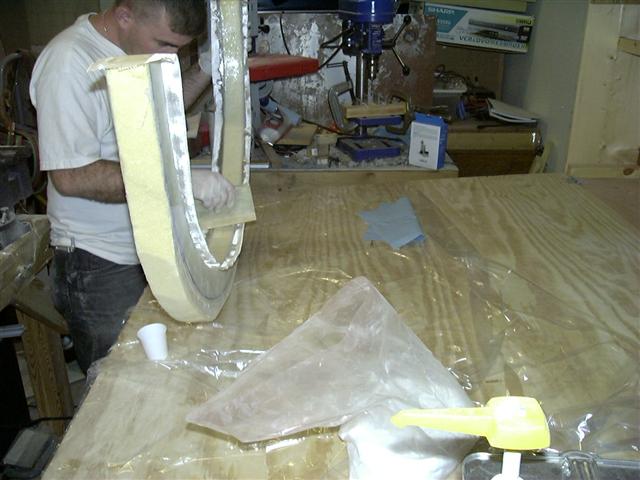
After five layers, flip it over and put five more layers on the other side.
Once both sides have cured, I trimmed the bottom flush.
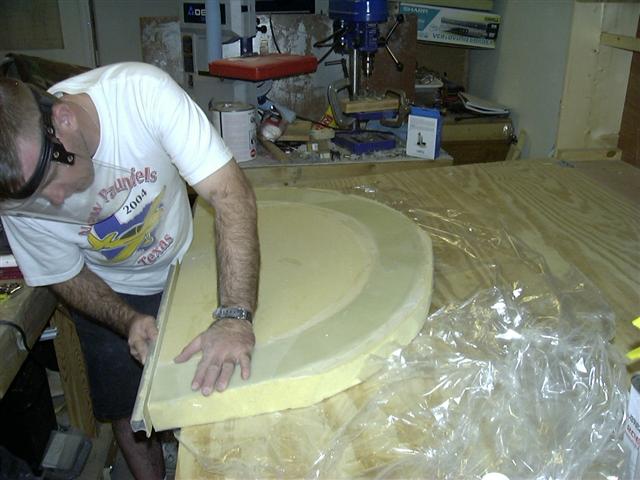
I put the part back back next to the canopy and renewed the mark, then created an offset mark approximately two inches down.
Then I cut along the new mark.
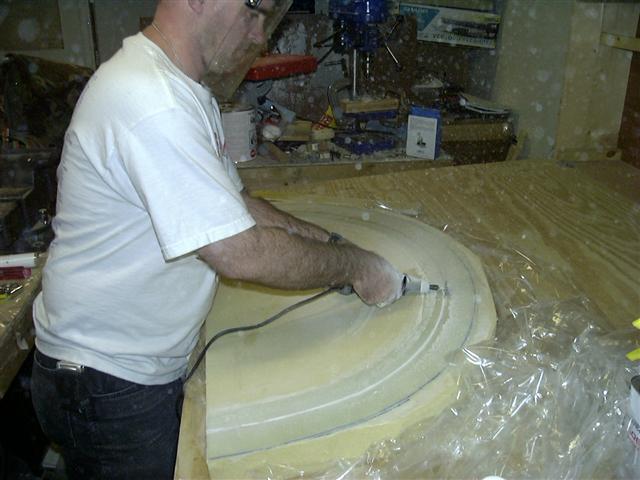
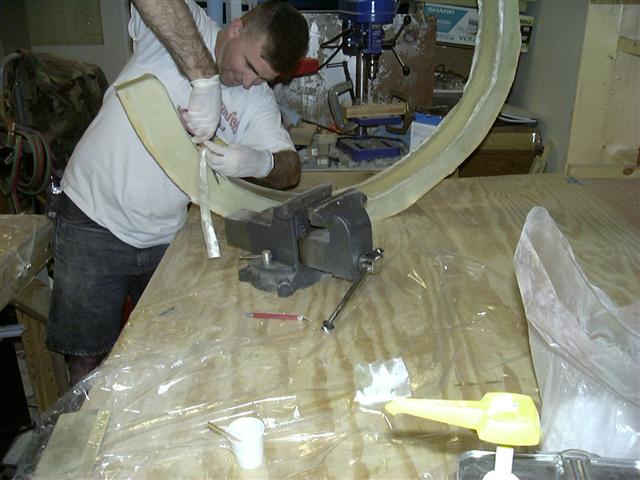
Once I had cut through the glass on both sides (five layers is actually quite thick), I sanded the bottom smooth.
I cut a pocked next to both layers of glass and filled them with flox.

This is where I learned that I am much better off laying up all five layers on a piece of plastic and wetting them out
all at once than trying to do one layer at a time on the part. This one at a time method takes way too long!
Of course, doing it one layer at a time means that when you finish the last layer, the first layers are set up enough to trim
it.
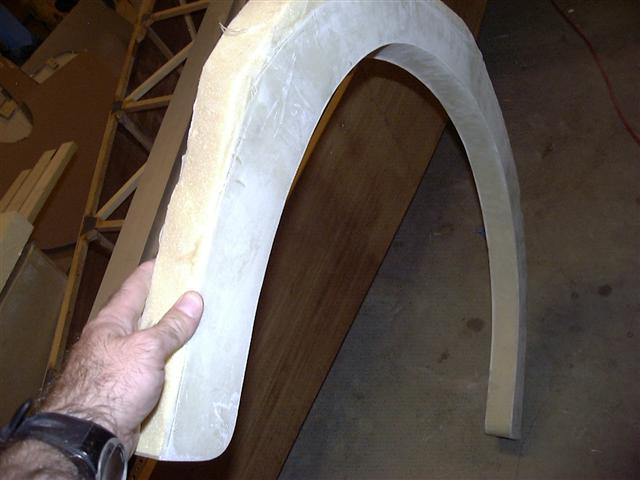
Three sides of the box are now complete. Once I get the canopy hinges attached, I can use this part to create the start of
the actual rear deck. Here the outside edge is still foam and glass and has not been trimmed.
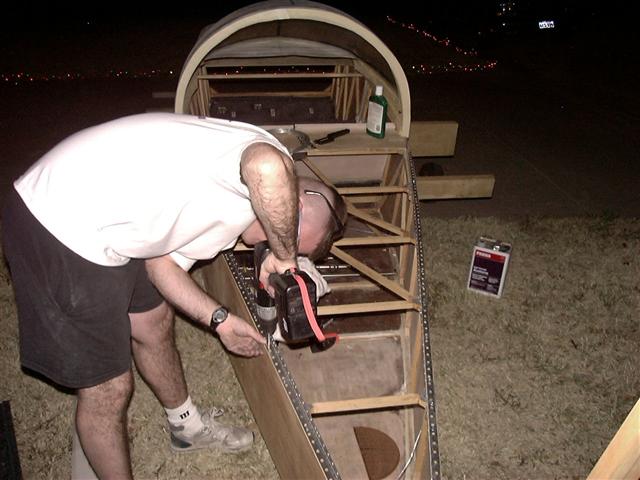
8 July, 2007
Here are some pictures of me attaching the hinges made above to the fuselage. I used Turtlewax to help get the hinge wire in.