8 November, 2005
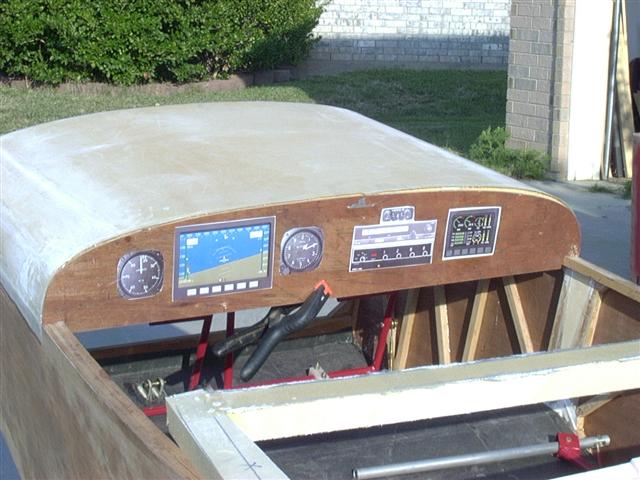
Here is an early view of what I think my panel will look like. I was originally going to go with the Dynon EFIS D10A
and the Dynon EMS D10 as my primary instruments (along with the backup ASI and ALT). At Oshkosh this year, I found that
Dynon had finally gotten around to releasing their new larger screen EFIS D100. I had put off ordering and finally ordered when
I kept hearing that the larger screen was "in the future" and not going to be release "anytime soon". Needless to say, when
I got home, I removed the internal backup battery, packed my EFIS D10A back in the box (I was still within my 30 days of
receiving it) and sent it back. About two months later, I am now the proud owner of a new Dynon Avionics EFIS D100.
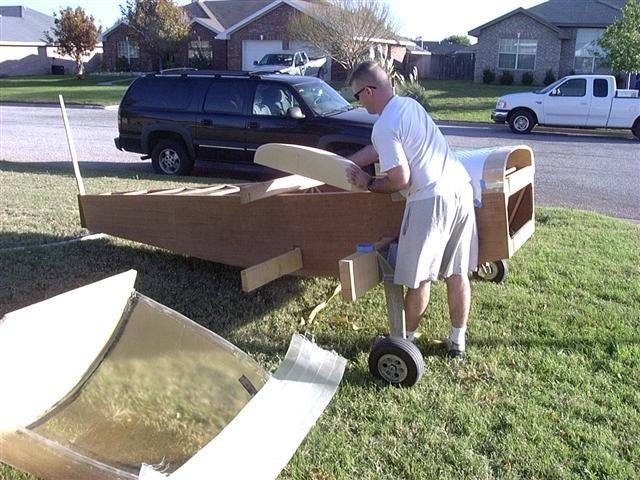
This mockup was made using the template I made for the rear of the front deck. I have since decided that I would move it
forward about four inches (see halfway down the canopy page for details on extending the front
deck). This should help increase the size of my header tank.
This is the small four inch extension as it is removed. I plan to use it to create the frame for the instrument panel.
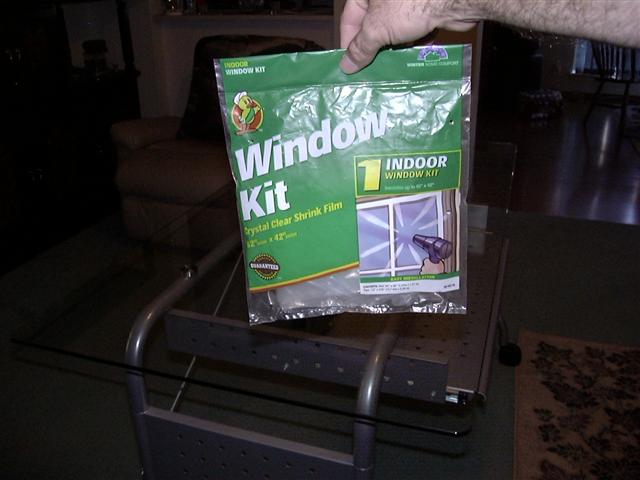
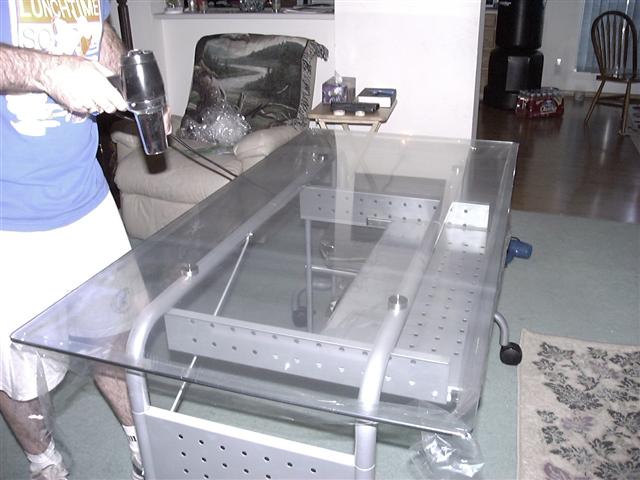
Speaking of instrument panels. Lets talk about how I am making mine. To start with, I have decided that my panel will be
made from carbon fiber (I really like the looks of CF). The first step was to find a surface to lay up the CF on that would
give me the best finish. I decided to use my computer desk since it is made of glass and is large enough to do the layup on.
In order to protect the table top, I covered it with some window shrink film.
Spread the plastic over the table and it gets taped underneath with double sided tape (not shown here).
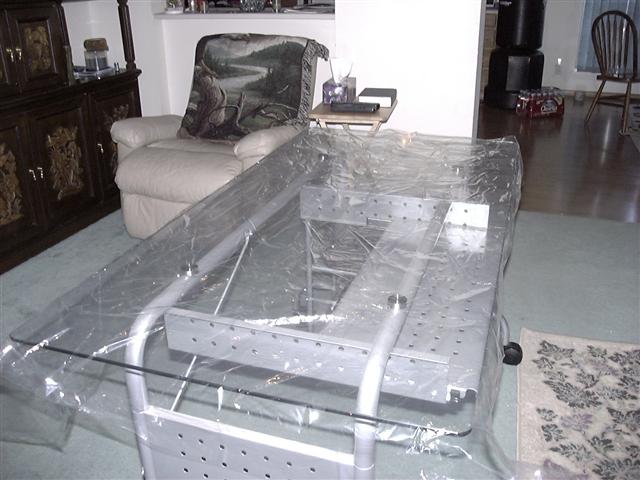
You then heat it with a hair dryer. I'm using my model airplane heat gun, but you have to be careful since it gets
"real" hot (this is the second sheet of window film since I "burned" a hole in the first one).
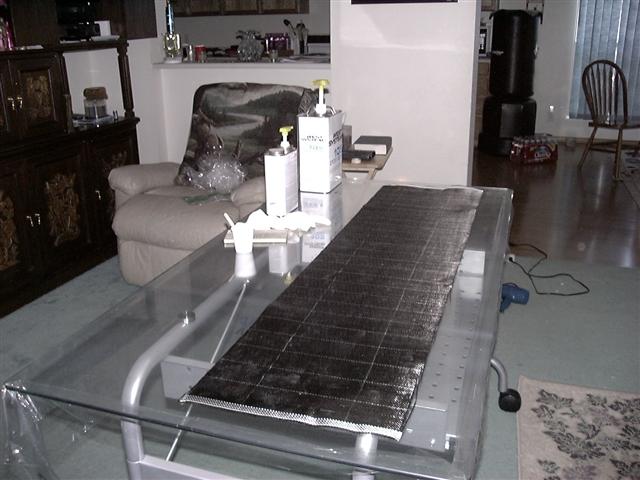
Now the fun part. This actually marks a milestone on the plane. I had to open the second can of epoxy and hardner to do this
piece. Here is one layer of CF layed out on the table waiting to be glassed. This will be the front. It is also oversized so I
can use some of the extra for other parts.
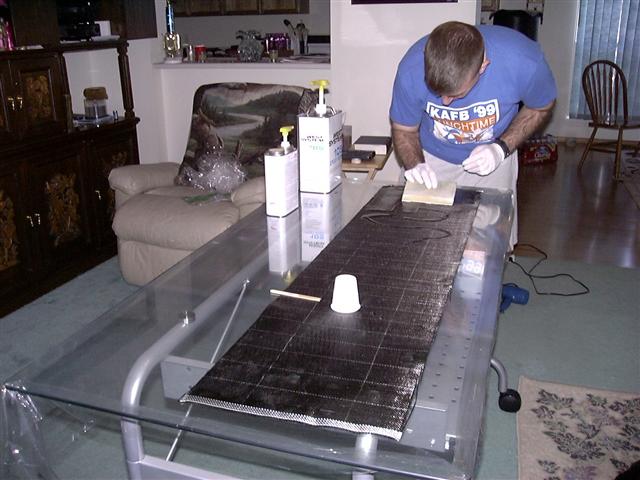
Pour on the epoxy and squeege into the CF.
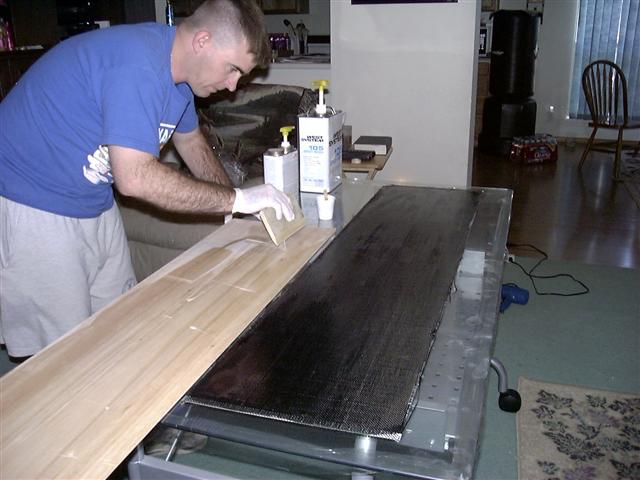
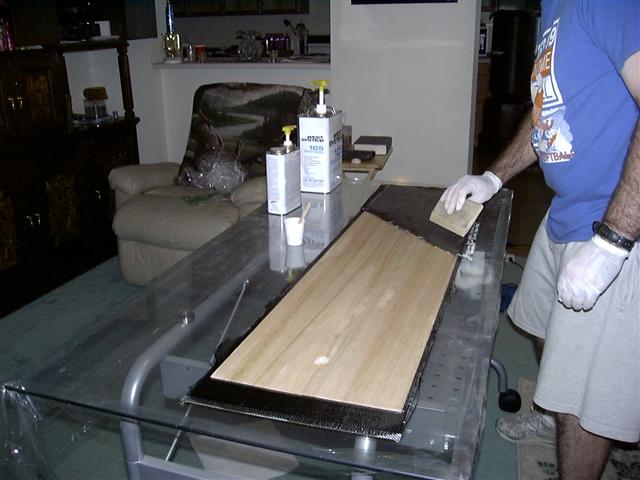
One piece of CF would in no way be stiff enough to work for the instrument panel. So here is the balsa wood core being
wet out. This is then flipped over onto the CF.
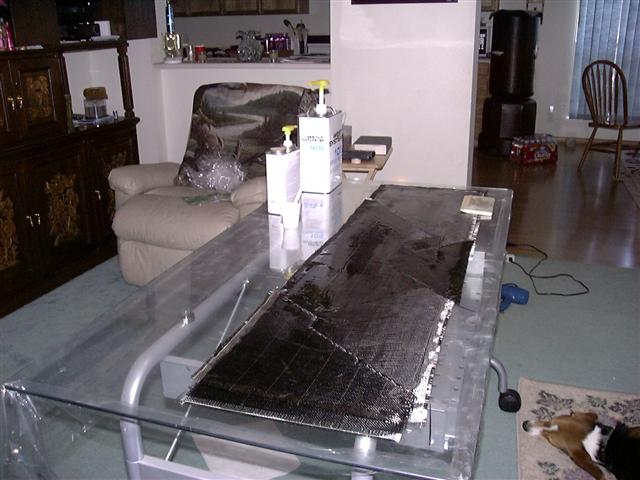
The second side is wet out, then I started on the second side. You can see that I decided to use some of the "scraps" to
cover the back. Since this side will not be seen anyway, why not save the bigger pieces for when I need them.
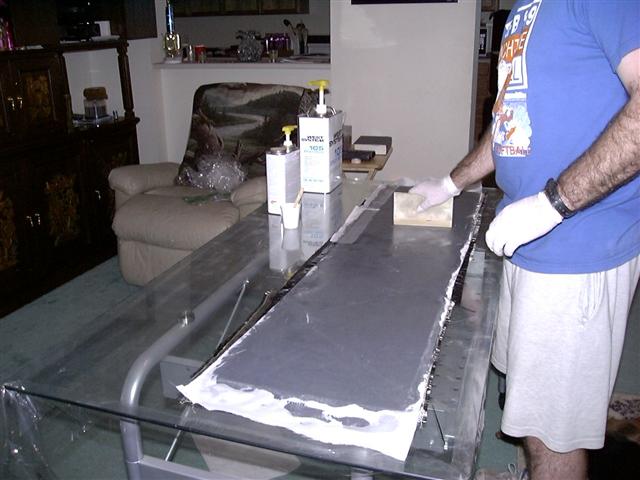
Applying peel-ply.
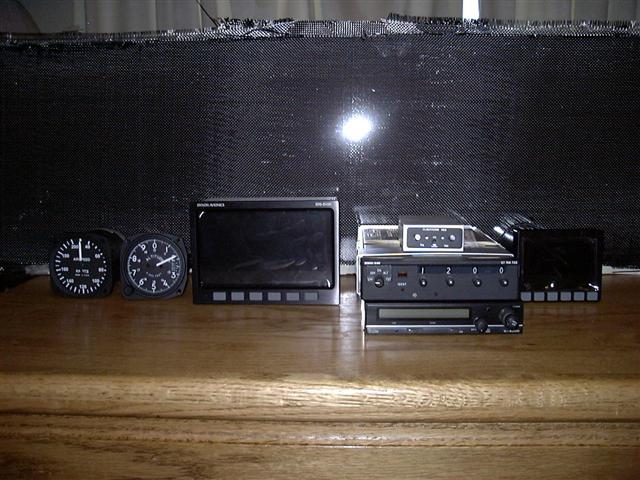
This finished piece (raw form, not trimed to shape) behind all the instruments that will one day soon be a part of a
beautiful panel! Featured are (left to right) ASI, ALT, Dynon EFIS D100, Flightcom Model 403 Intercom, Bendix King KT-76A
Transponder, ICOM A200 Radio, Dynon EMS D10. I still have to get the breakers, switches and ELT before I can finish it.
I thought I'd leave this update with a shot of my Dynon EFIS D100 turned on. Notice that I do not have anything hooked up
to it yet (just the internal battery) since it is telling me the remote compass is not hooked up!.

More to follow!
Back to main page