March 22, 2009
We start this installment of building with Ricky as I am using spray adhesive to
attach the templates for the horizontal stabilizer to the pieces of plywood
I set aside years ago for that purpose.

I then cut them out on my scroll saw. While it works great, the only problem
with this tool is that it tends to break blades often. I did leave the "humps"
on one side where the spars go. The other side I cut off so that I could
slide them on from the top instead of having to remove the hinge hardware to
slide them on from the ends.
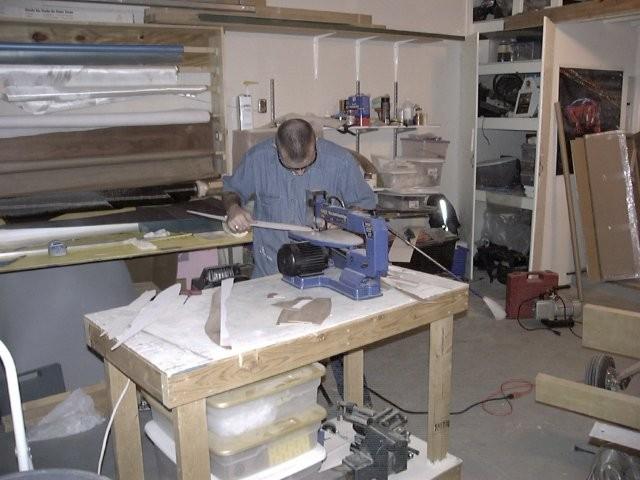
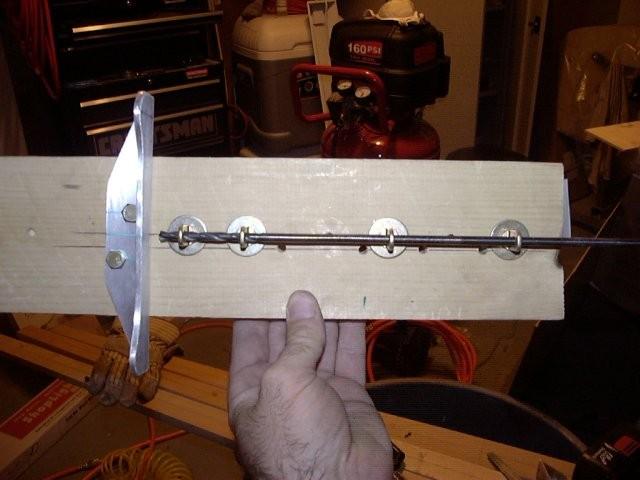
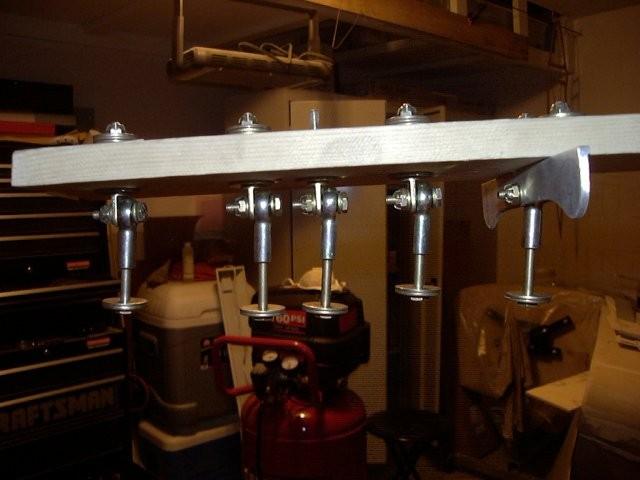
I am using the rod end bearing hinges for the elevator. With five hinges,
you end up using four eye bolts and the fifth, center hinge uses the bellcrank.
In order to make sure the hole on the bellcrank lines up with the eye bolts,
I made this simple jig. I lined up all four eyebolts and mounted them to a
piece of wood, then used a long drill bit to drill out the hole in the bellcrank.
Simple and effective.
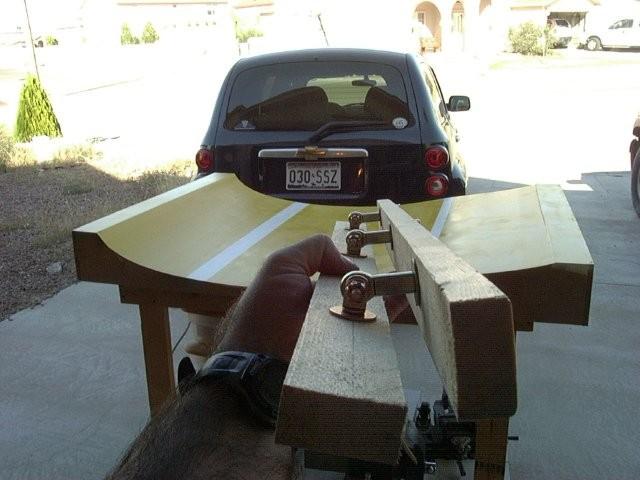
With all the hardware attached...
To get the spars ready, I used a plane to shape them. This is after
I had glued the plywood doublers in place.
Here the hinges are installed between the rear HS spar and the elevator spar.
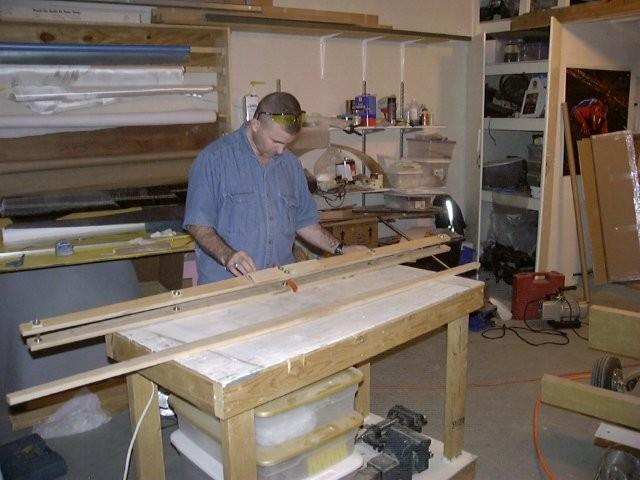
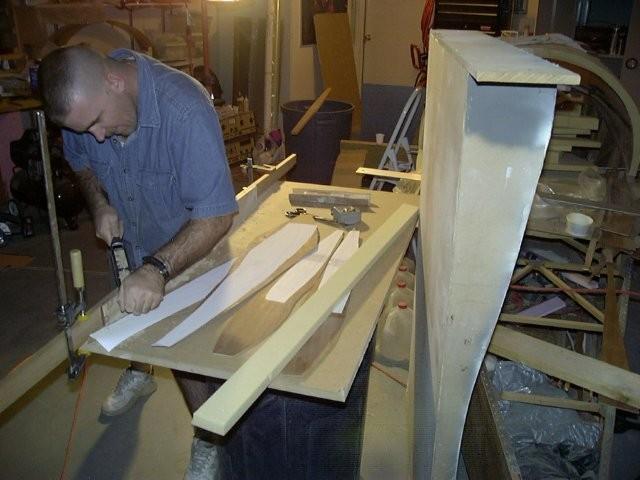
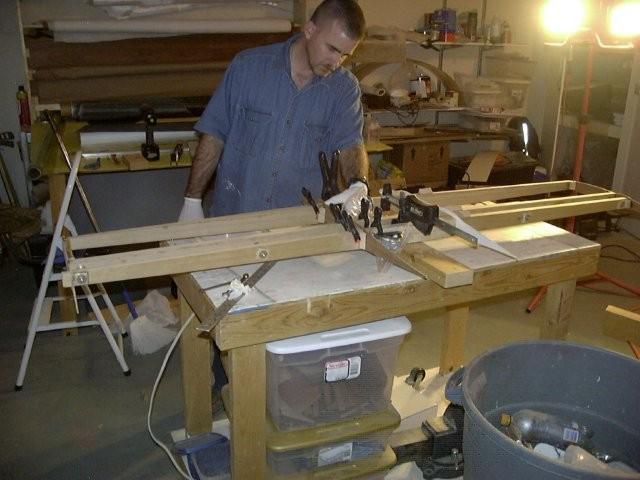
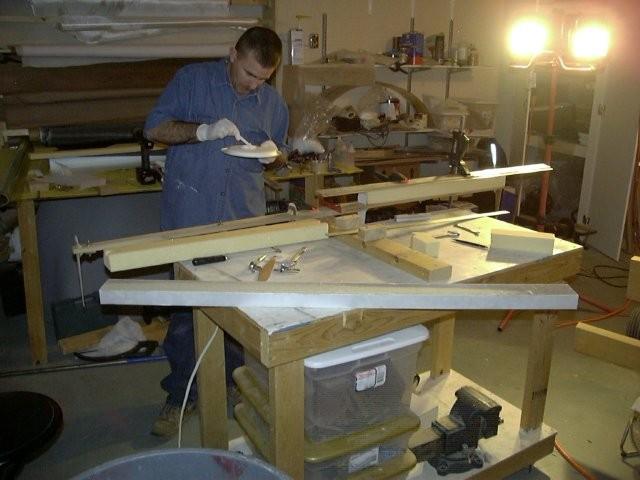
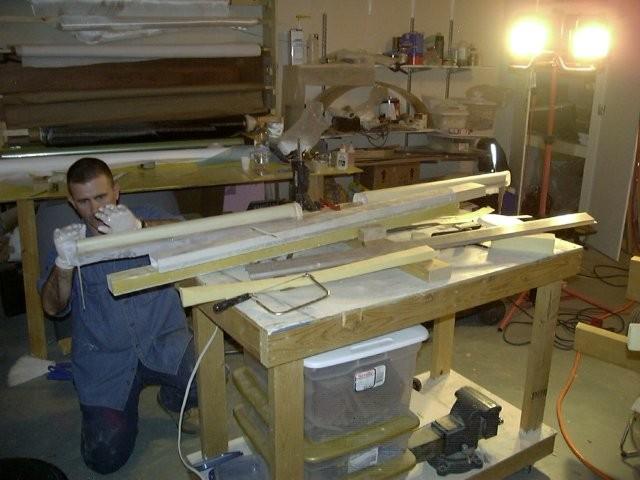
I created a jig by screwing some wood directly onto my work bench. This
allowed me to clamp all three spars down in order to epoxy the airfoil
templates to the spars. I also epoxied gussets in place.
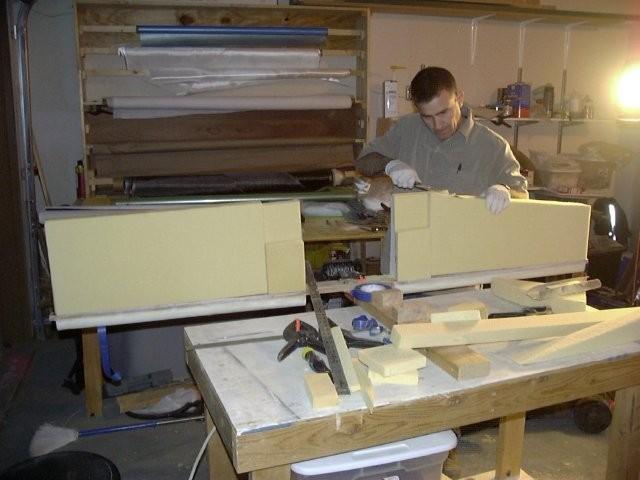
After I finished with the templates, I cut the elevator spar out and disconnected
the hinges. I cleaned up the template for the leading edge of the elevator, potted
the hinges in flox and glued some foam on.
Sand to shape, then glass.
Turn over and put foam in place on the other side.
That is all I've finished to this point. More to follow.
Back to main page