On to the next Fuselage page
Back to main page
This page documents the construction of my fuselage.
Change 28 April, 2003---I have elected to post the pictures as is. You can still make them larger by clicking on them,
however, they are now larger in file size. Sorry dial up users.
Now it's time to devote a little more time to the firewall. Here the firewall doubler is installed.
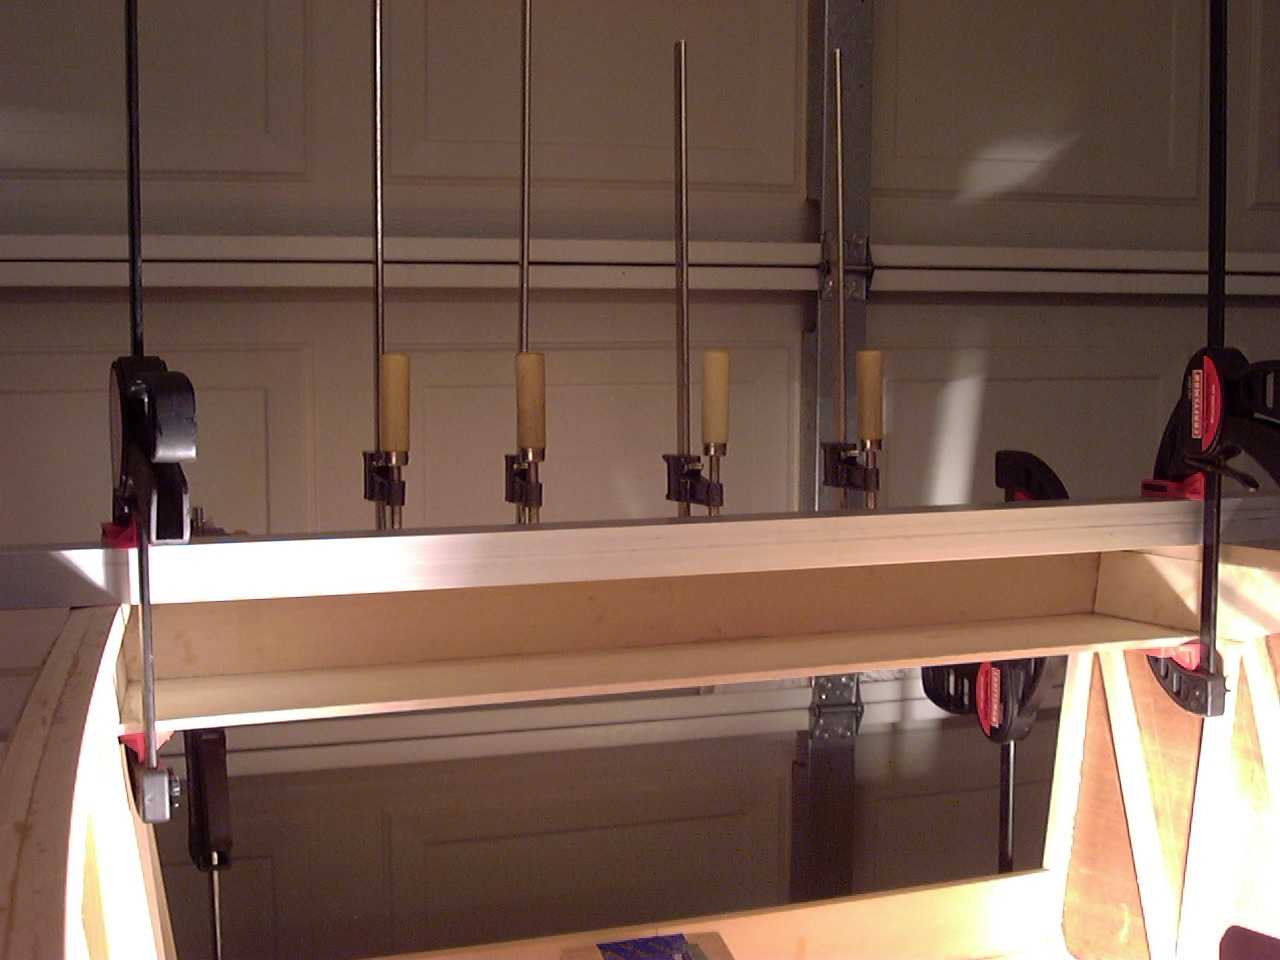
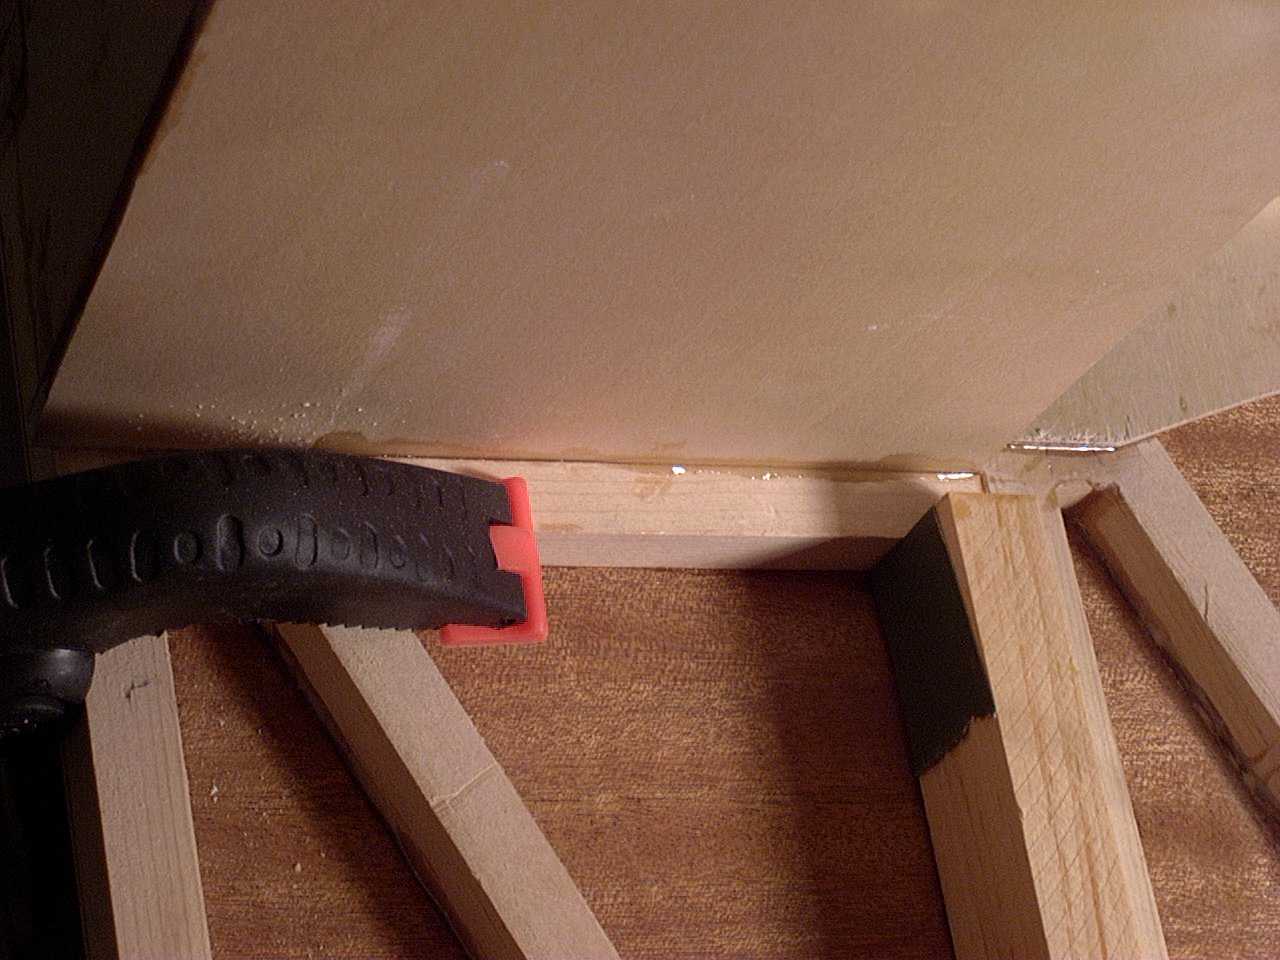
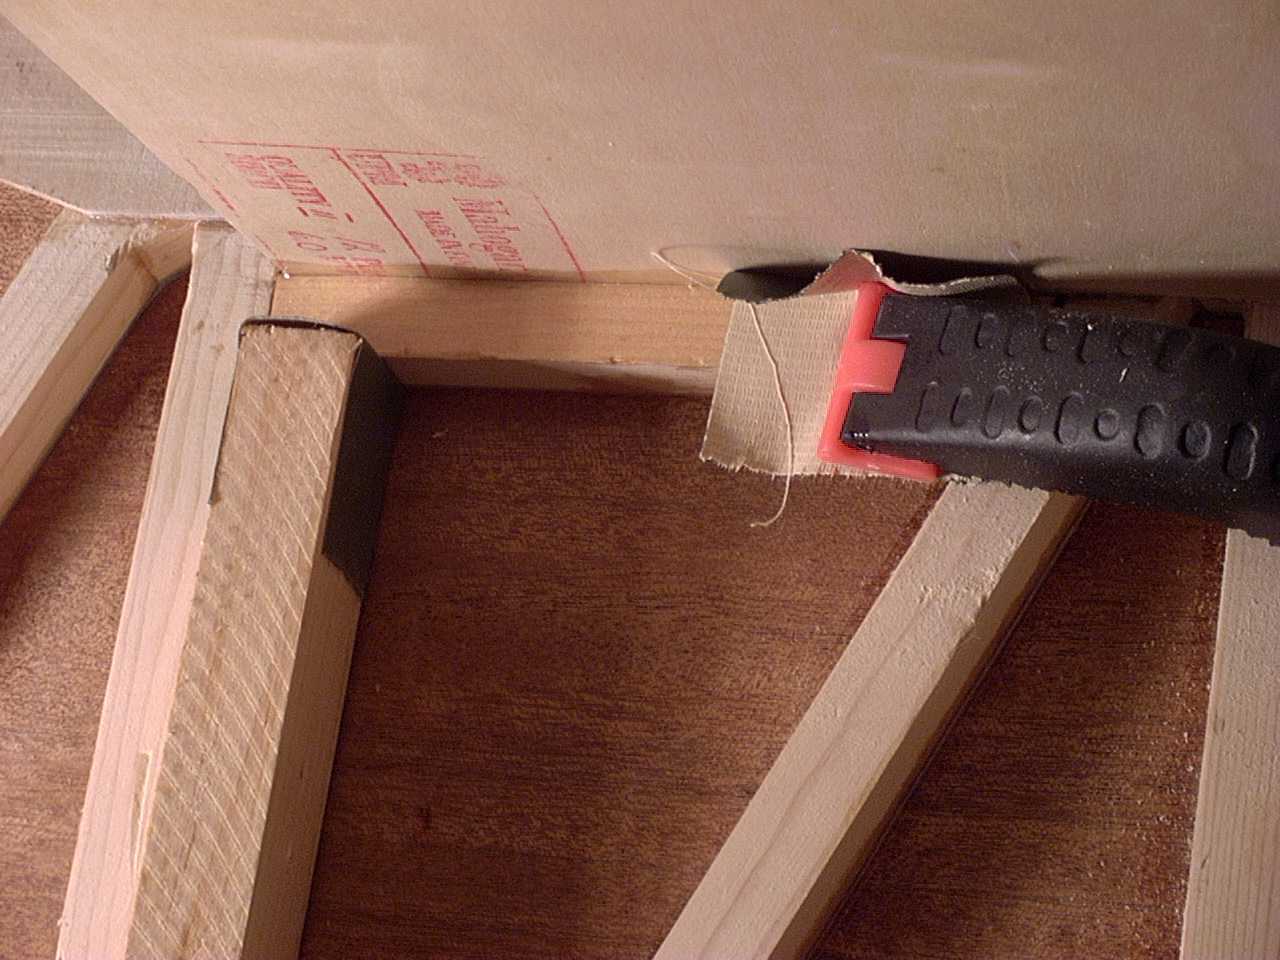
Now the firewall shelves can be built. First, I installed the top brace for the lower shelf, then the plywood gusset, followed
by the actual lower shelf. I did not manage to take any pictures of the contraption I had to build to install the shelf. The
shelf is longer than the opening you use to install it. I basically had to put a few boards on each end, a longer board across
those boards, then use a clamp in the middle to bend the shelf almost ten inches (or more). I then installed it and removed the
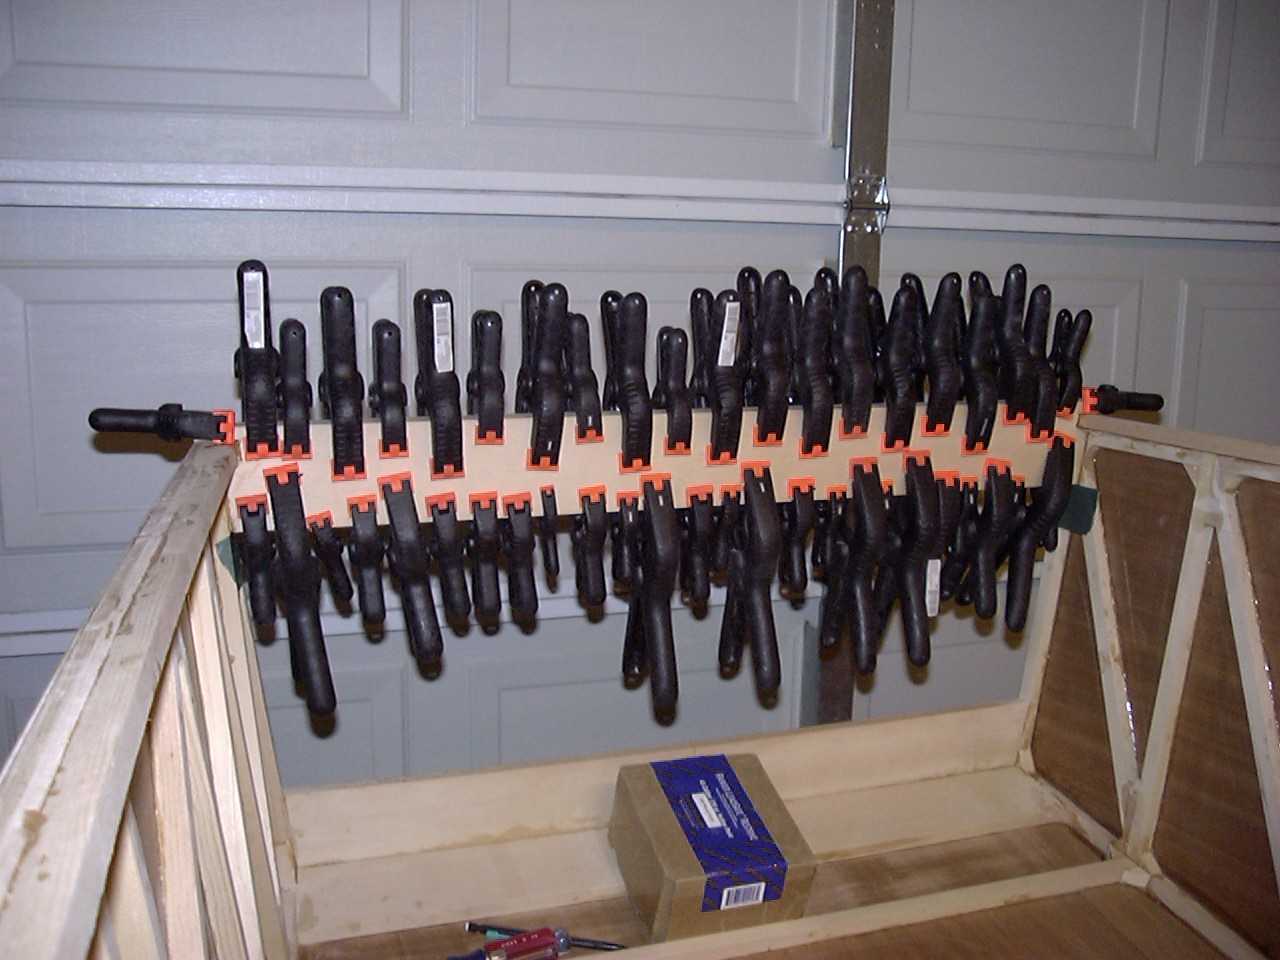
clamp. Once the lower shelf was in place, I made a template out of foam craft board to duplicate the top pieces for the
top shelf.
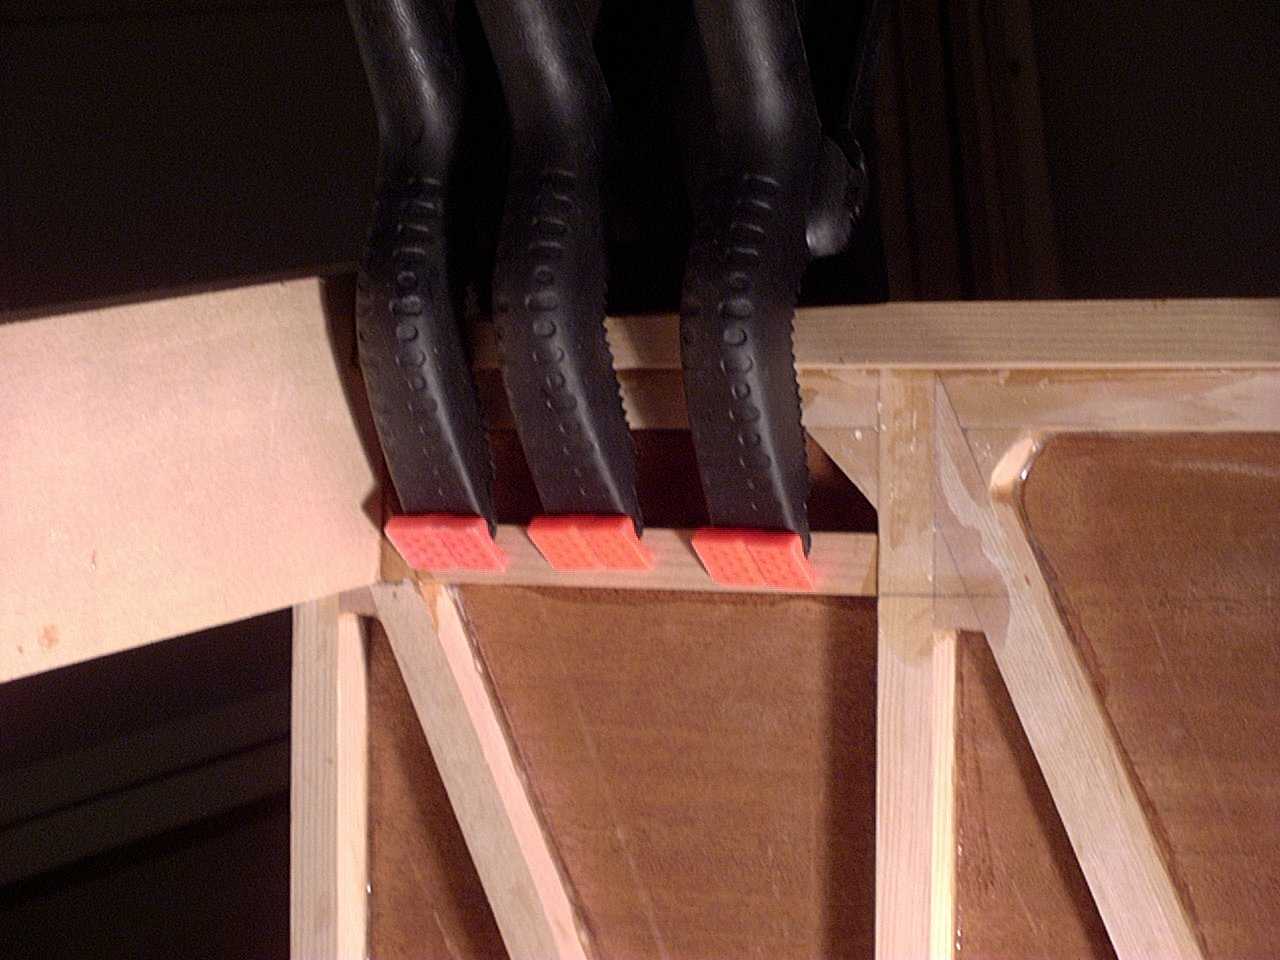
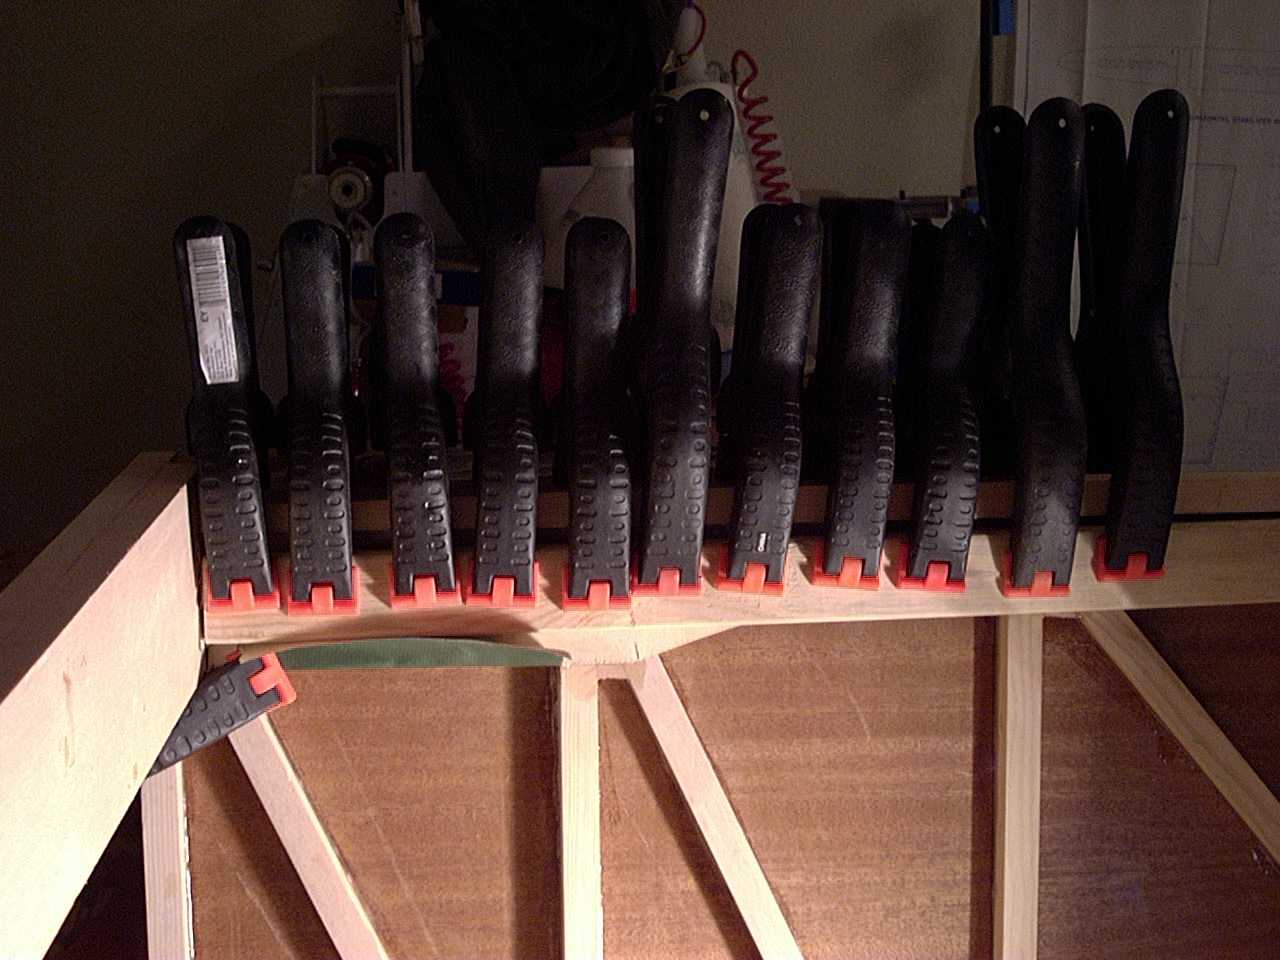
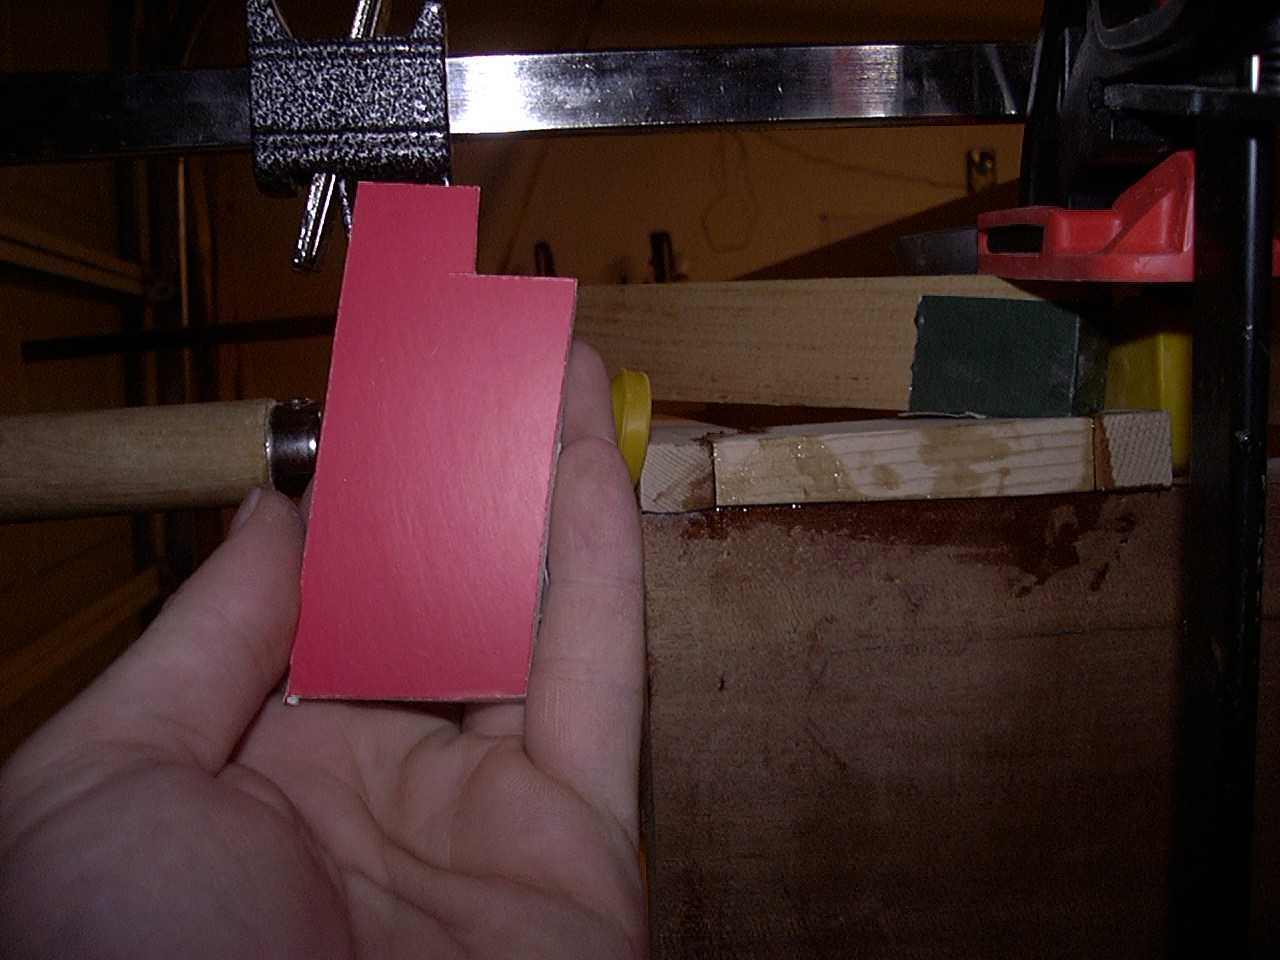
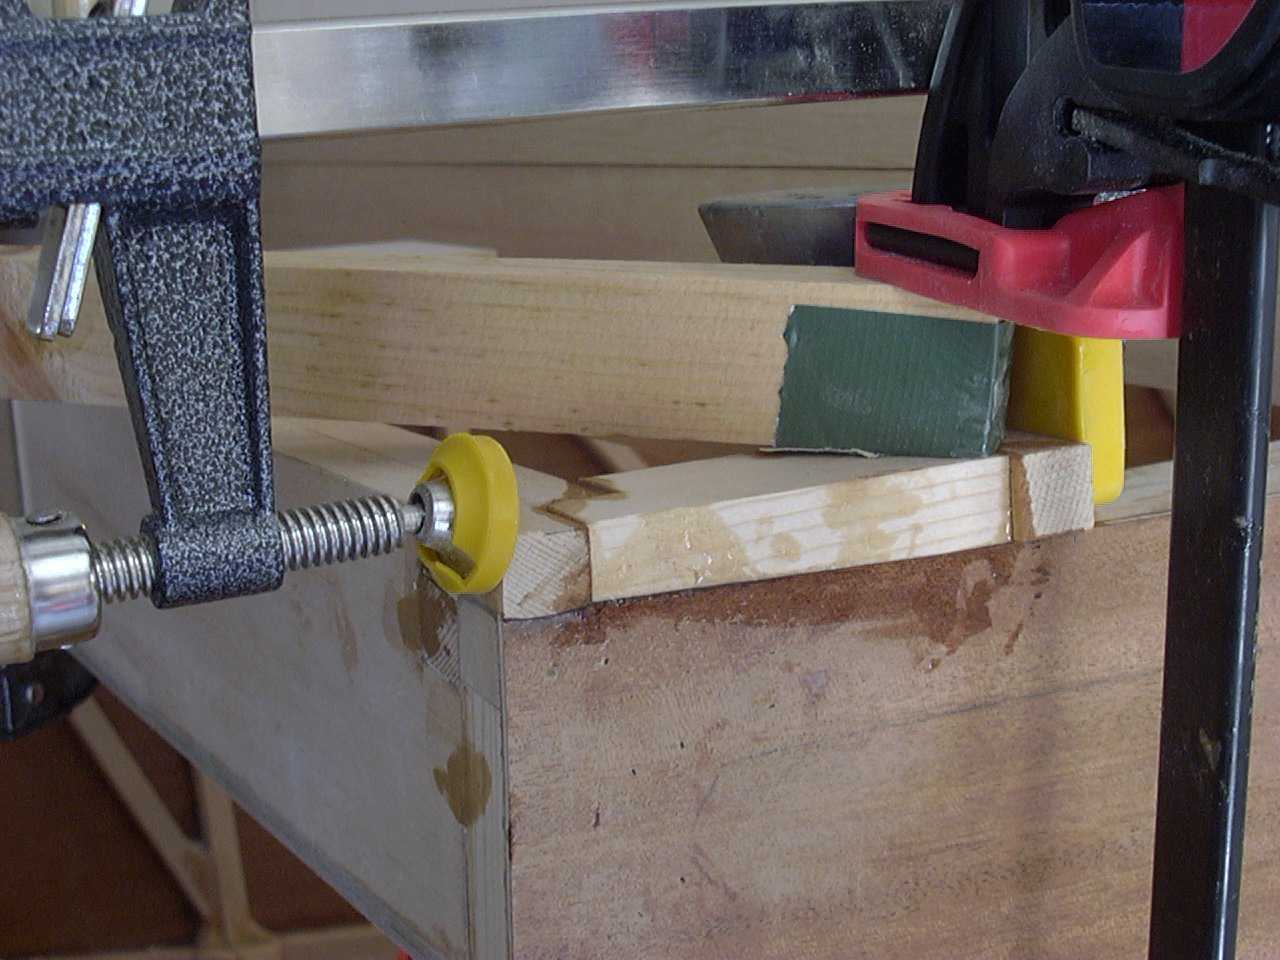
Here is another template I made when it came time to install the tail wheel filler block.
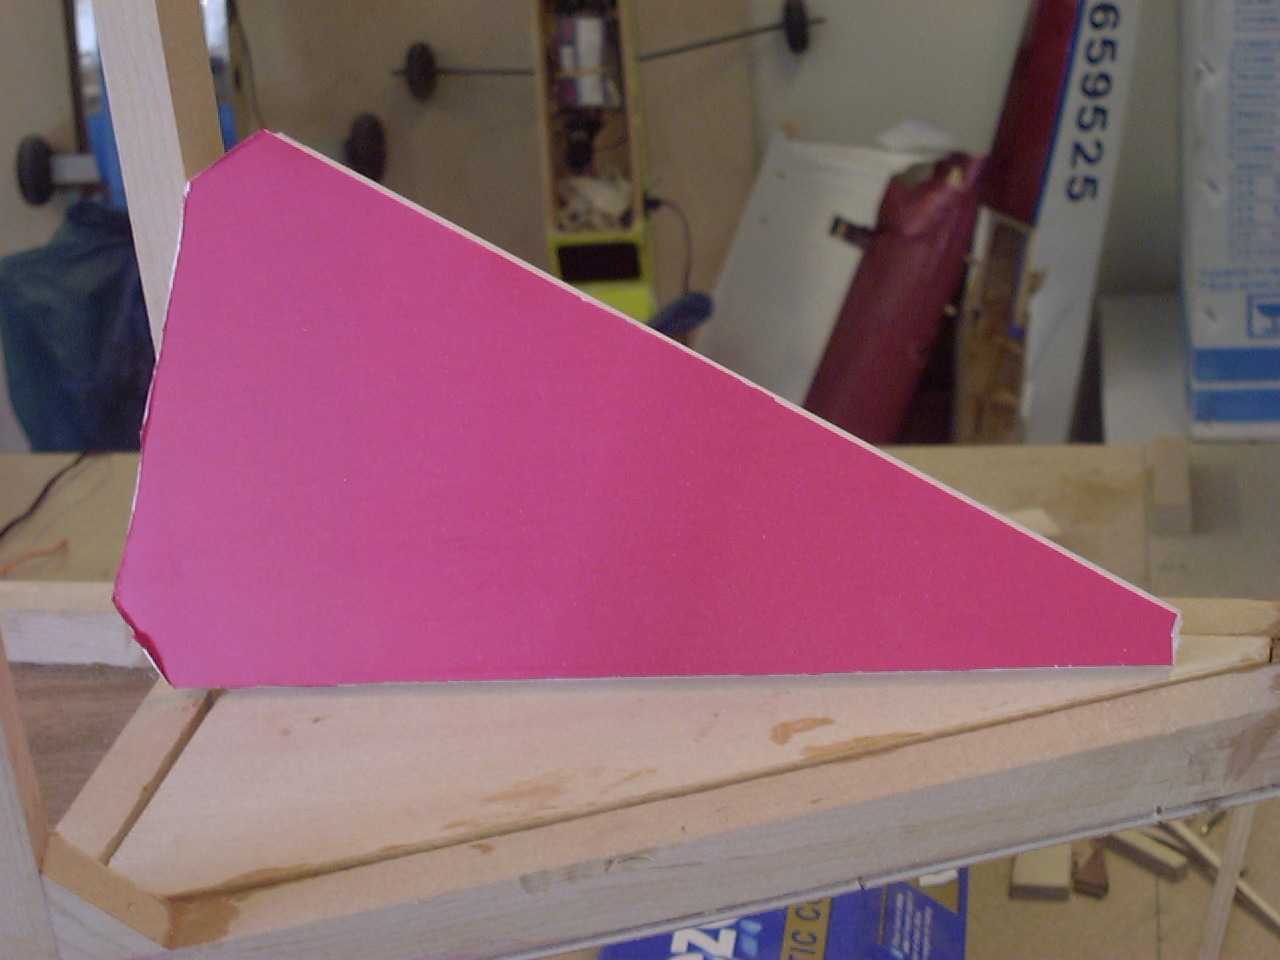
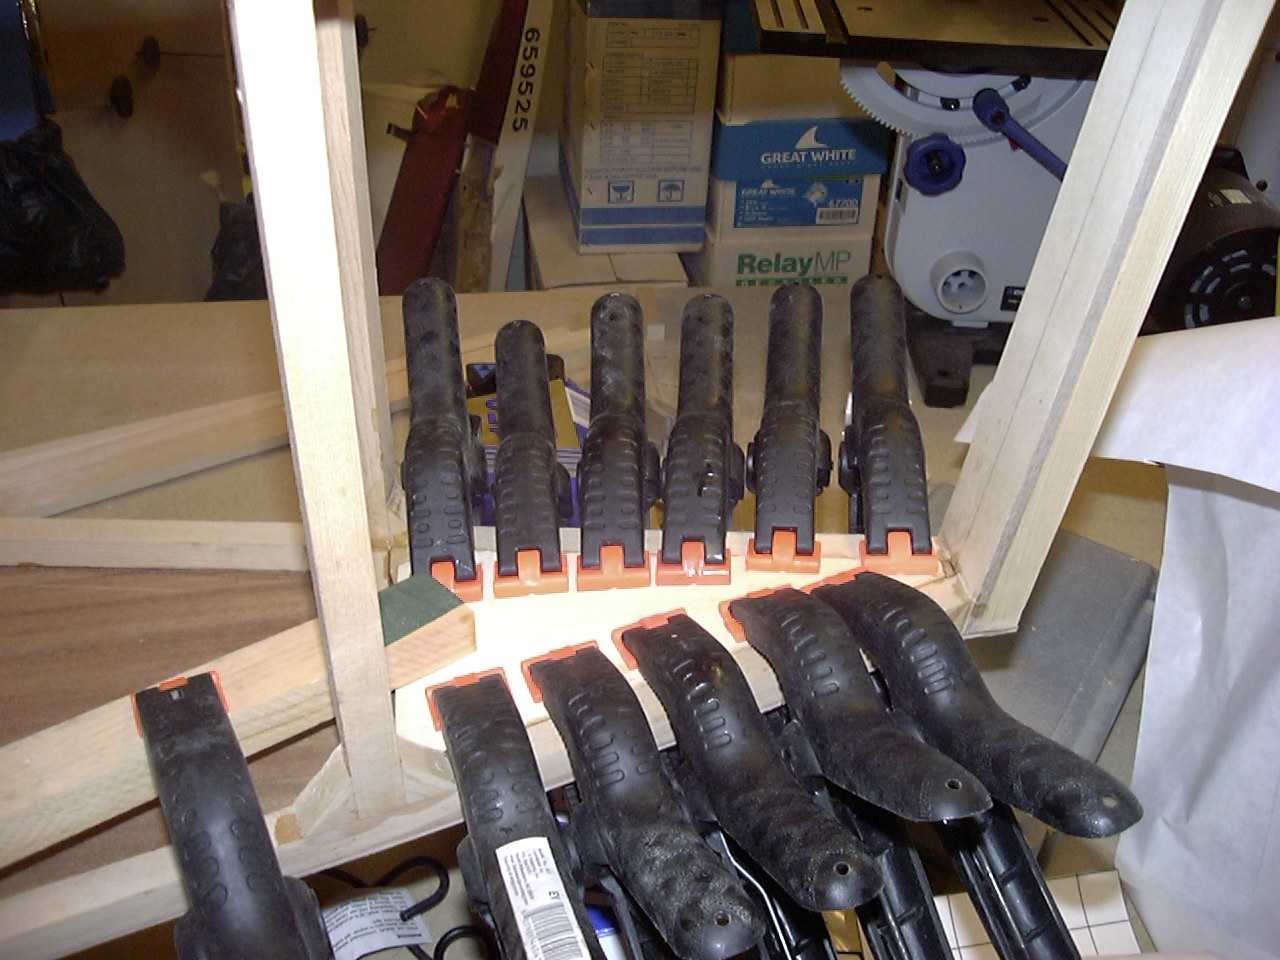
I used it to cut the actual part to shape. Here is the real thing being clamped for the epoxy to dry.
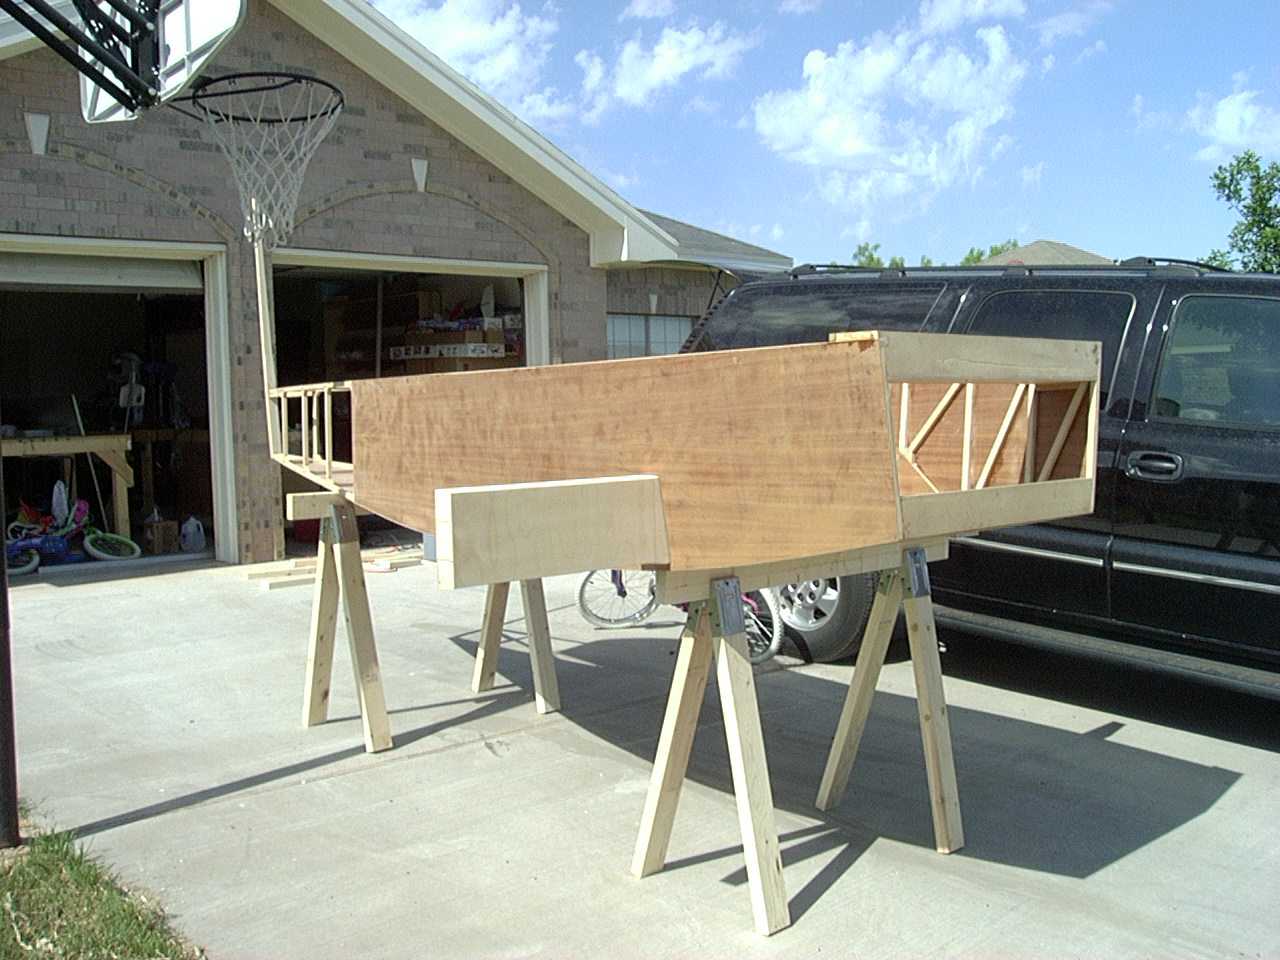
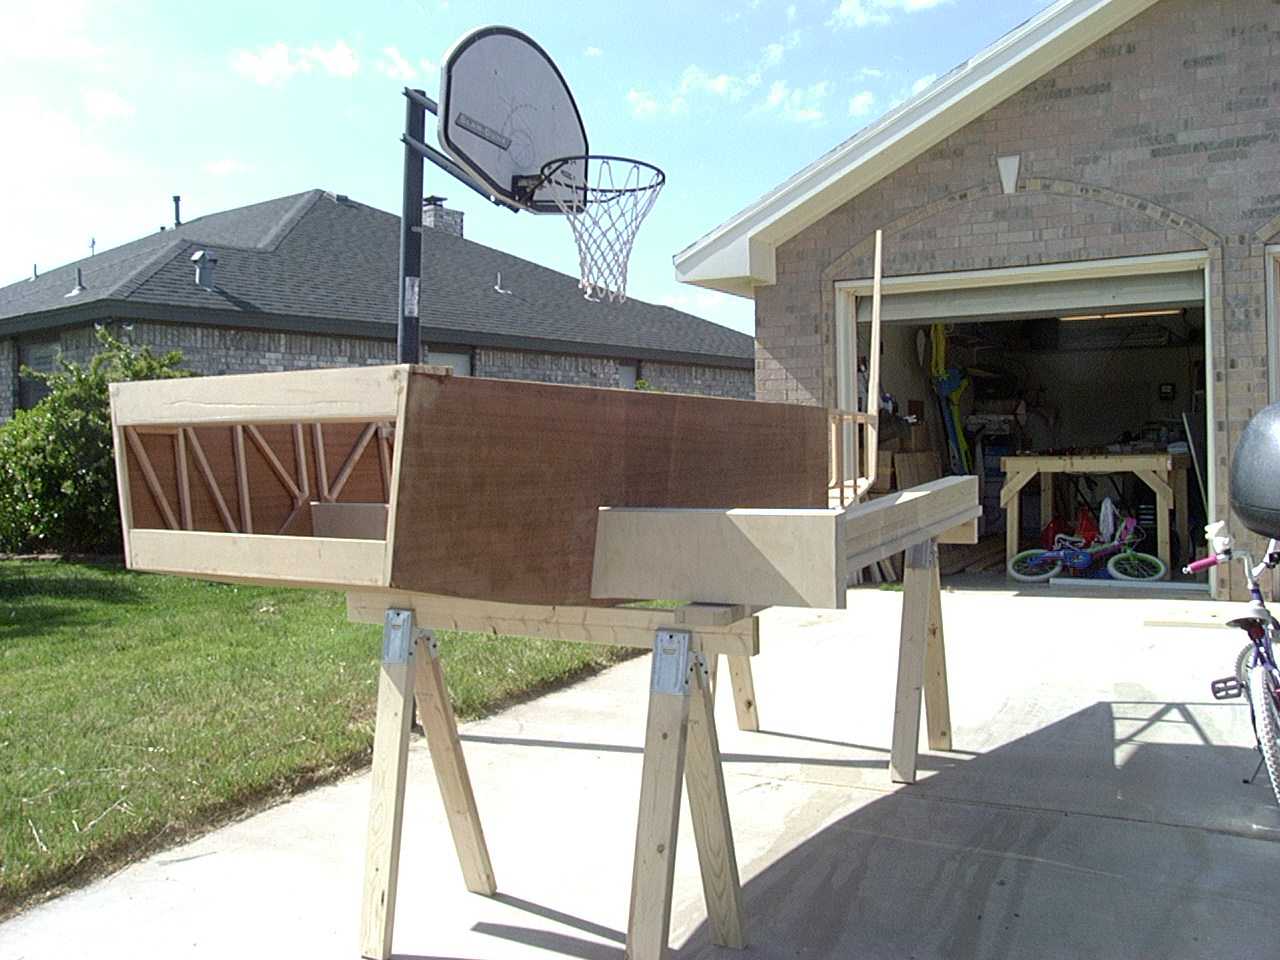
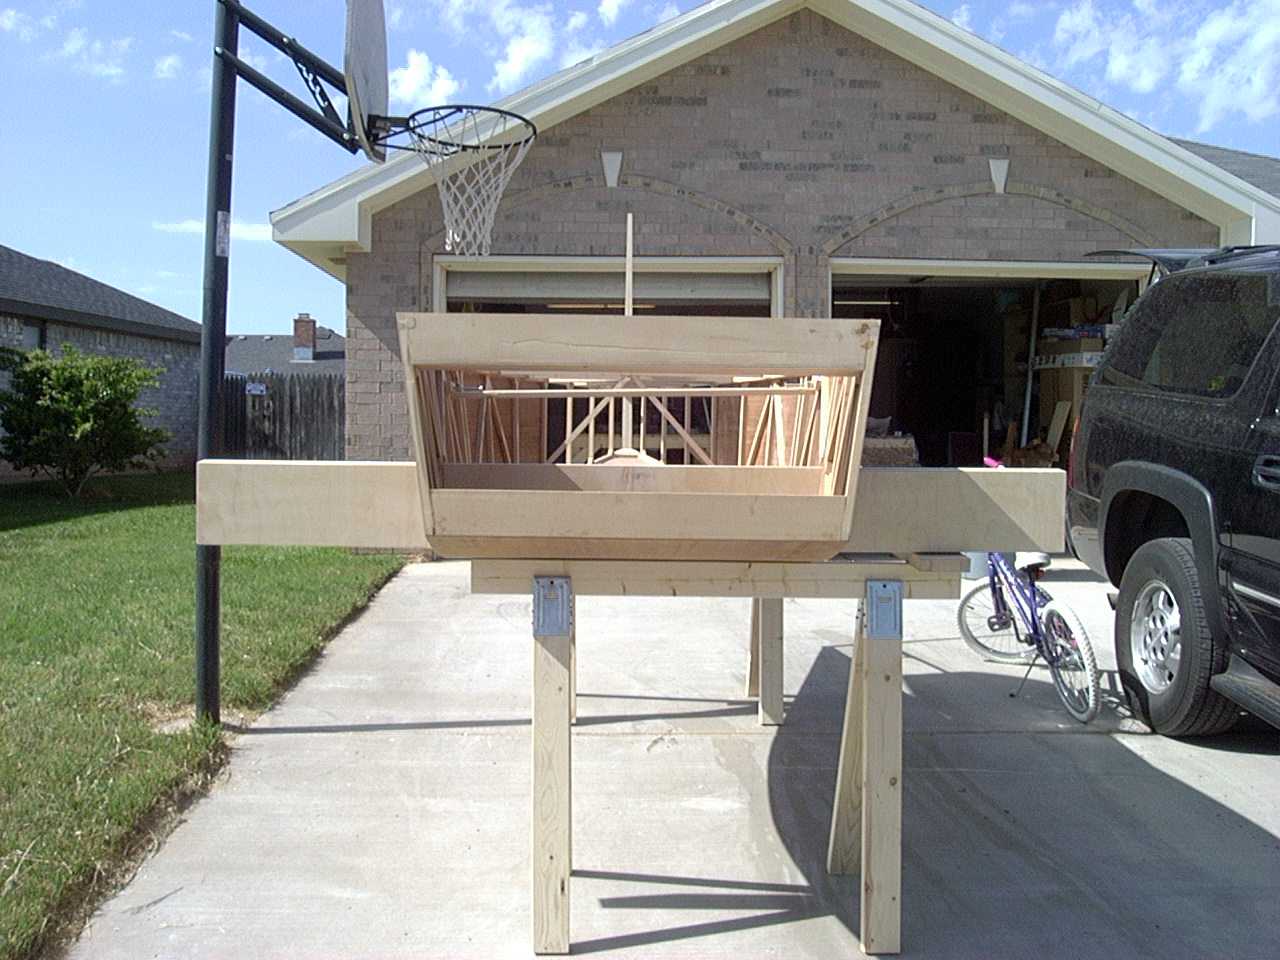
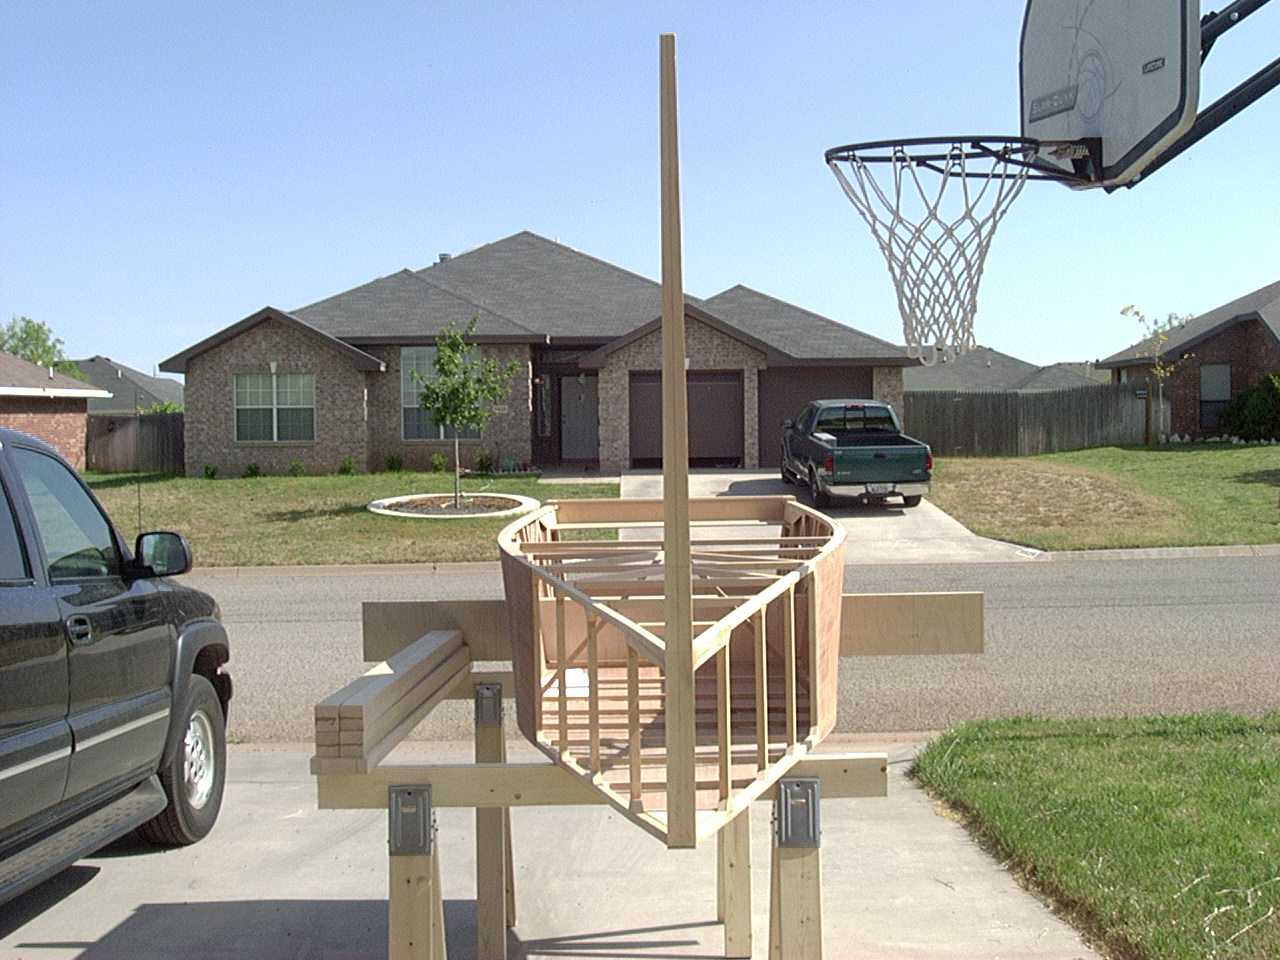
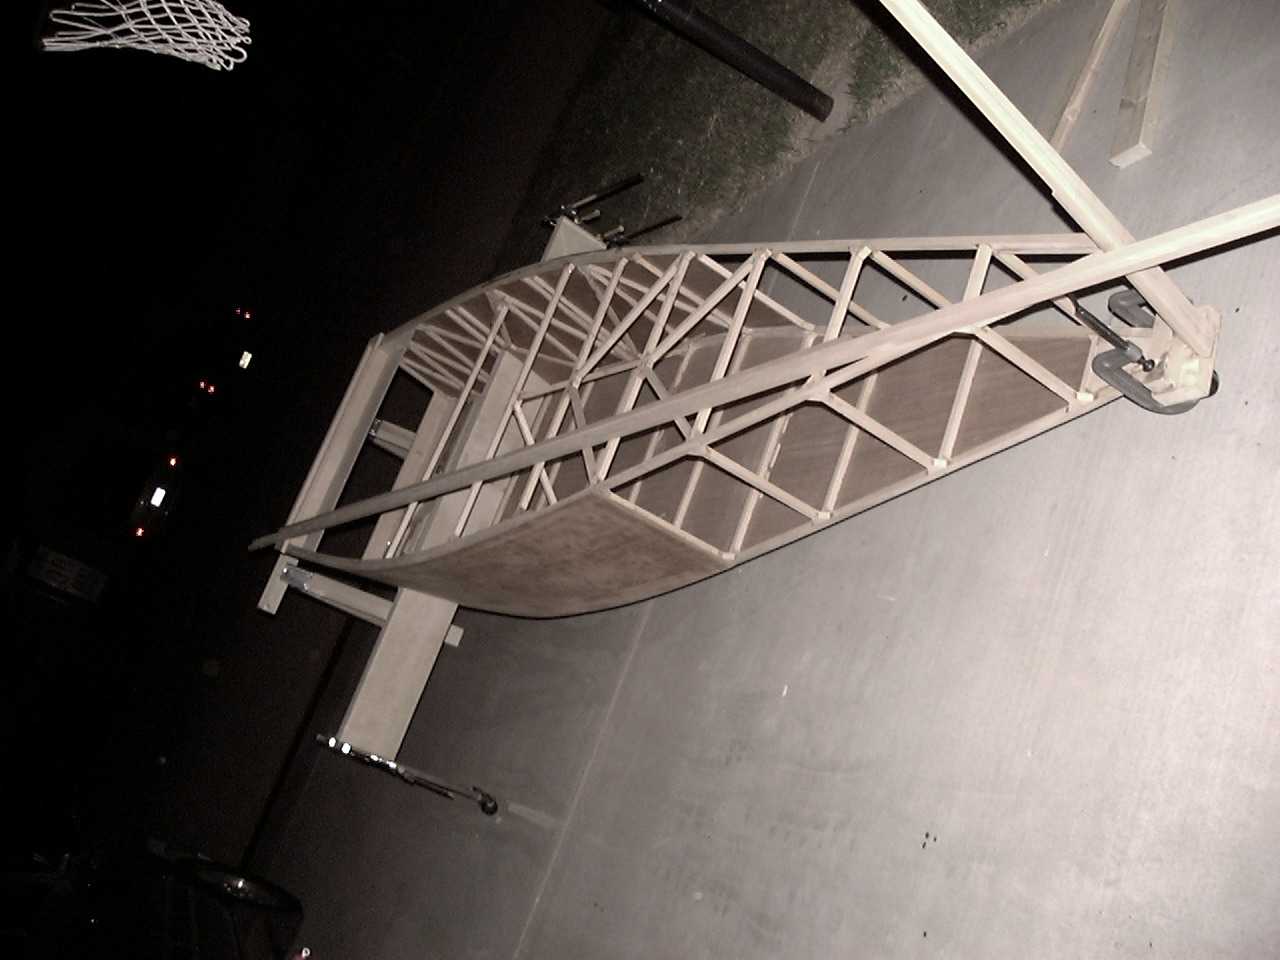
I did not take any pictures of the process of cutting out the slot for the wing spars, but that does not mean that I did not
cut the slots. Here are a few pictures I took when I moved her outside for the first time so I could clean out the garage and
remake my main table. I had to devise a temporary solution for moving her around until I can put her own feet on. The next
step is to put the wing templates on and figure out where to cut the slot for the rear spar. The spruce on top is what I have
left so far of the 5/8" square spruce (two of the 14' pieces and a third piece that is about nine feet long--I still have a
few top cross members to go: forward of the instrument panel and the seat back).
Back to Fuselage Page 3
On to the next Fuselage page
Back to main page