Back to Fuselage Page 2
On to the next Fuselage page
Back to main page
Change 28 April, 2003---I have elected to post the pictures as is. You can still make them larger by clicking on them, however, they are now larger in file size. Sorry dial up users.
My next step was to epoxy the bottom skin in place. I started at the back with the rear section of the bottom skin. I
made sure to put epoxy on both the bottom skin and the boat spruce.
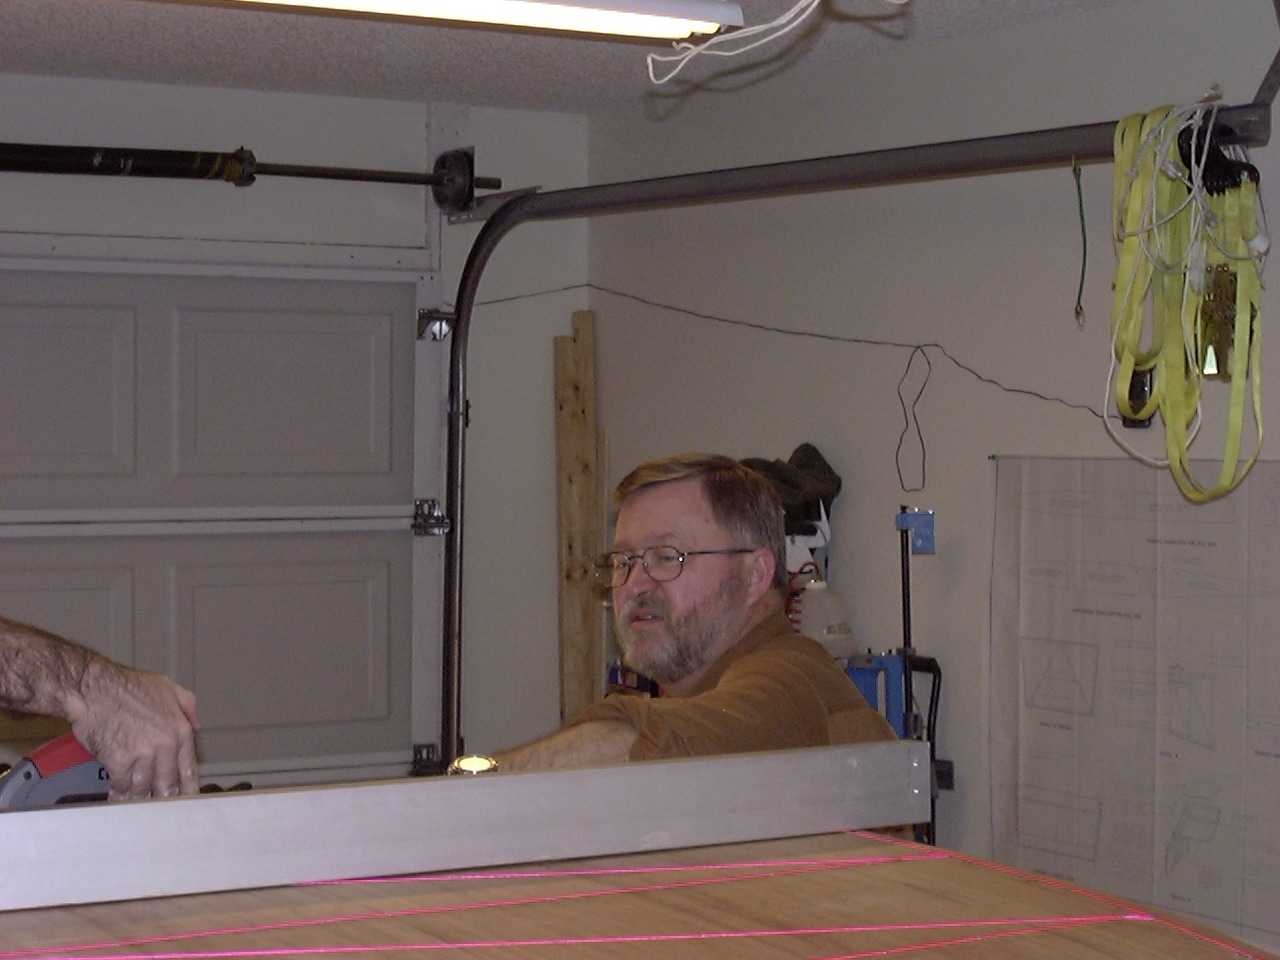
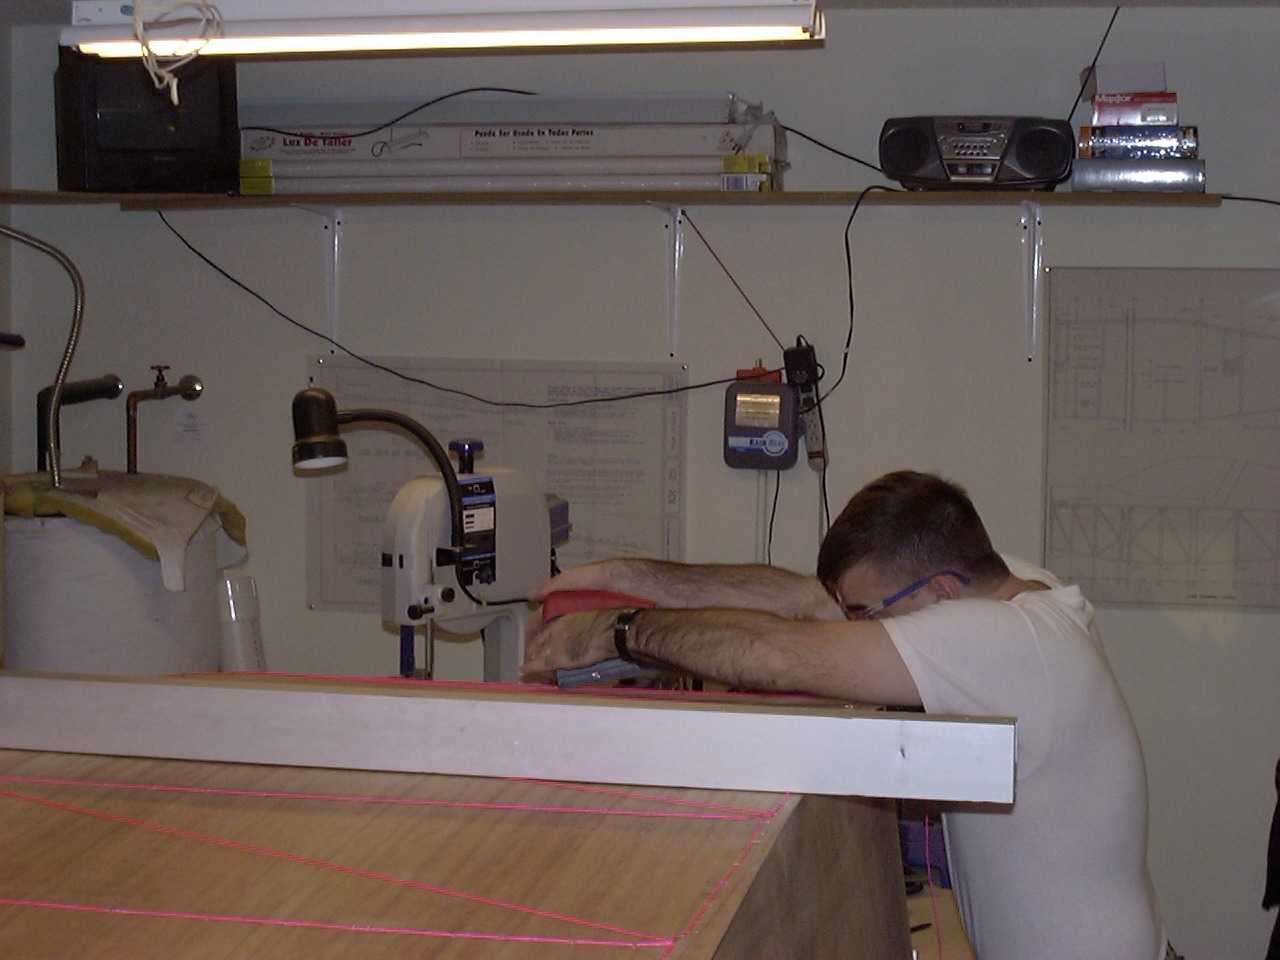
Once the rear portion is in place, I had to tackle the front half (the one made from the full sheet of plywood). Lucky for me
this part of the project fell on Thanksgiving day because my parents and my little brother and his family were visiting. Here
Dad and Kevin look on just waiting to see how long it will take for me to break down and ask for help.
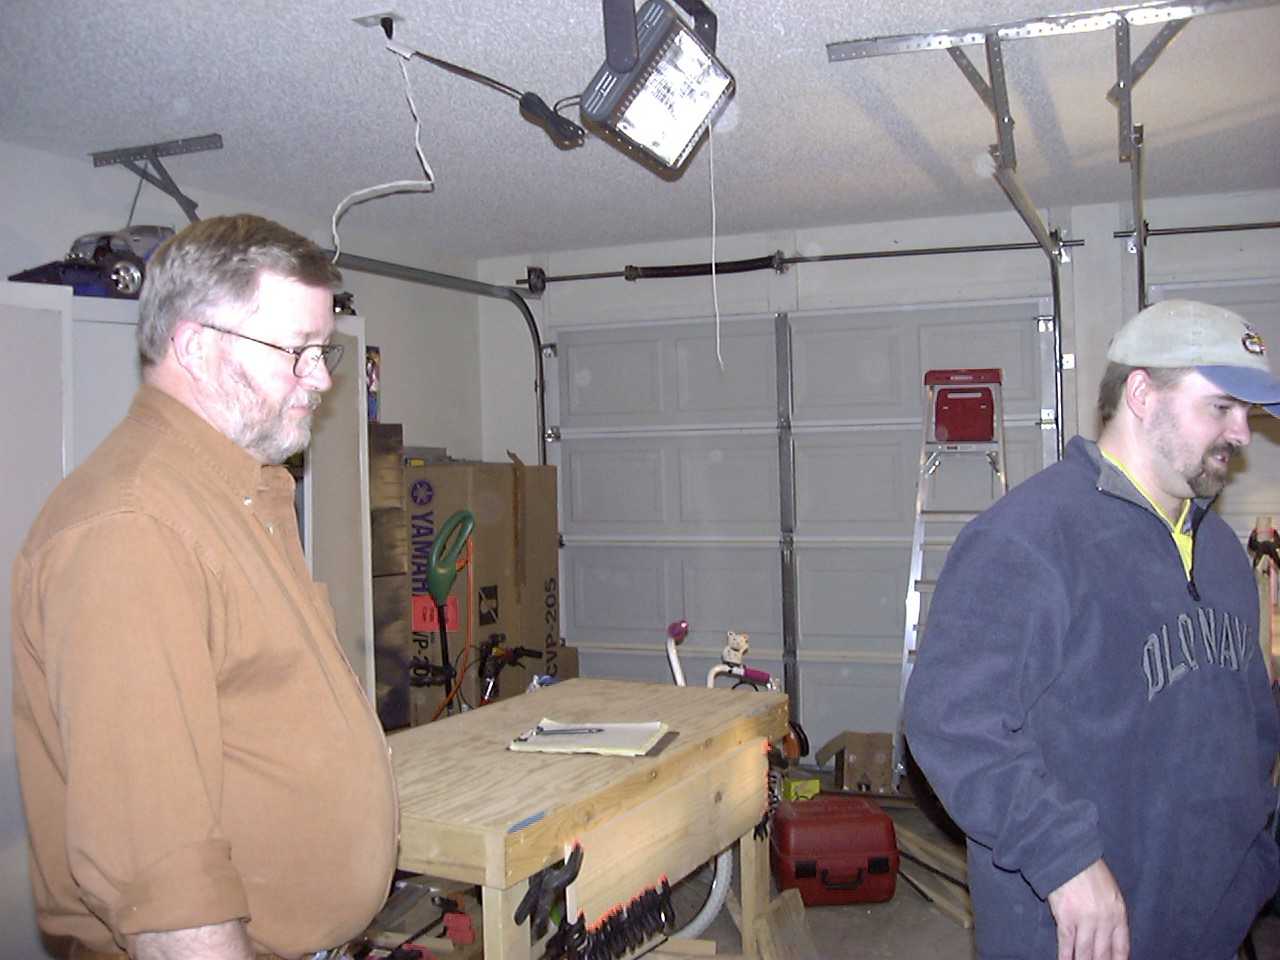
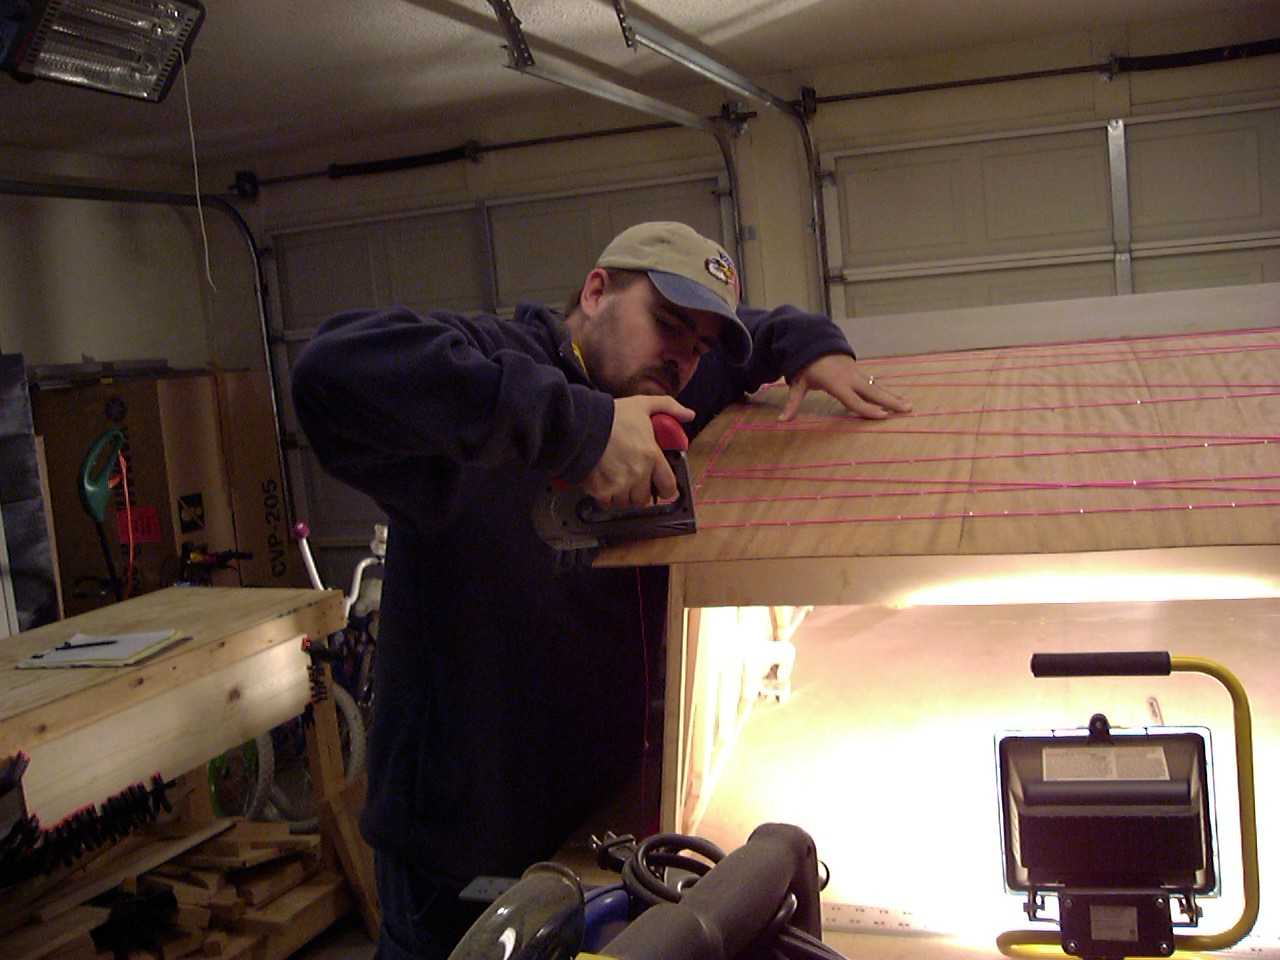
All kidding aside, I was sure glad they were there. By the time I had finished putting the epoxy on the bottom skin it was
already starting to get real sticky. Dad and Kevin helped by spreading epoxy on the spruce so that when I was done with the
bottom skin, we could put it in place and start to staple it in place.
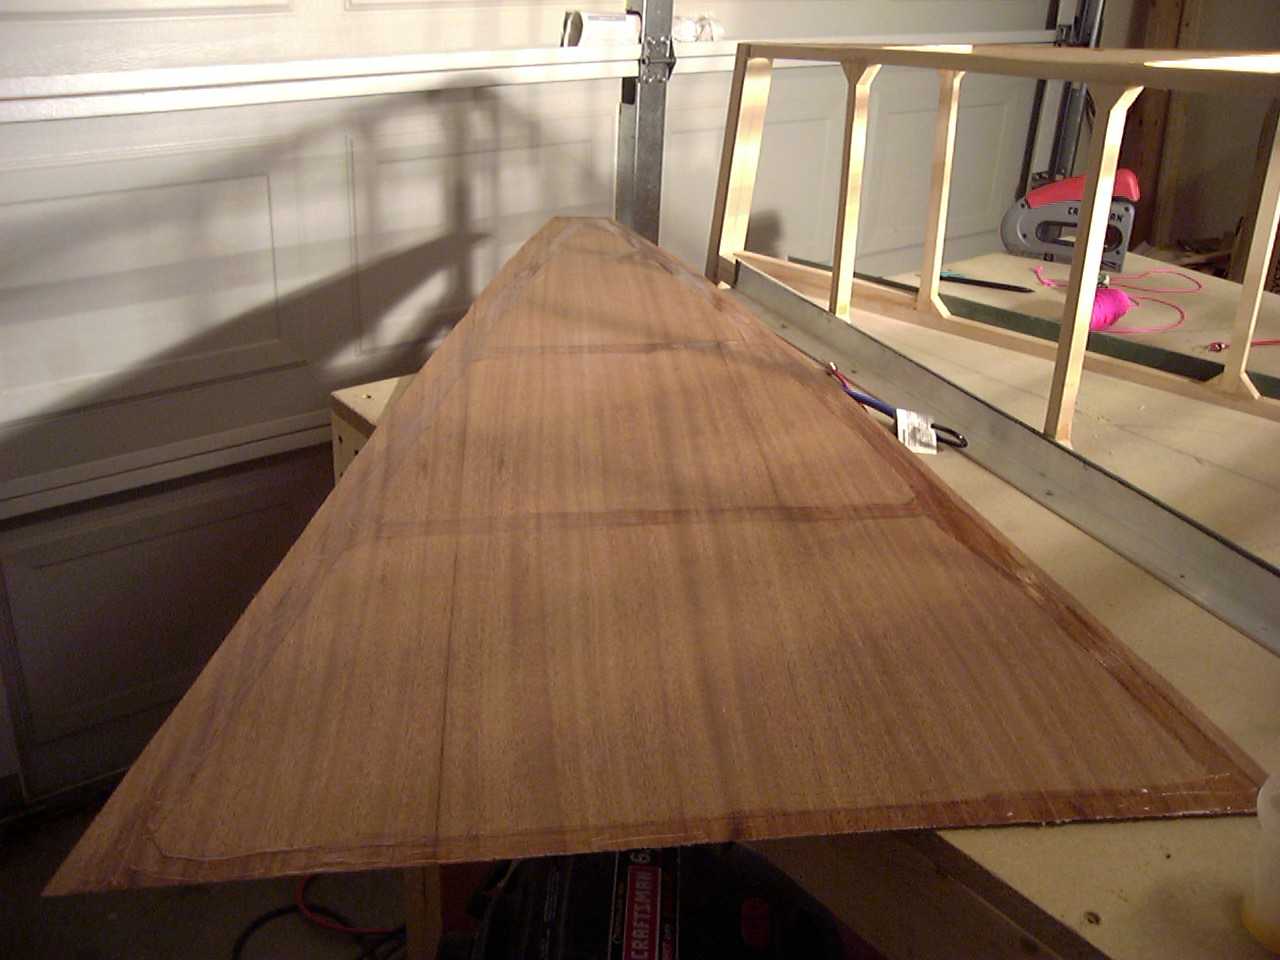
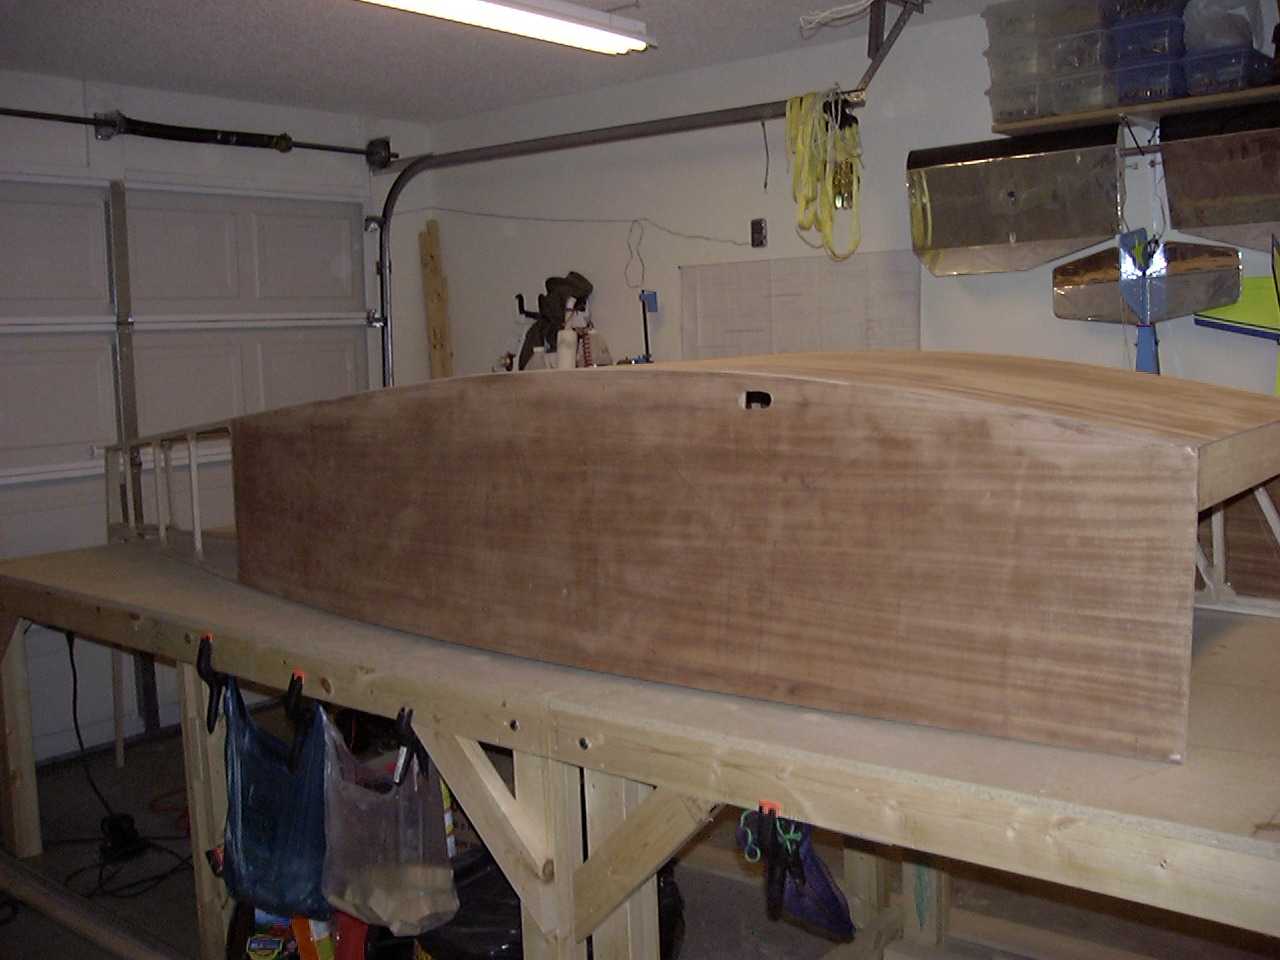
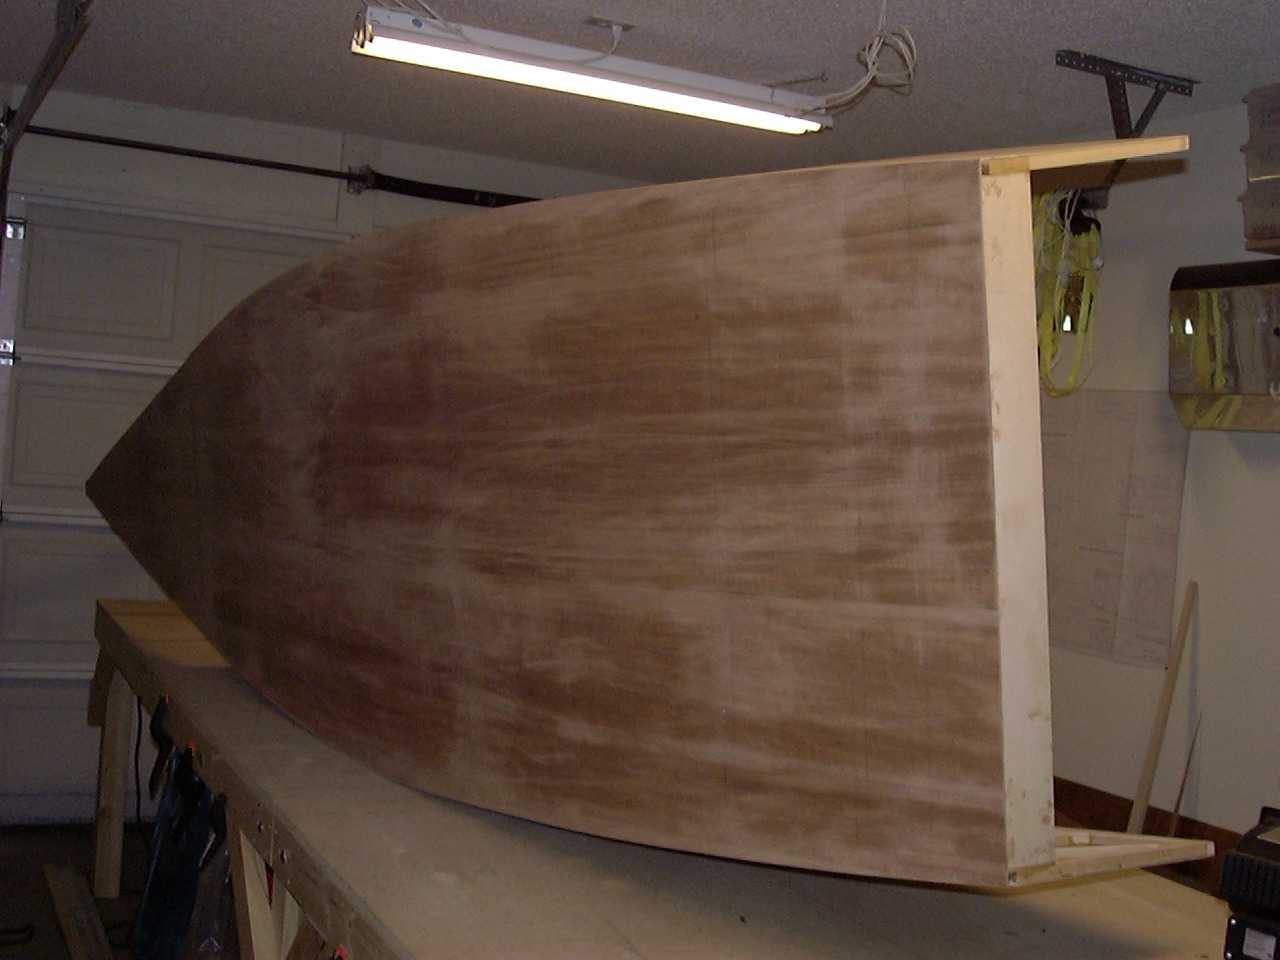
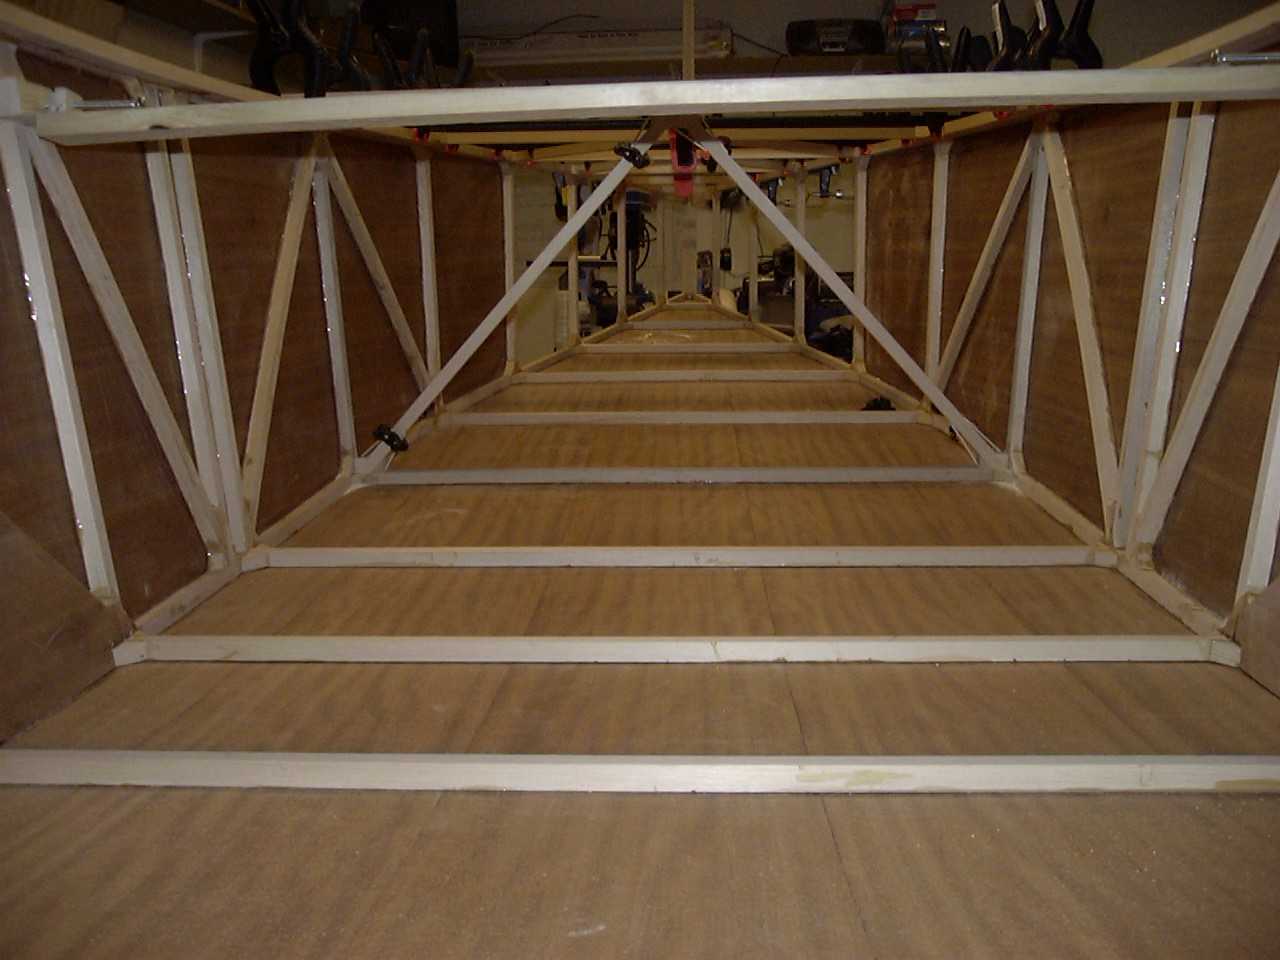
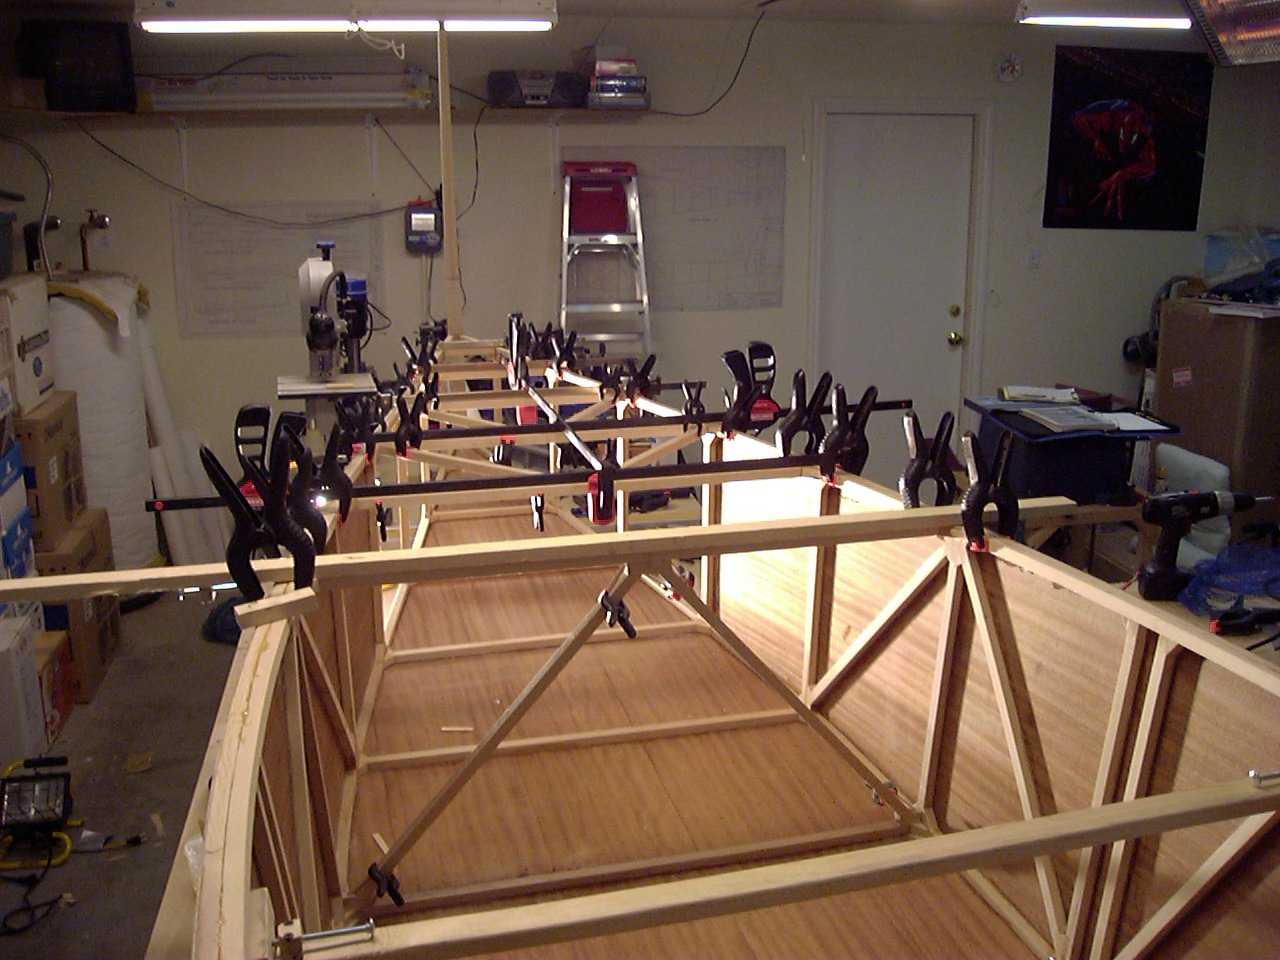
Once the epoxy is dried, the painstaking task of pulling staples kept me busy for some time. The end results were well worth it
though. Here are a few shots after a little sanding.
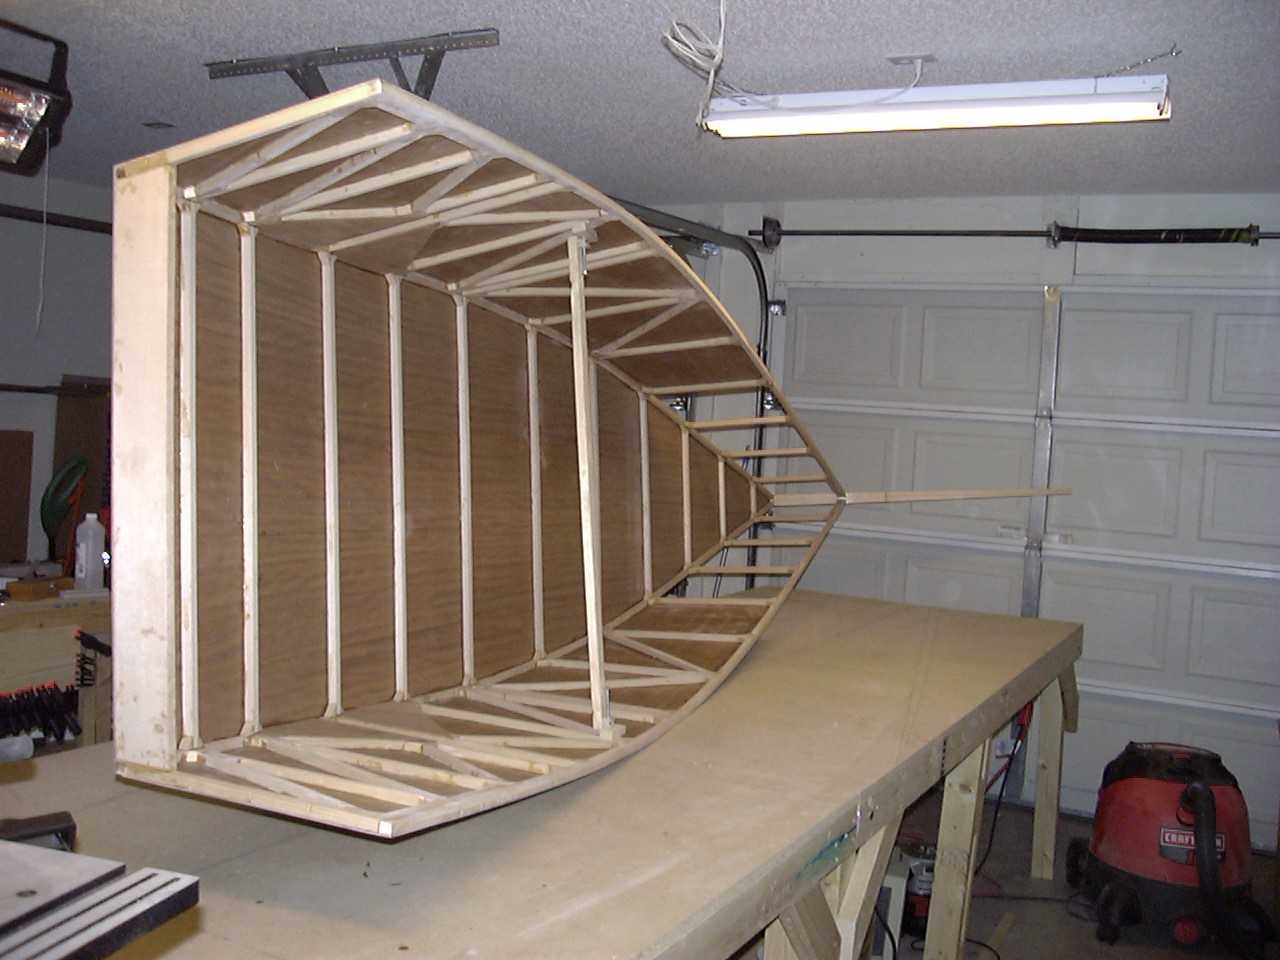
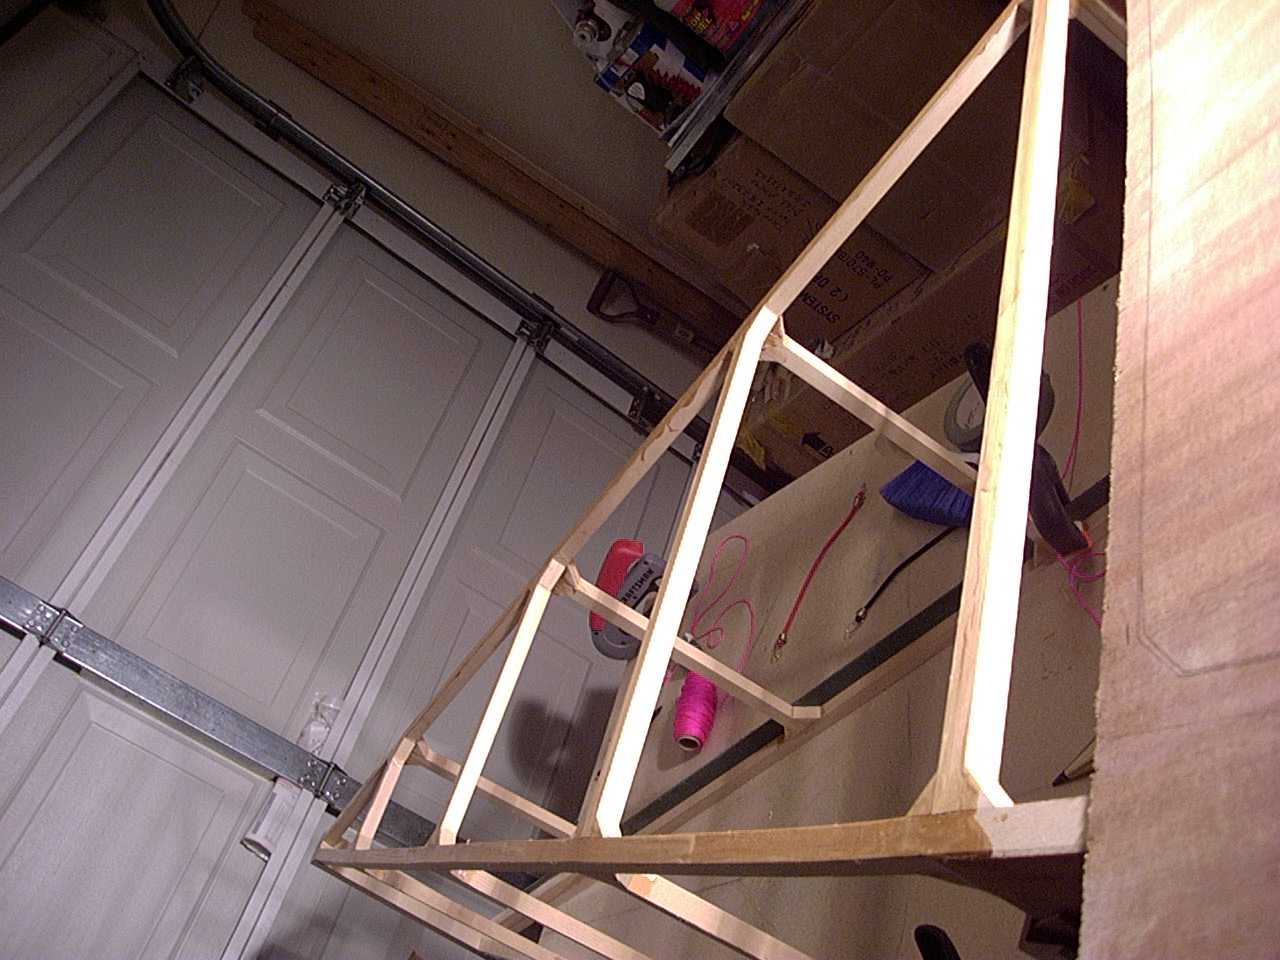
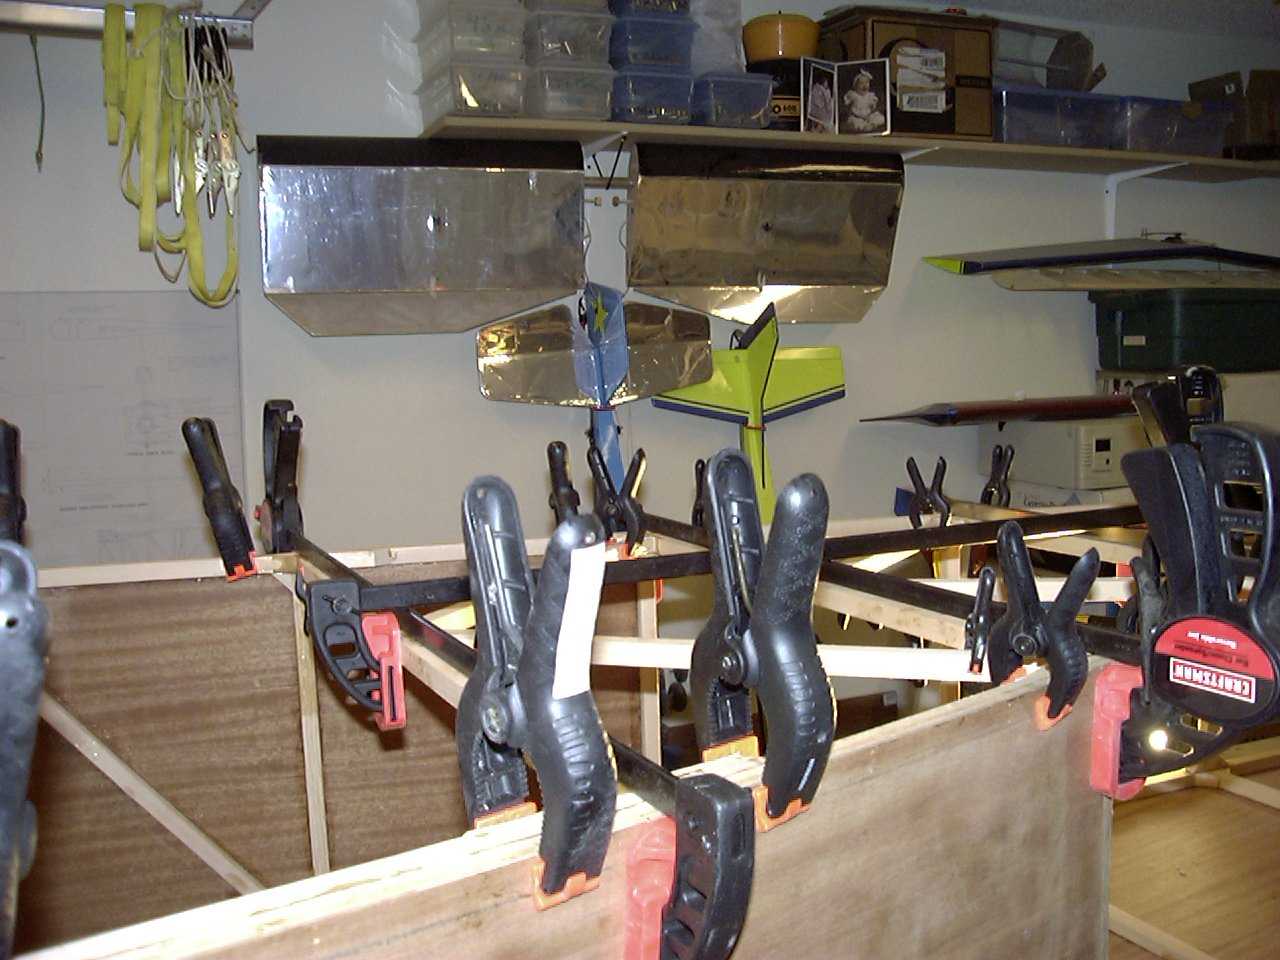
Now the whole process starts over on the top side--with a small difference. On the top there are a few pieces of spruce that are
installed differently from all of those on the bottom. I had considerable difficulty with a few of the pieces wanting to "slip"
out of place once wetted out with epoxy. The parts I'm talking about are the braces that connect the cross braces. Before any
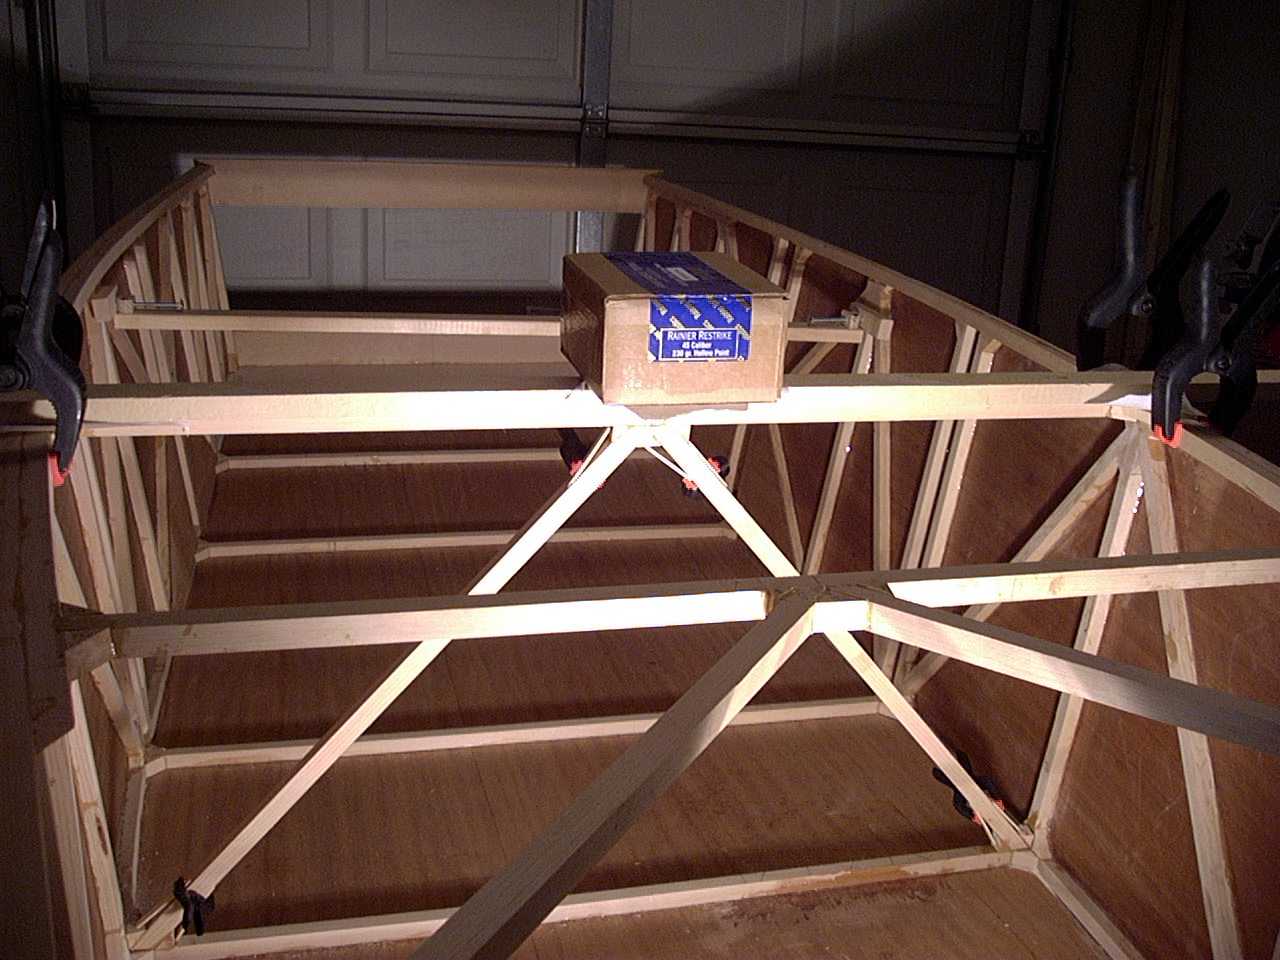
cross braces can be put into place, I had to install the top auxillary longerons and the top firewall engine mount. If you have
read the Oops! section, you will notice that I lengthened the aux longerons by one bay to strengthen the
area with the splice.
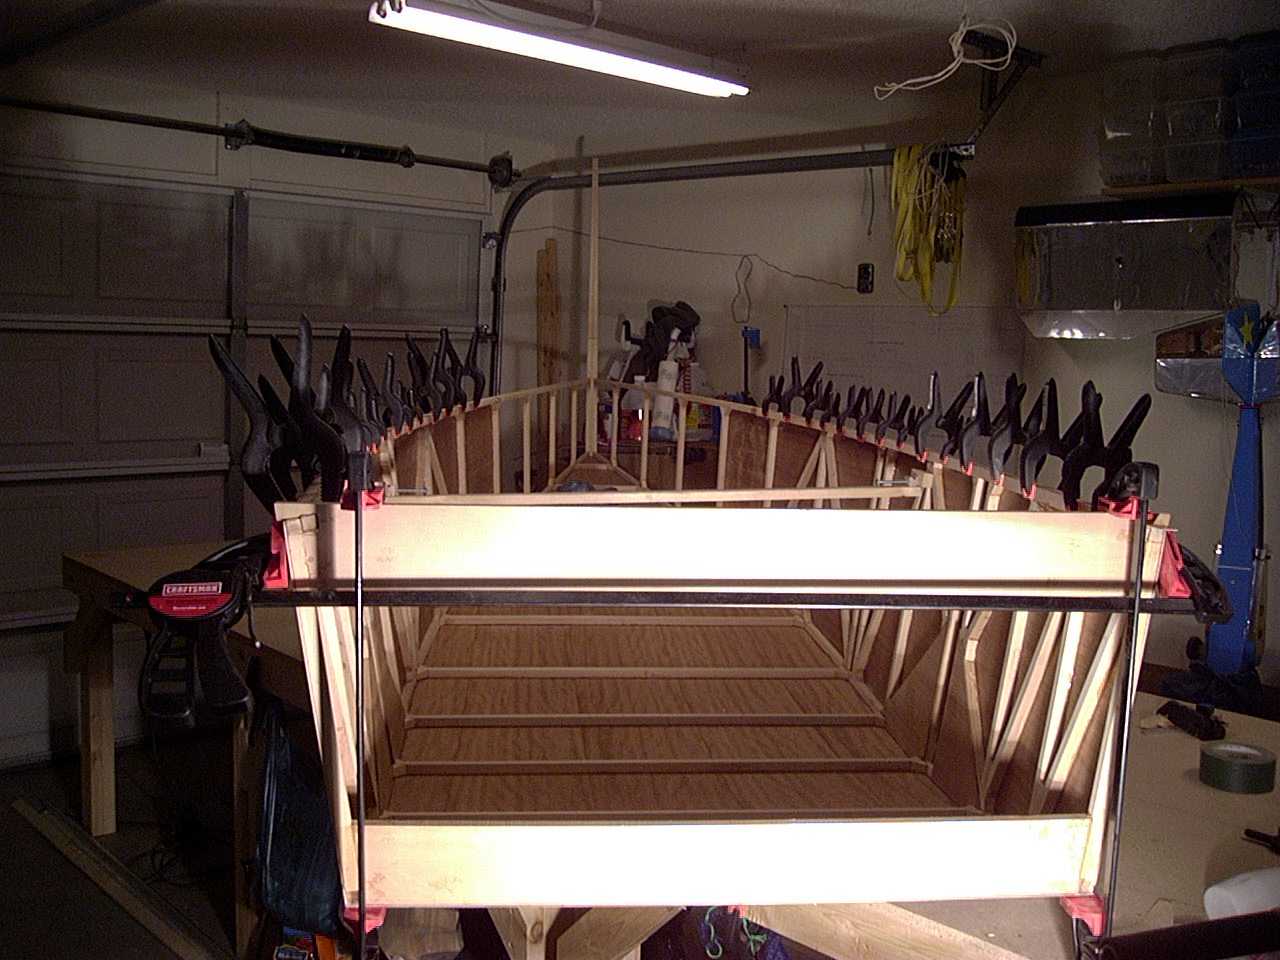
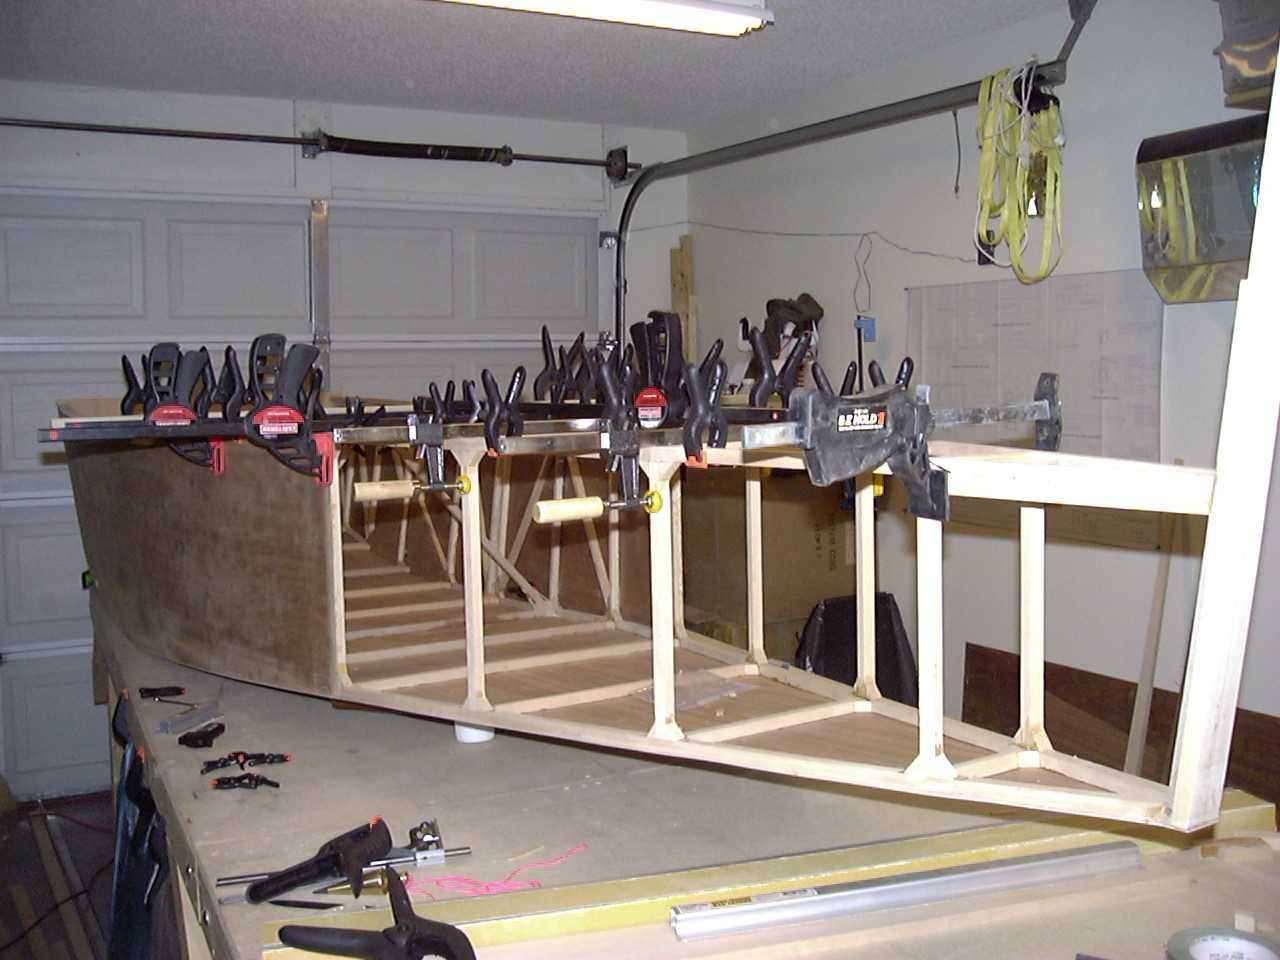
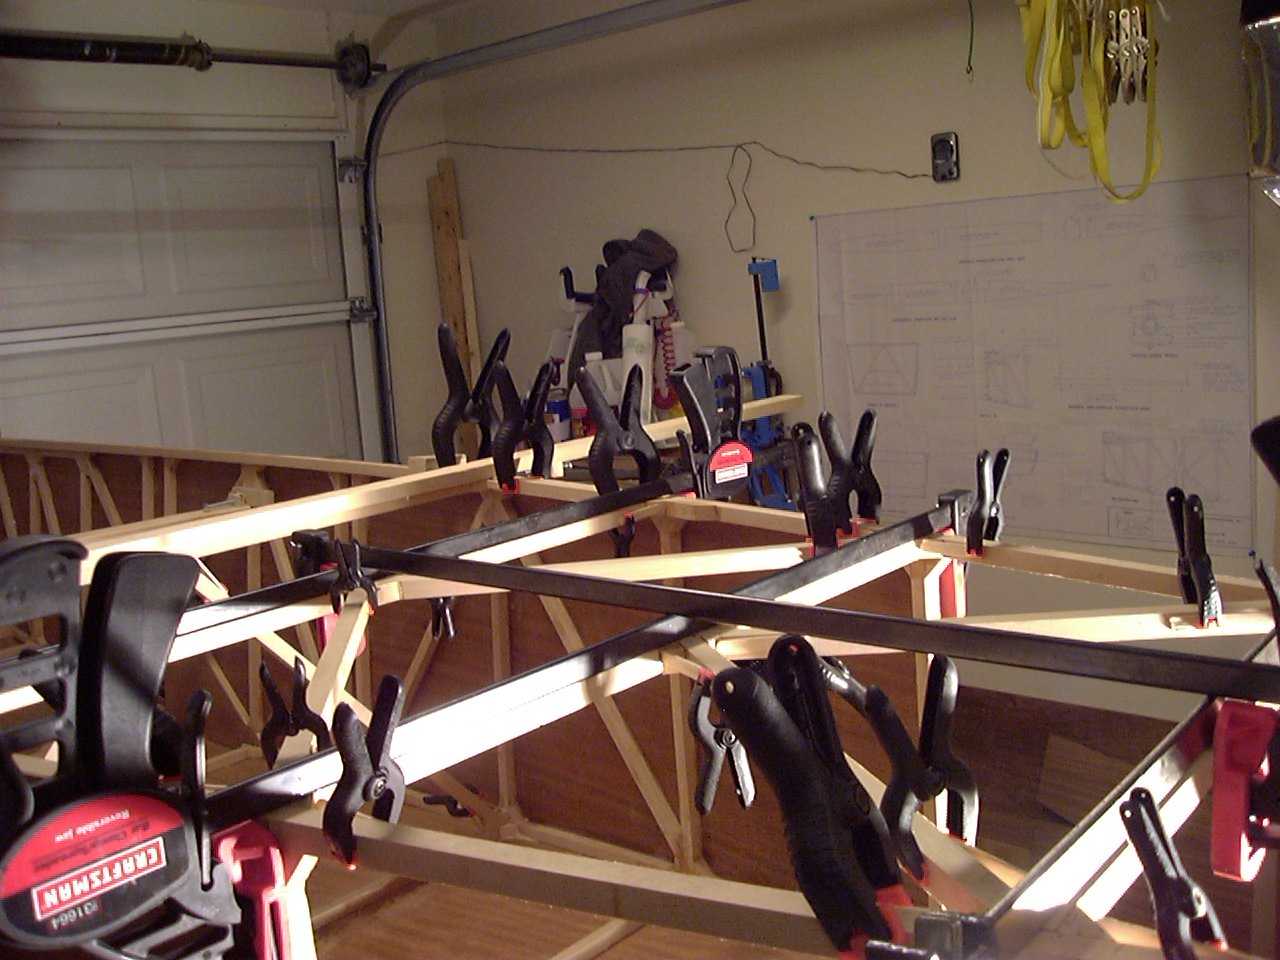
Now it is just a matter of putting the other braces in place and trying to keep them there long enough for the epoxy to dry. I
still have not gone back to clean up the epoxy squeeze out beyond what I wiped up as I installed them. Lots of work left to do
here before it's all done.
Back to Fuselage Page 2
On to the next Fuselage page
Back to main page