This page documents the construction of my fuselage.
All pictures on this page are at 240X320 and average between 3k and 10k in size.
If you click on the pictures, they will take you to larger versions at 640X480 that average between 90k and 170k.
This is how the whole thing starts out--with the wood kit from Wicks.
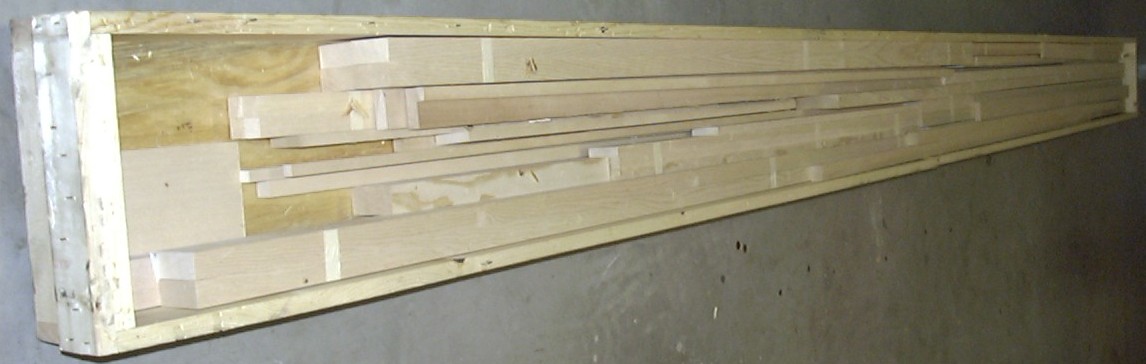
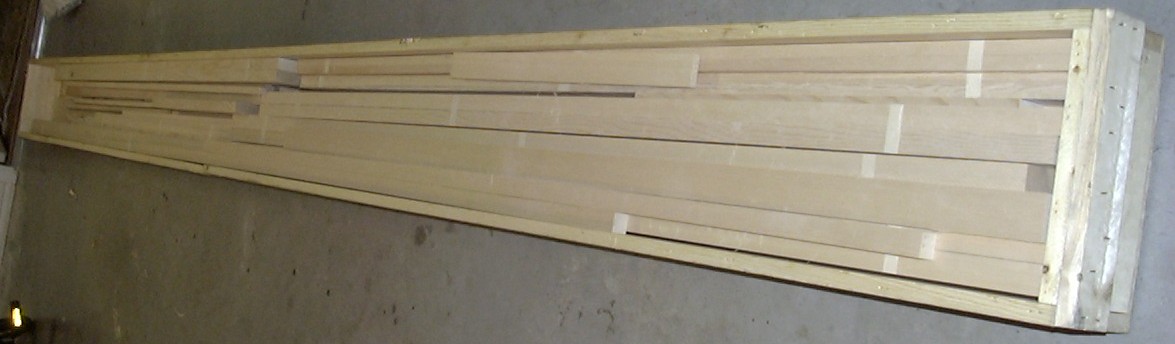
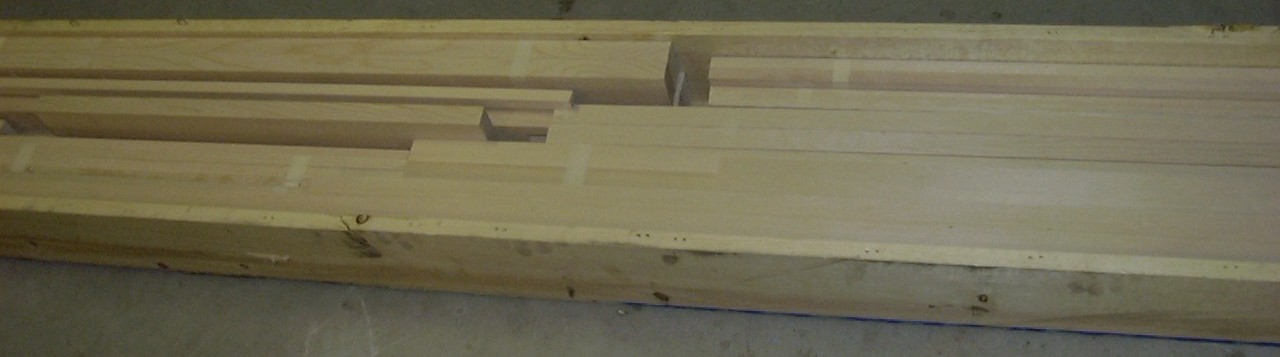
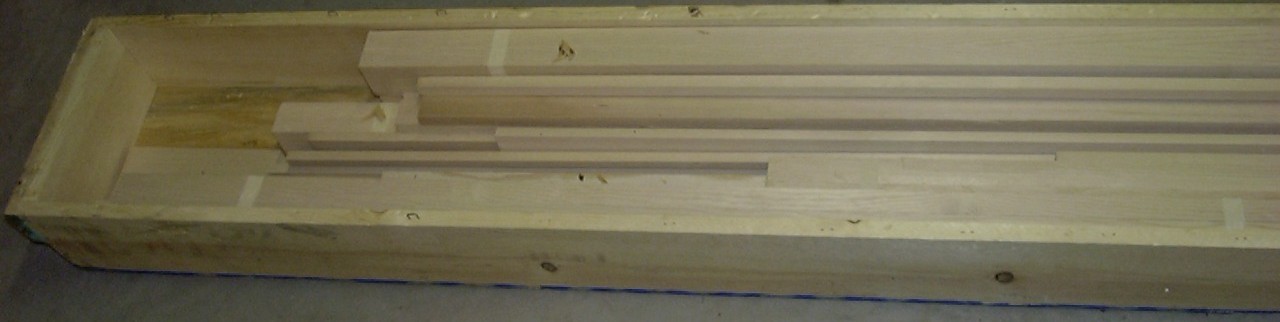
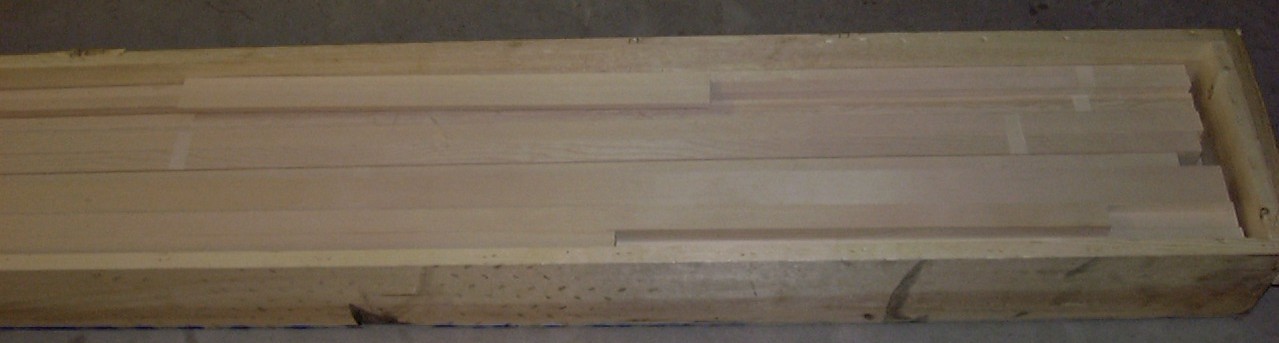
All of the above pictures are of the same box.
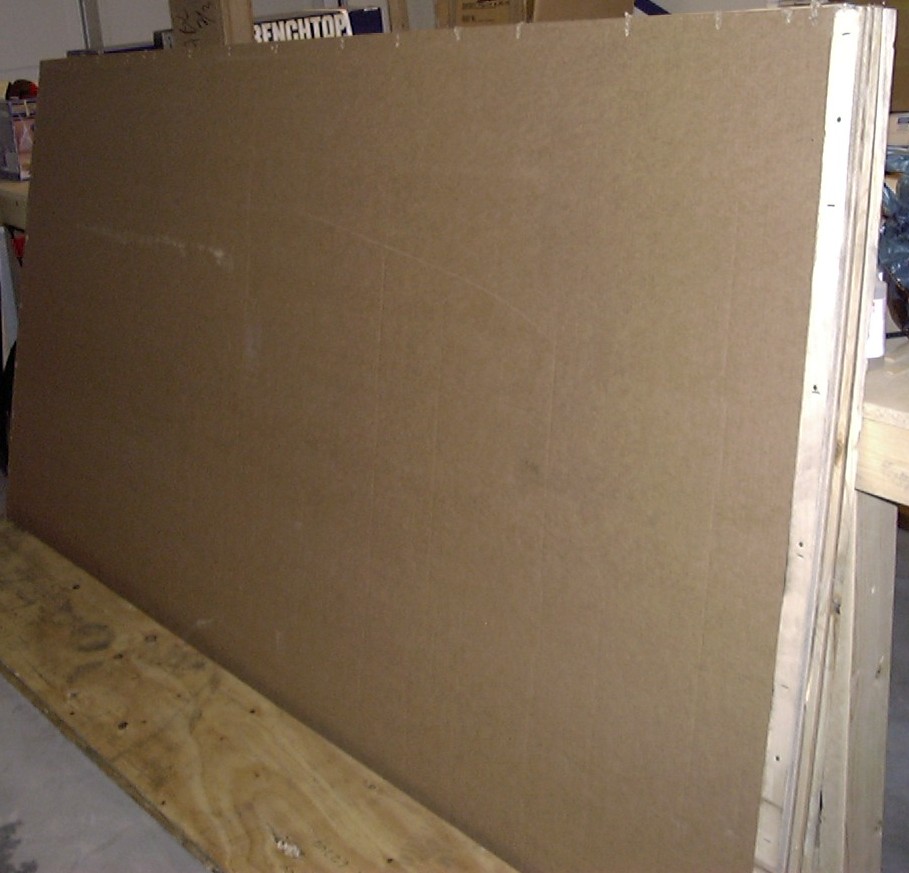
This one is the second "box" that contains my plywood kit (part of the frame has been removed).
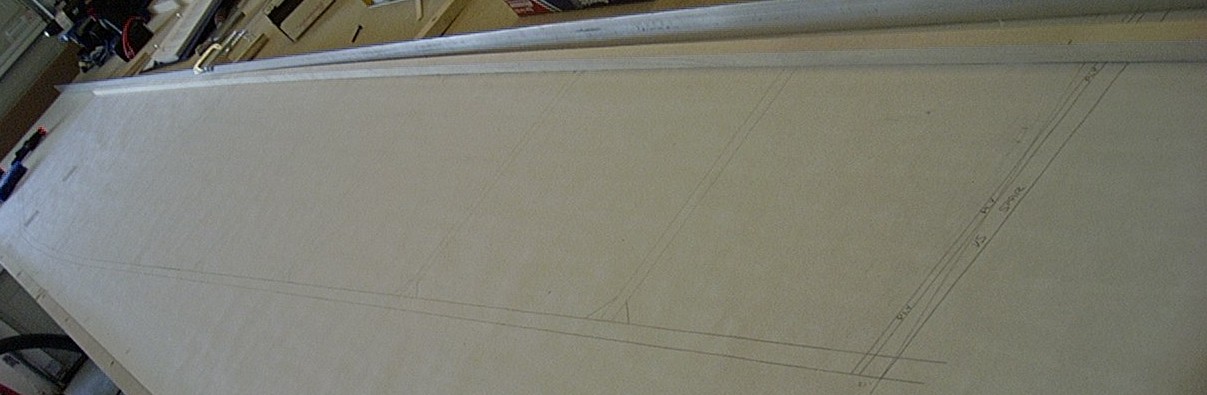
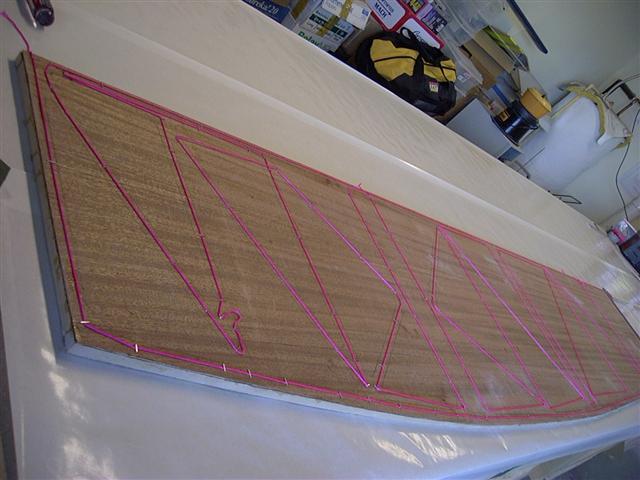
I started the whole fuselage process by drawing out the fuselage on white paper.

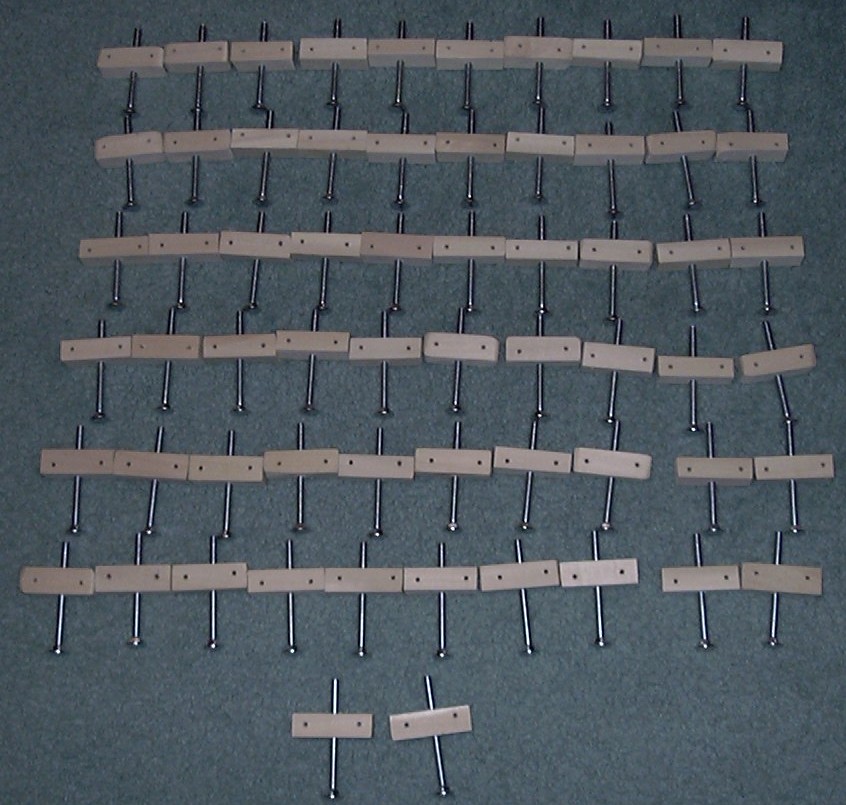
The next thing I did was to build my gusset clamps. I got the idea here from someone else's web site, so I'm just using my resources!
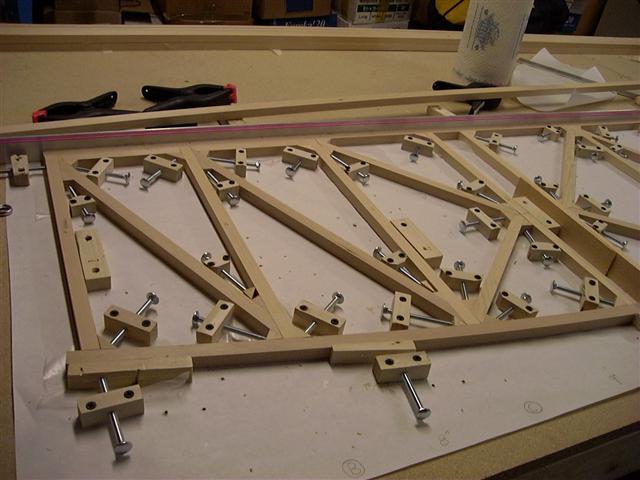
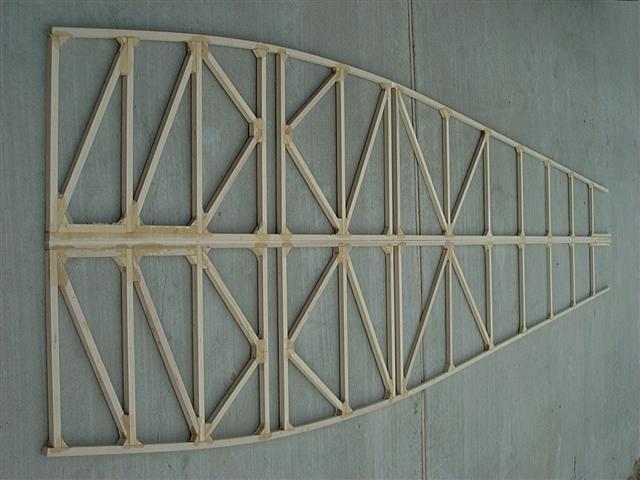
Now it's time to cut and lay out all the 5/8" X 5/8" spruce. Remember to check your measurements!
I found that I had made a small error when doing my paper layout by taking my measurements from the wrong side of the spruce. I was able to make these corrections as I went so that I ended up with the spruce built per the plans (the only exception was an adjustment for the taller spars of the new airfoil). These pictures make it look like there are gaps between some of the glue joints, however, this is from the pencil marks used to measure and cut the spruce.
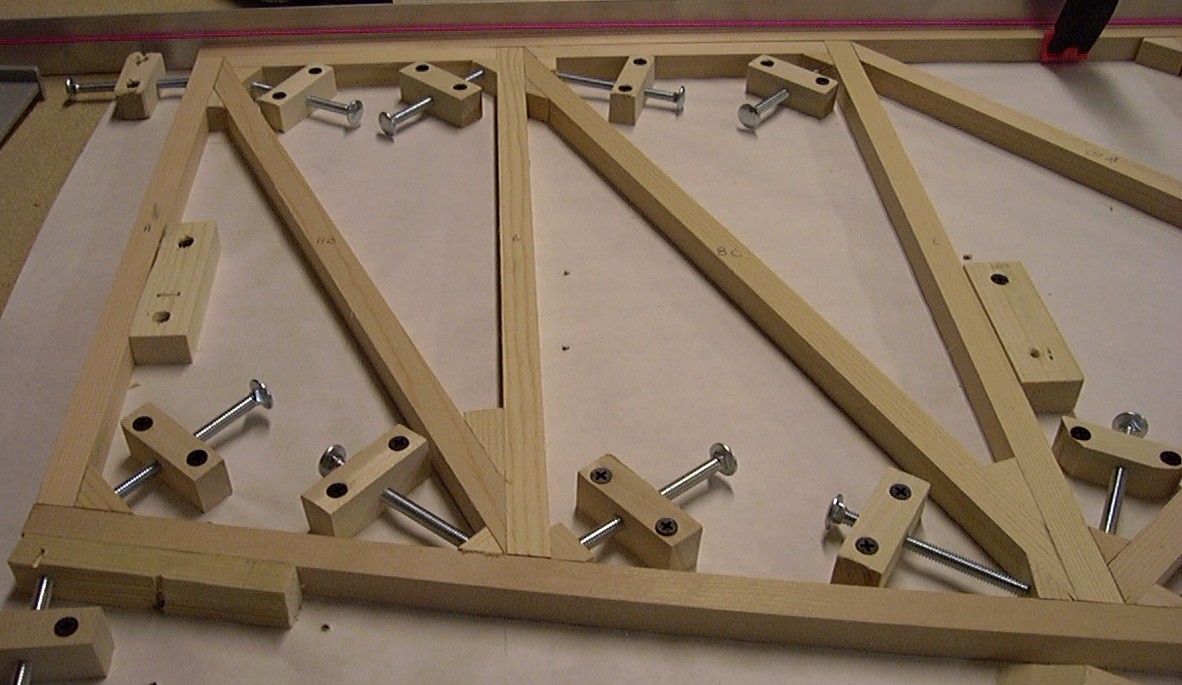
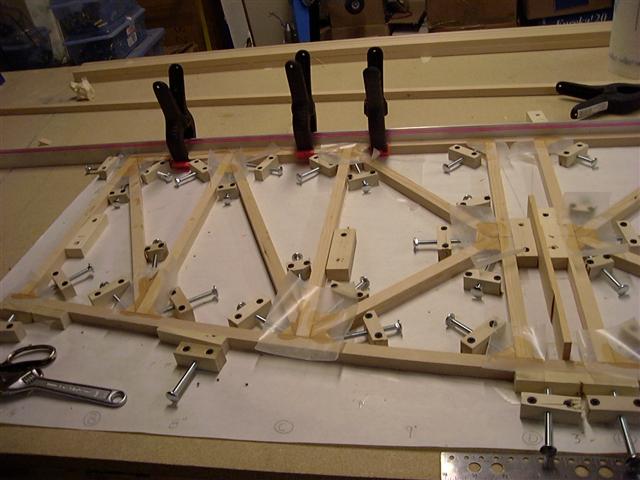
Once I had everything dry fit, I removed a few sections to apply the epoxy, then put everything back together.
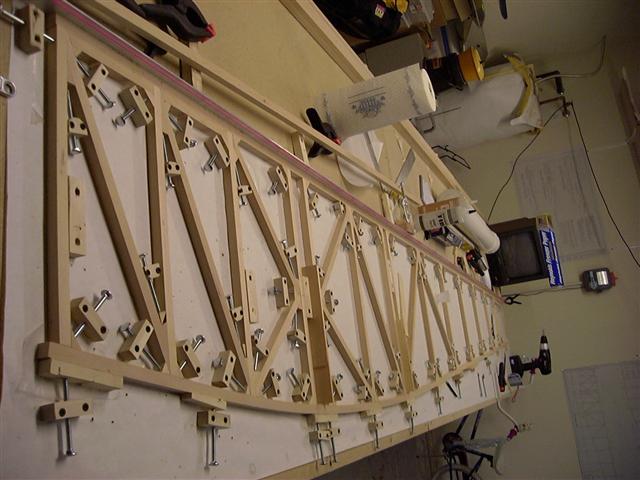
I was able to use the gusset clamps to keep everything lined up.


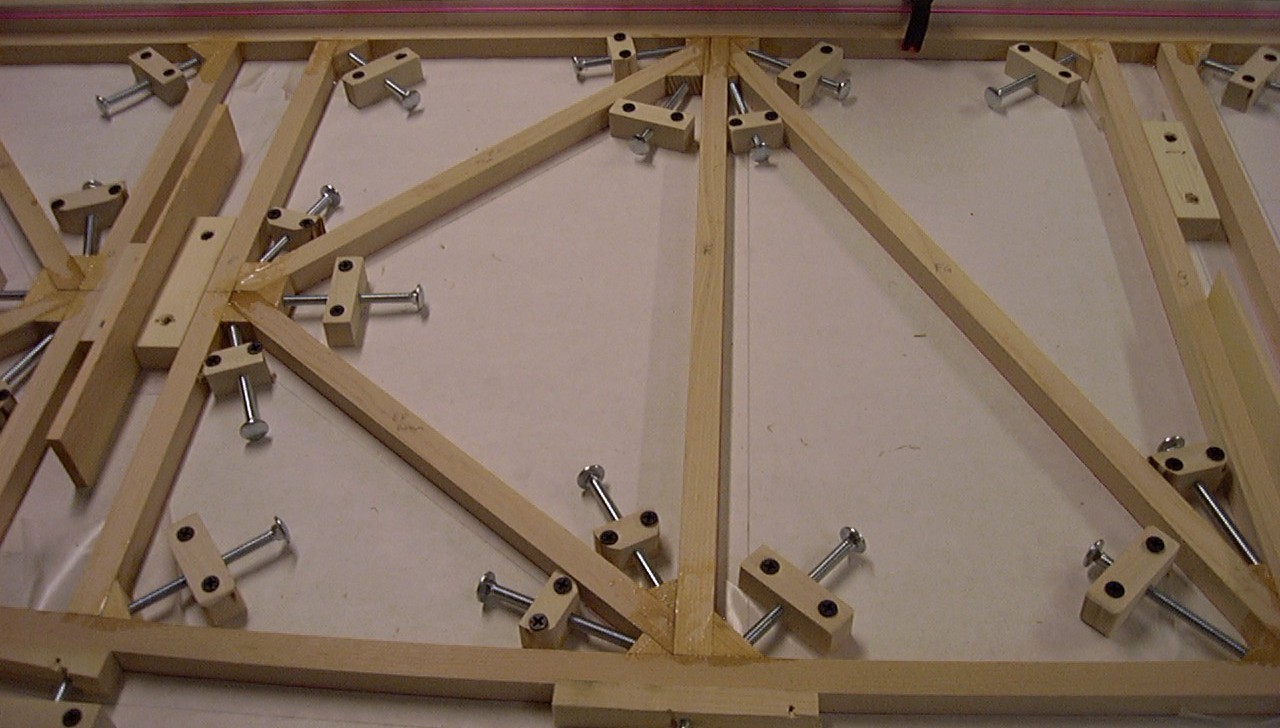


Once the epoxy dries, we have...

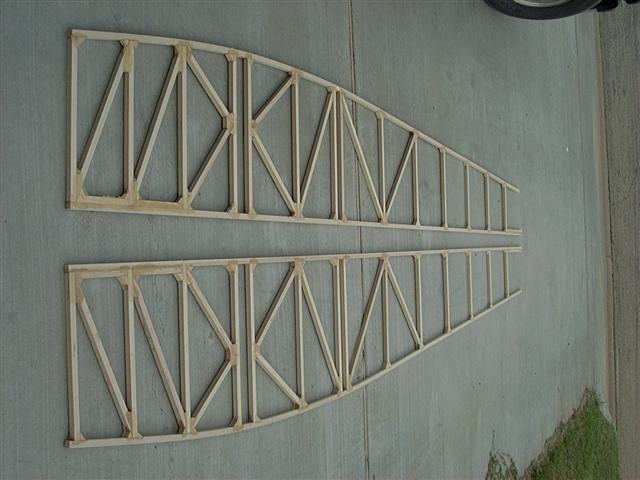
Now on to side 2...
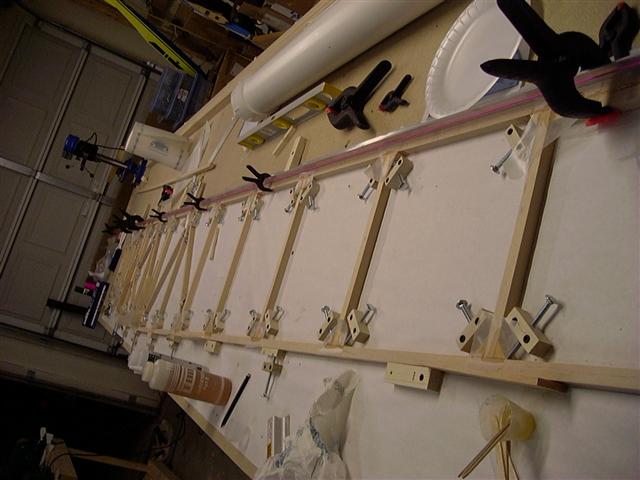
And we now have...
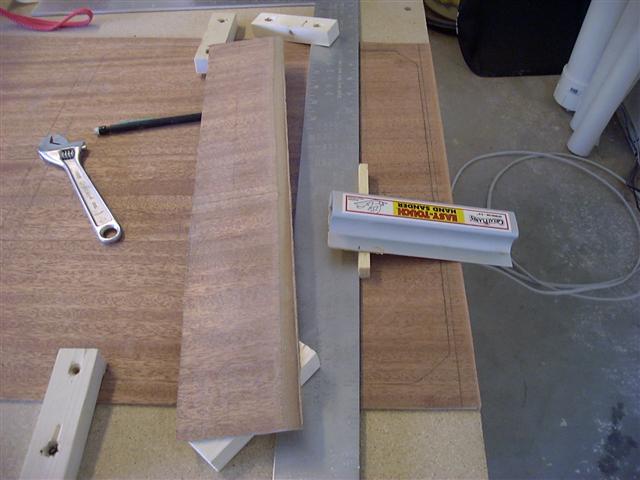
This was the simple solution I came up with to scarf the plywood. It may yet be revised to a more...electric solution before the whole thing is finished, but for now, this will work.

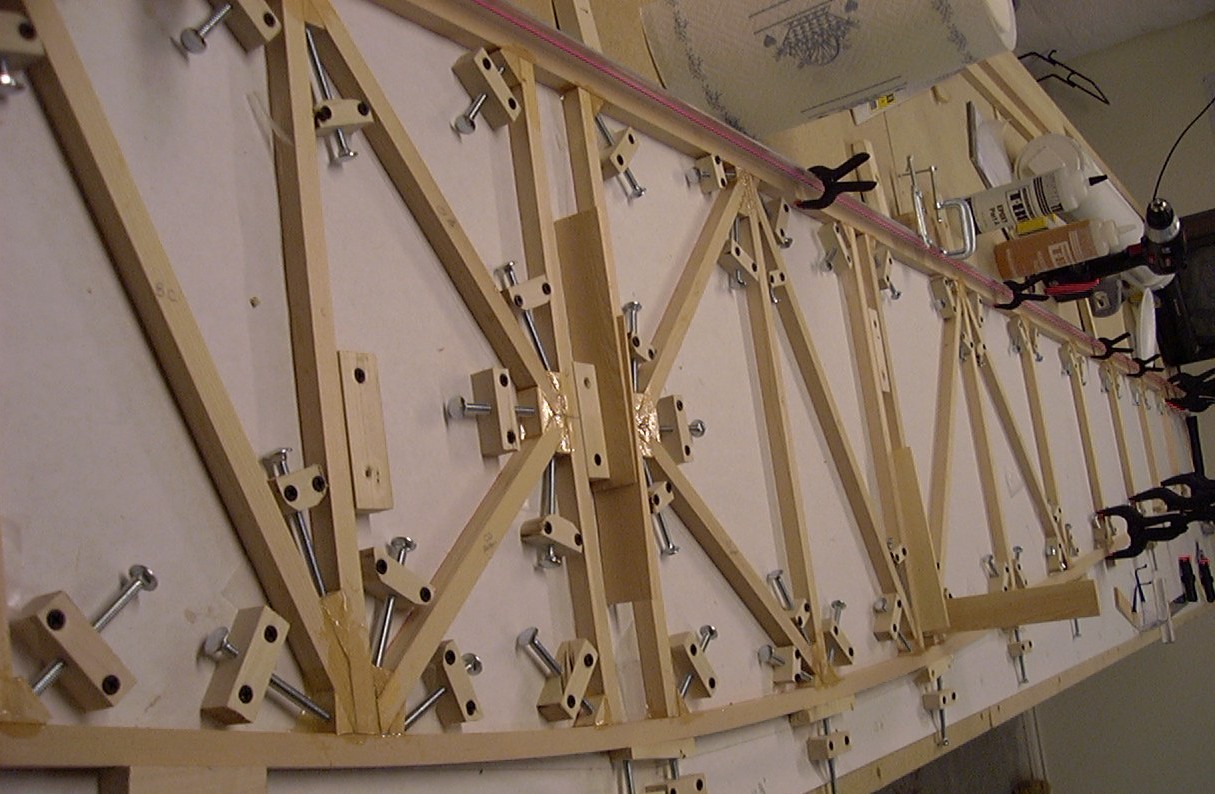
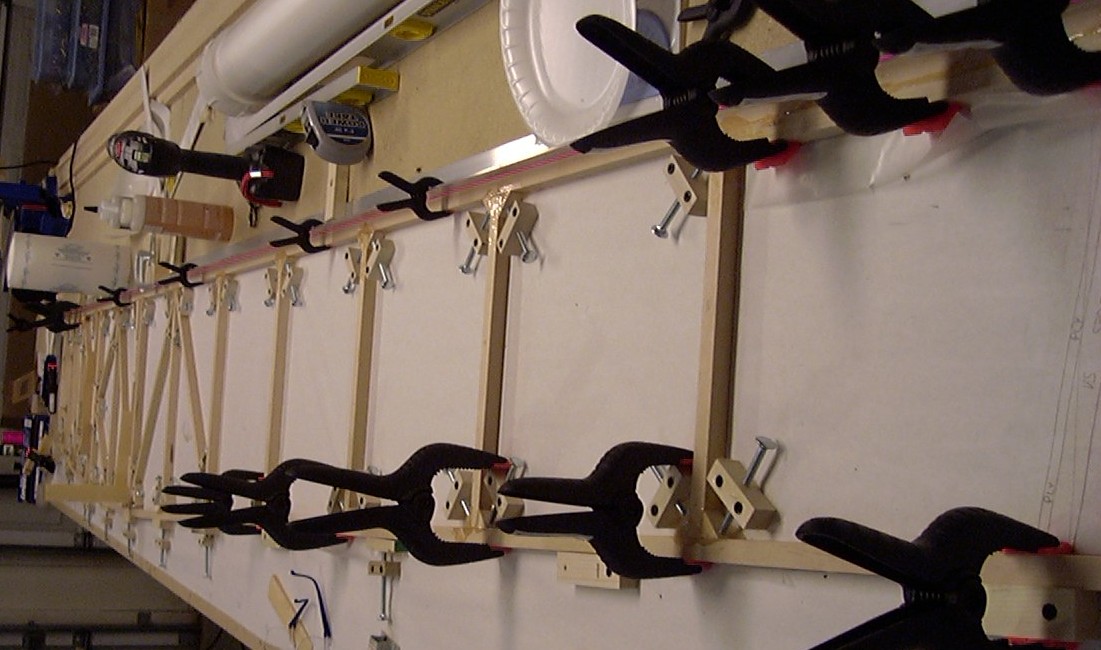
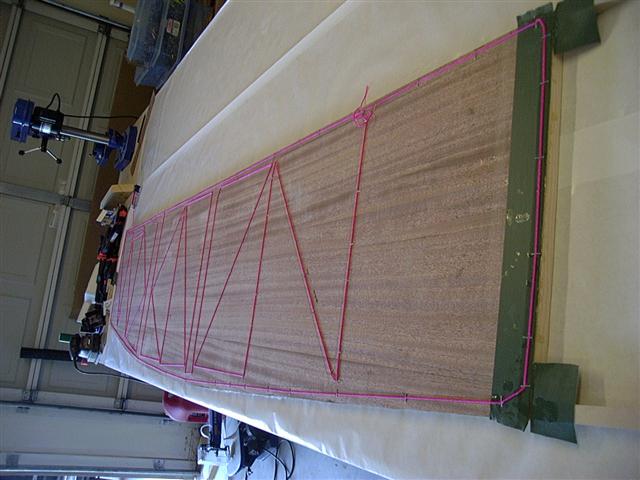
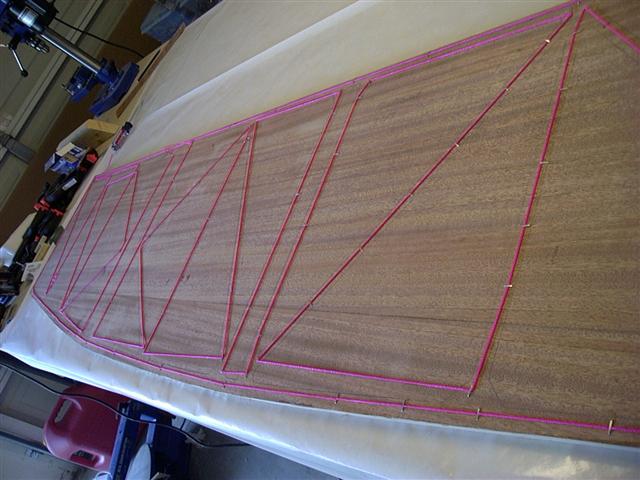
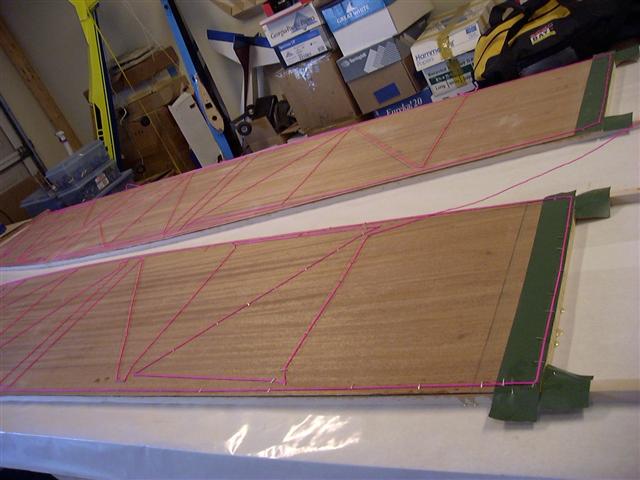
Here are a few pics of the plywood sides attached to the frame sides.
I have elected to not sheet the last half of the sides until after the tail surface is put in place
(I epoxied the last vertical member on the advice of someone from KRNet).
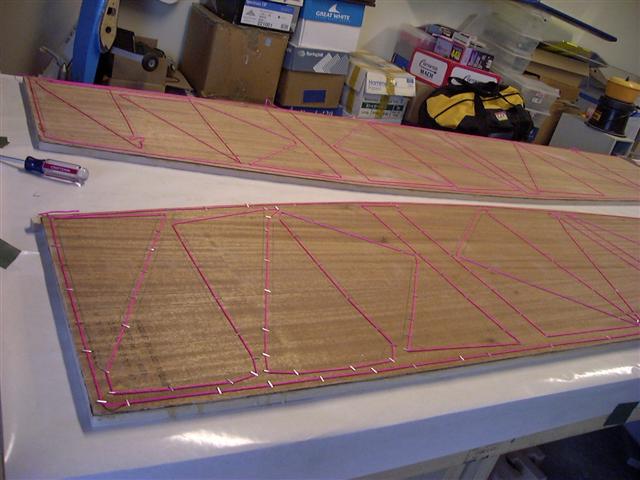
The next step is to put the two sides together. I'm waiting for some more "advice" from the KRNet community to determine how wide to make the fuselage. Should I go the standard width, or widen it by three or four or five or six inches (you get the picture).
I plan on using a dragonfly canopy and we may have a bulk order soon. Until then, I'll spend some time working on my spars...
On to Fuselage page 2
Back to main page