16 June, 2005
The front deck was one of the hold up point on the construction of my plane. This might very well be
the first piece of fiberglass defining the shape of my plane. After putting it off longer than I should
have, I determined that I would never get the plane done until I finished this piece--even if I had to re-do
it later. I figured just getting started would get me motivated. I mentioned on my firewall
page that I have already made two front decks. Here is the story for both (with more to come I'm sure)...
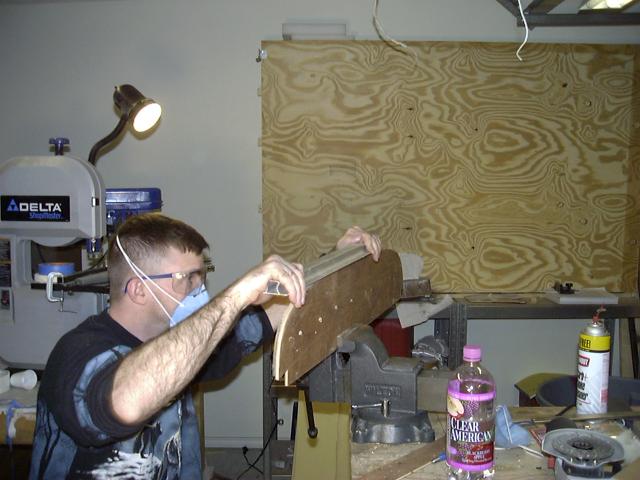
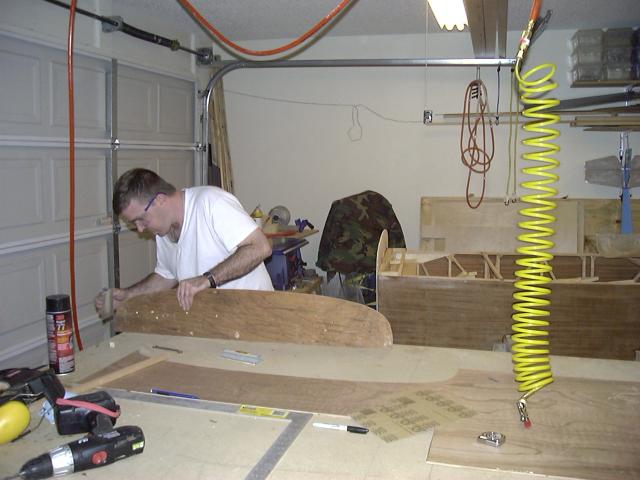
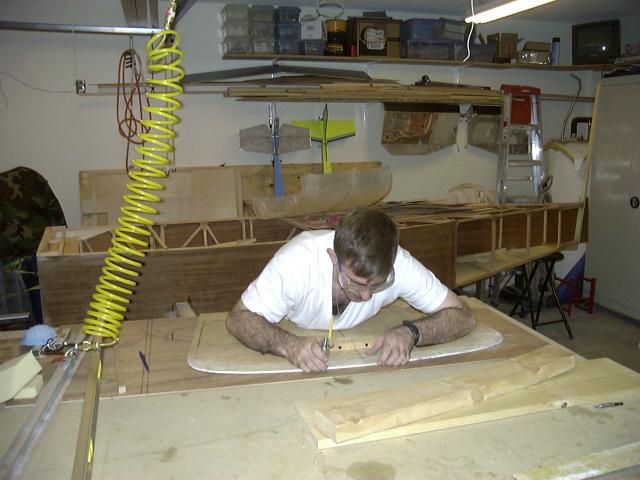
To start the first front deck (although I did not know it at the time), I needed to create a template for the instrument
panel. I used the same template I developed for the firewall and "stretched" it by lining up the outside edges
with the fuselage longerons and then connecting the tops.
Then I clean up the edges and use the strait edge to make sure the top is smooth.
Then the template is "installed" along the cross member designated for the instrument panel. I used the stock location
shown in the plans for this cross member.
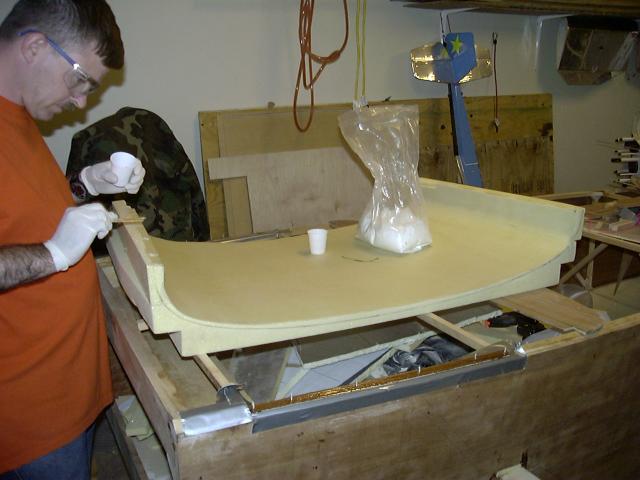
I decided to try two-part foam since I planned to use the method developed by
Scott Cable. In this method, the foam is only used to
create a mold for the outer skin. I figured I could pour the foam in place, sand it down and cover any imperfection
with plaster to make it really smooth.
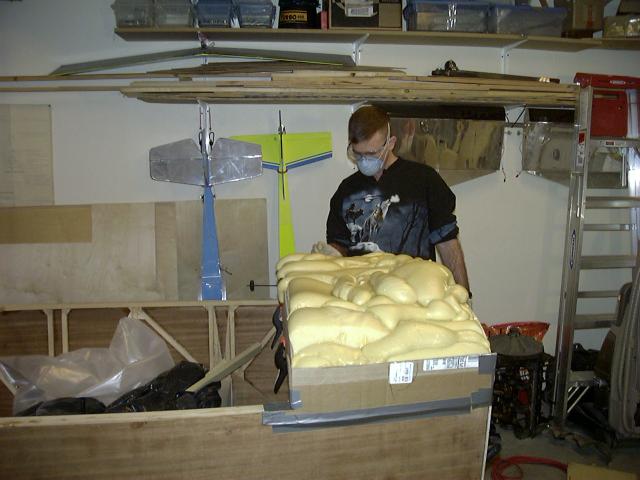
I could not be more disappointed in how this stuff sands. Since the foam is poured in multiple layers, the density
is not in any way consistent. After it was sanded, I added the plaster and discovered it was even more difficult to
sand. Two things learned...
While the plaster was drying, I was looking at other KRs and noticed that they all had the instrument panel located
over the front spar. Since mine was so far forward, I decided to add a small extension to the rear of the instrument
panel template. I used regular foam for this and decided this was the way to go (foam wise anyway). I also decided
that I would redo the front deck from scratch with the good foam. Since I already had this one in place, I decided to
go ahead and complete this front deck as a trial run. This would also allow me to evaluate this method of construction.
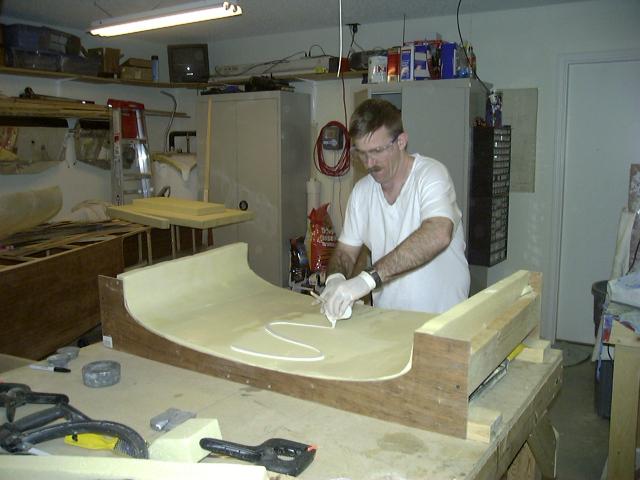
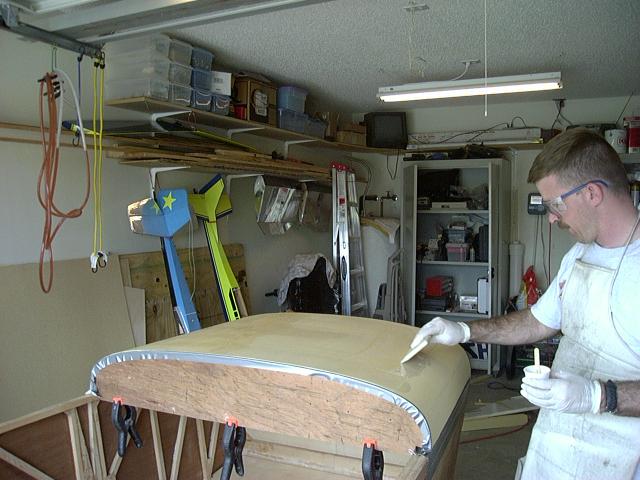
Here I am shrinking the window film release agent prior to laying up the glass.
I used Mark Langford's tried and true method of laying up the glass on a layer of plastic, then cutting it out based upon
the outline drawn on the plastic.
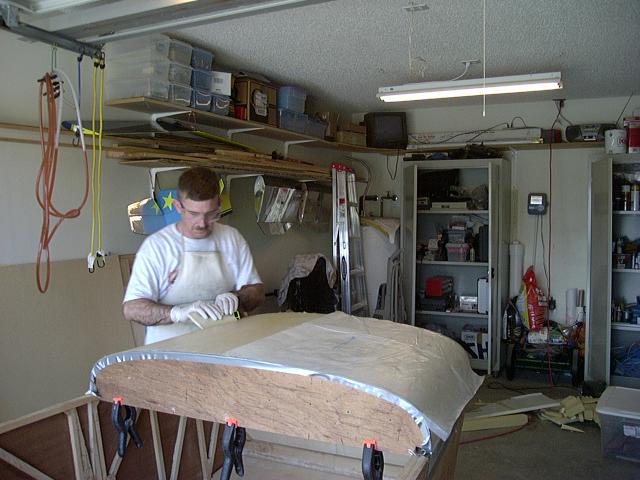
I then laid it up on the window-film-covered front deck foam, peeled the plastic and squeeged in place.
I'm not sure what I was expecting, but two layers of glass and a layer of deck cloth was more "flexible" than I had
anticipated!
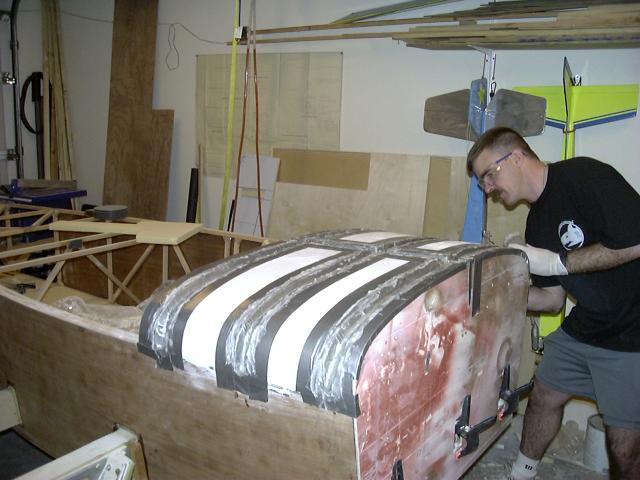
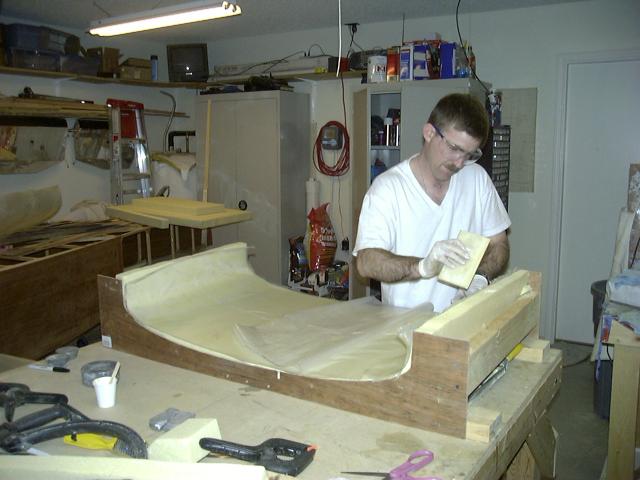
The next step was to sand out the channels and use a release agent (a.k.a. Duct tape) to prepare the surface for the next
step.
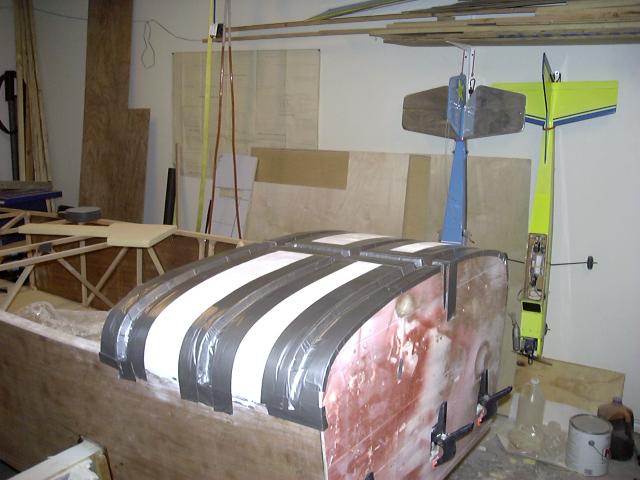
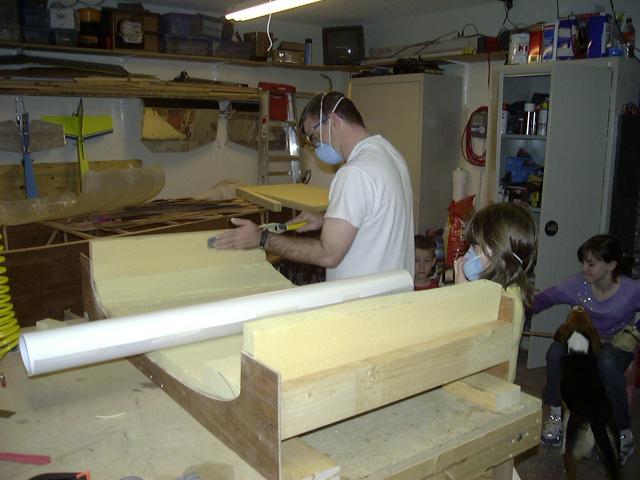
Scott used three inch wide BID tape for his hat sections. I only had two inch wide tape, so I decided to use two pieces
of tape overlapping to create a wider tape. Here I am "buttering" the tape after it was put in the channels.
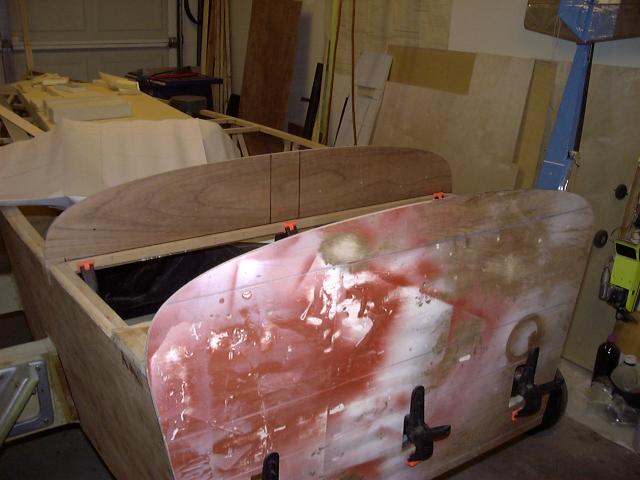
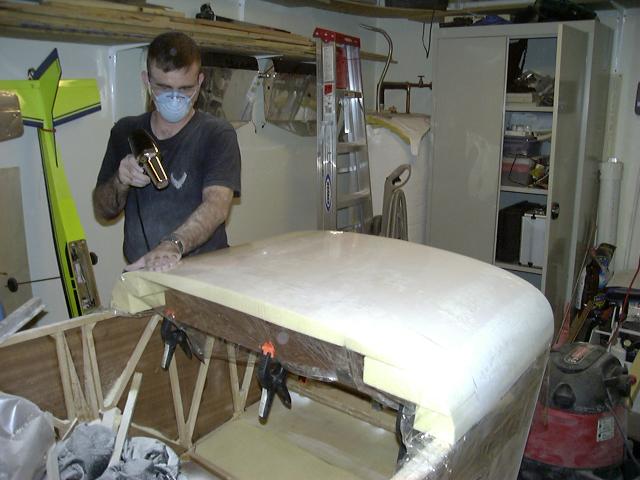
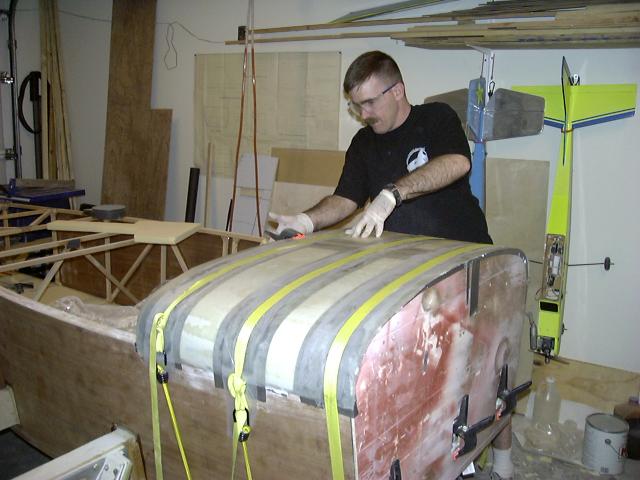
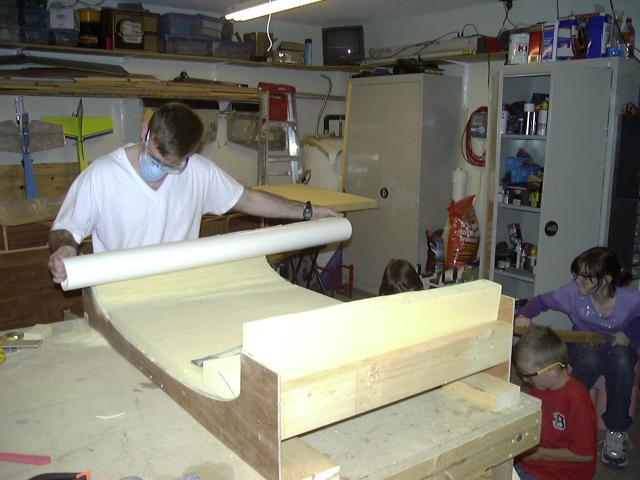
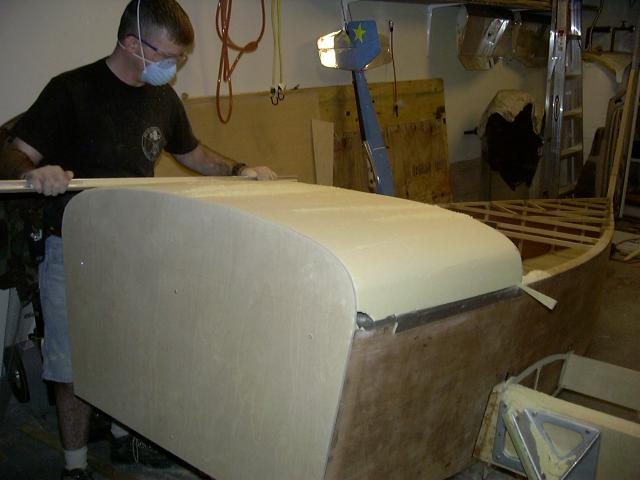
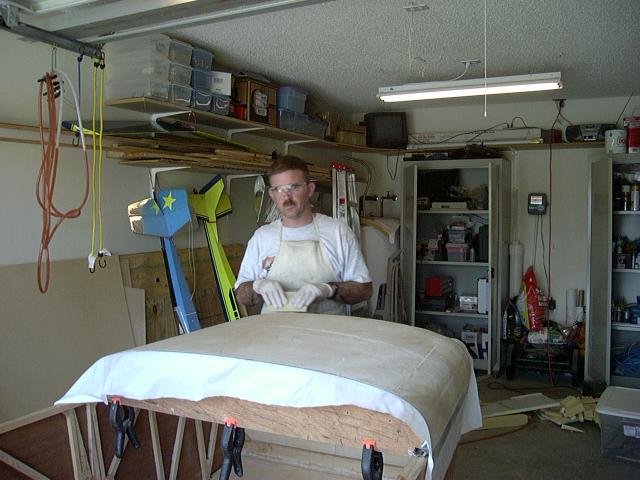
Then the top skin was pressed onto the hat sections and held in place with cargo straps.
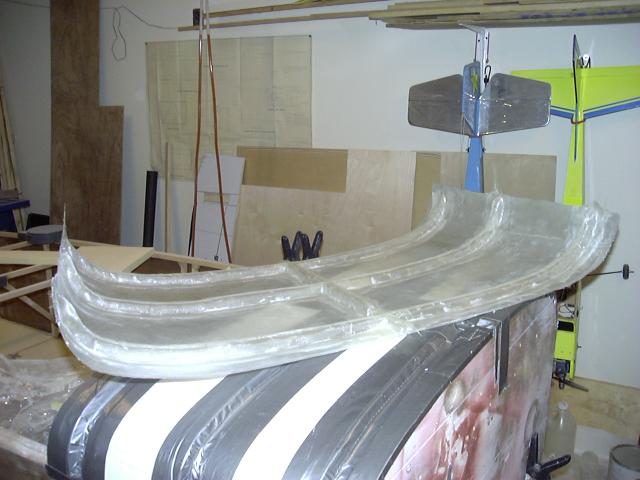
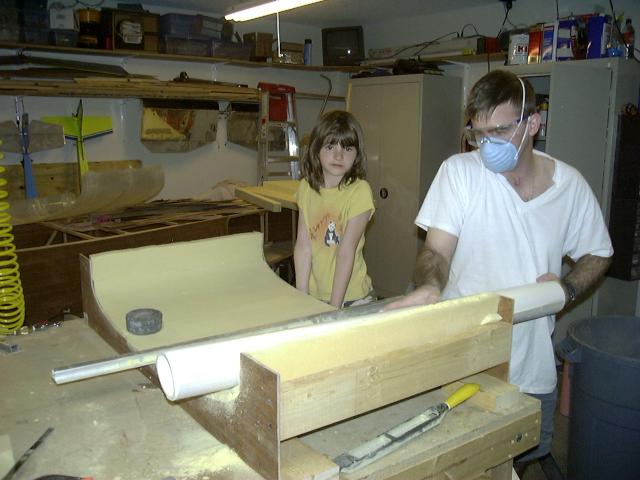
Here is the finished product. It is fairly stiff, however, not stiff enough to be used (I already knew I was not going to
be using it). If I had used a wider BID tape, I think it would have worked--and I intend to use this method for the
turtledeck. The week point in this part is the overlap of the two inch BID tape.
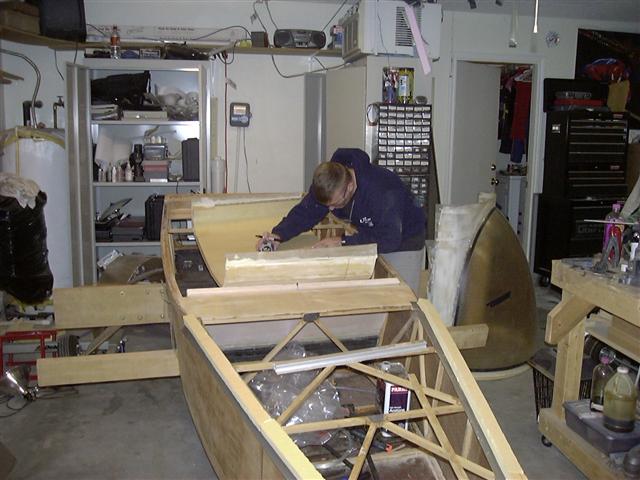
Since I knew I was going to move my instrument panel back, I cut the cross member out and put it in the new location.
I created a new instrument panel template.
I then created "inverse templates" of the instrument panel template and the firewall template. These are offset by
approximately half and inch. Then I cut them out.

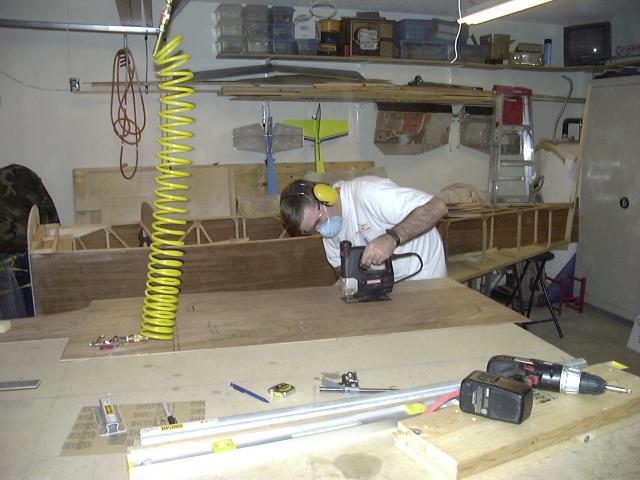
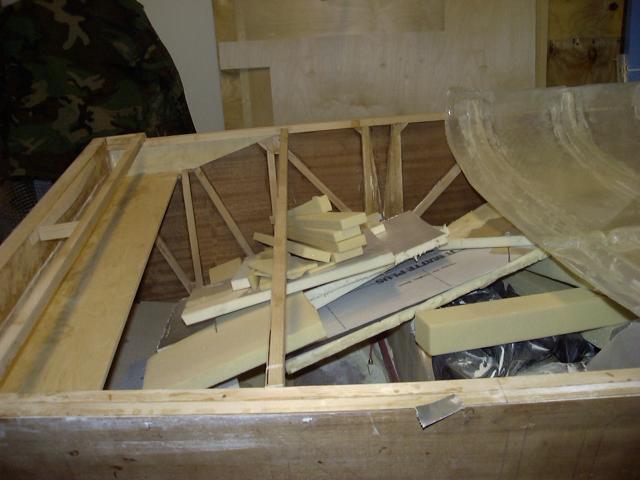
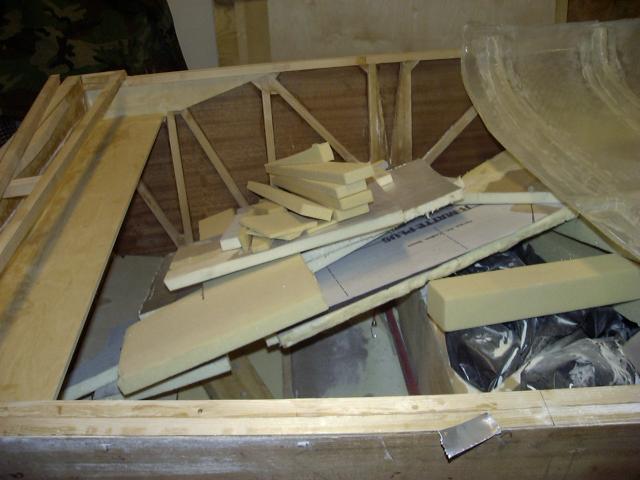
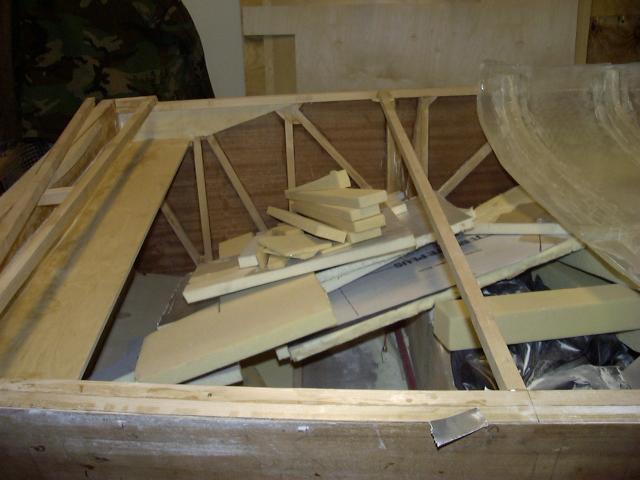
I then jigged up those inverse templates up.
Filled the jig with block foam.
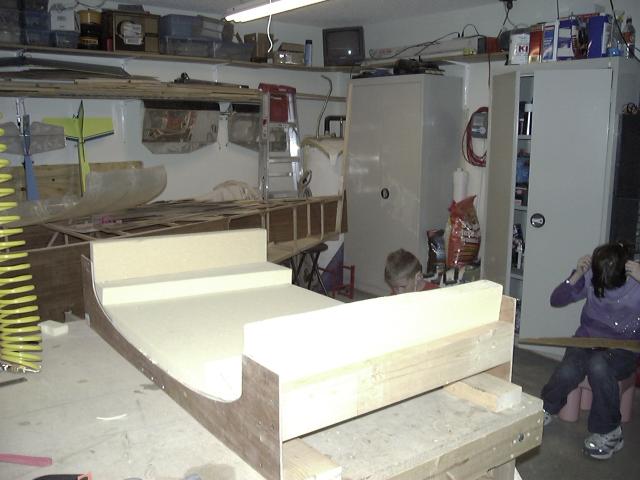
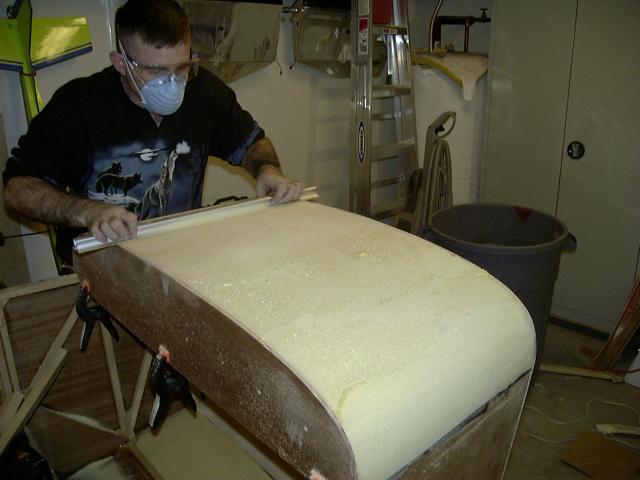
And sanded to shape. I have all three of my kids and the dog in here "helping".
More sanding.
More sanding.
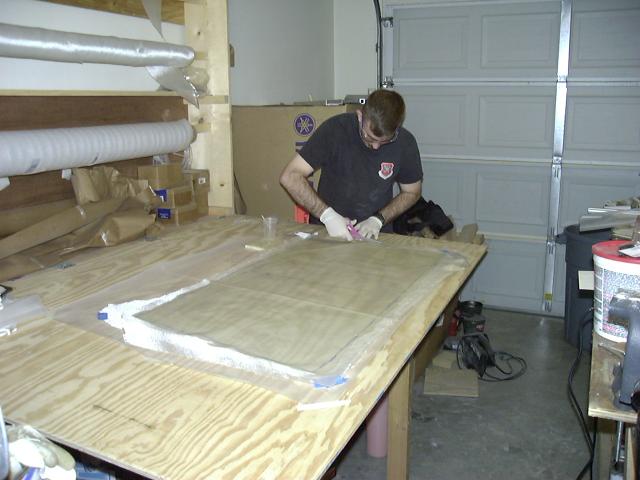
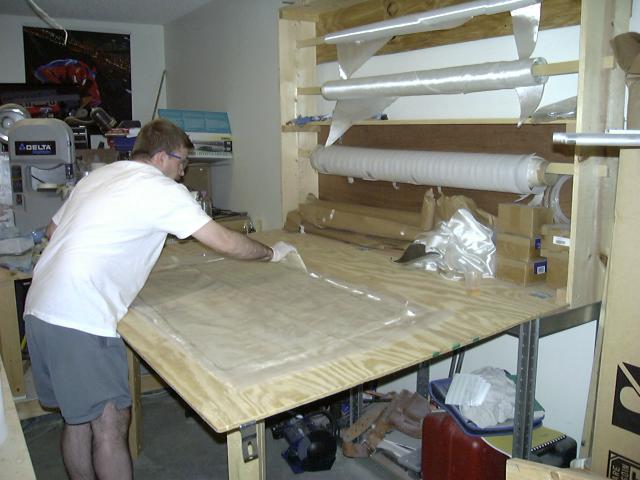
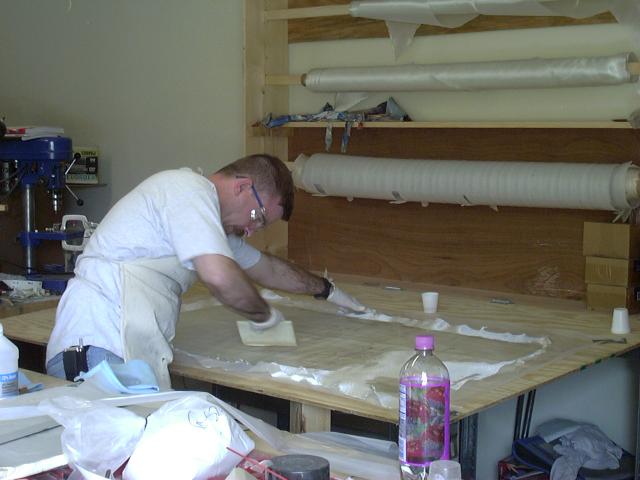
Lay the glass up on the plastic and wet it out.
Here is a first for me--wetting the foam. With the previous method, I did not have to do that because of the
window film. I don't like this part.
Laid out the glass, pulled the plastic off and squeeged in place.
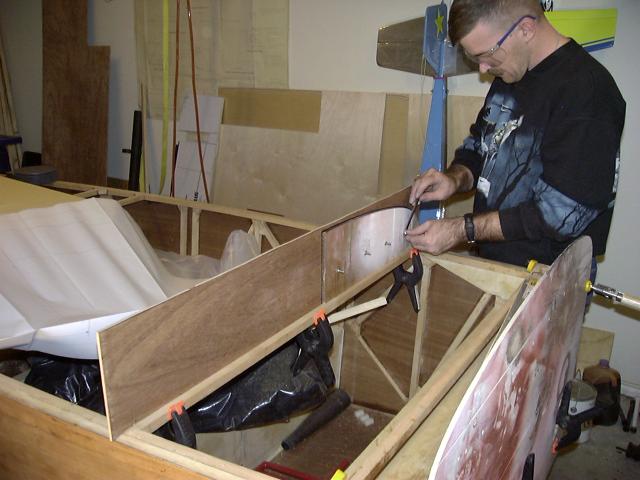
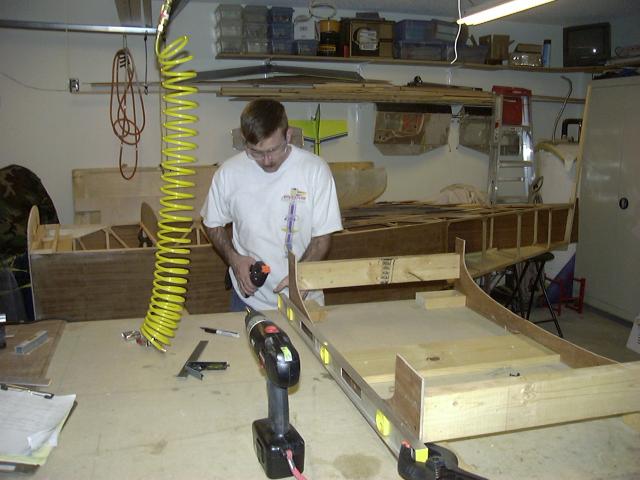
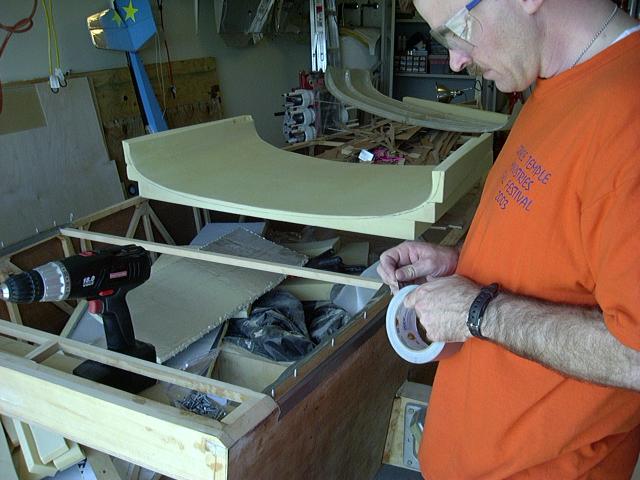
Once the part is out of the jig, I had to attach it to the fuselage. I have elected to make it removable, so here I am
putting down the release agent (Duct tape again). You can see the screws holding the plywood to the hinge half.
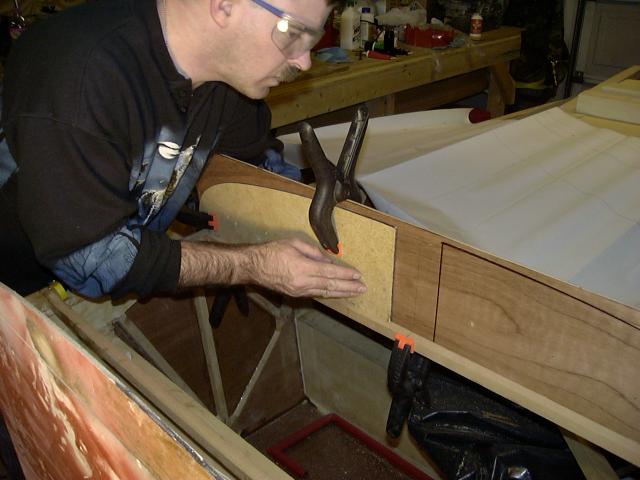
Creating a pocket for the screws. I will fill these with flox.
I have already primed the plywood, so the last step before putting it on the fuselage is to fill the pockets with flox.
Here I've put some weight on the foam to hold it down on the plywood.
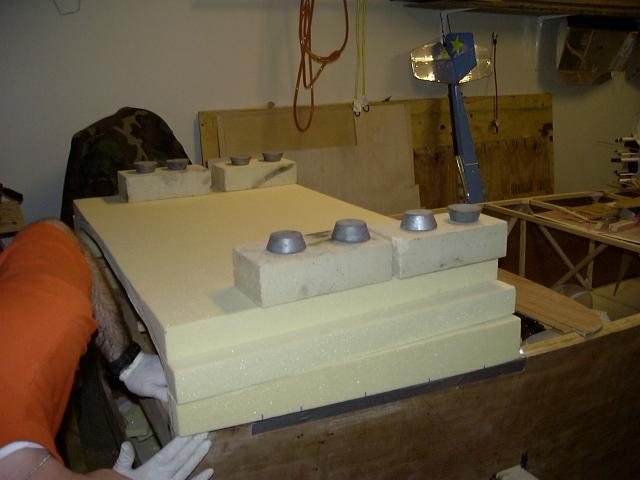
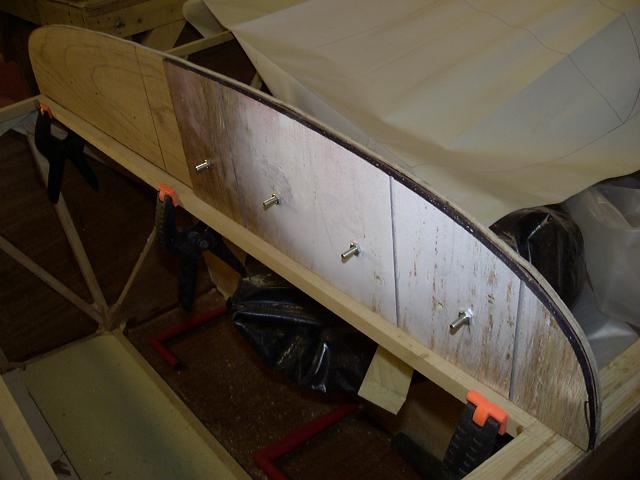
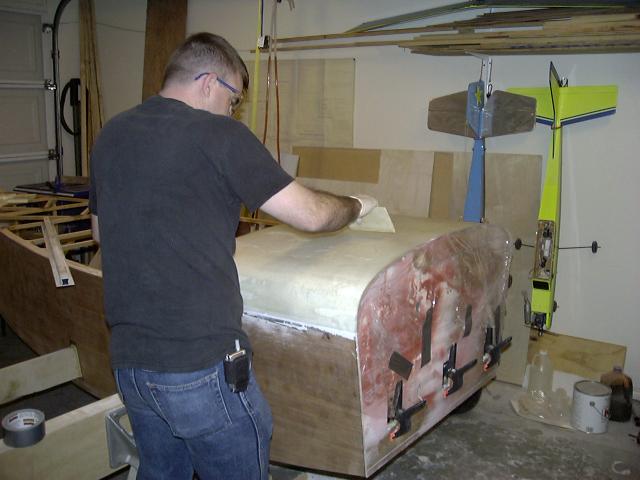
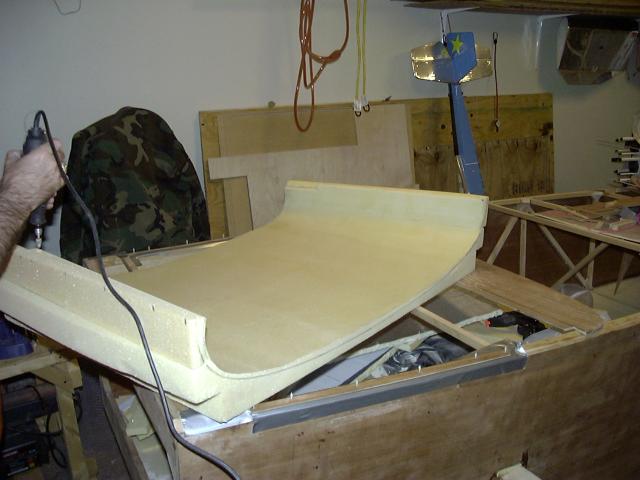
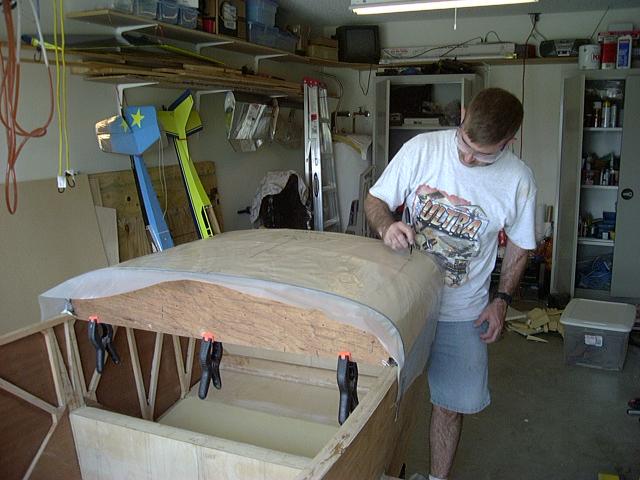
I decided to use the real firewall for the final sanding. Here you can see some of the blocks I hot glued to the
firewall to provide some support for the front deck as I was sanding (the epoxy is cured, but it still moves around
a little bit because the outer skin is not on yet).
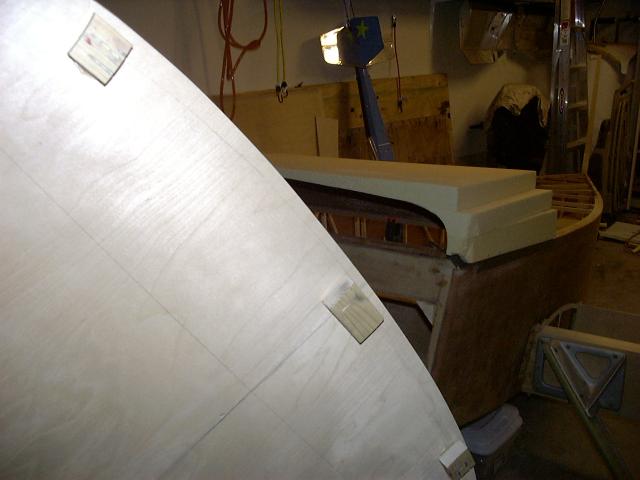
I screwed the firewall on with six small #6 screws, then sanded to shape.
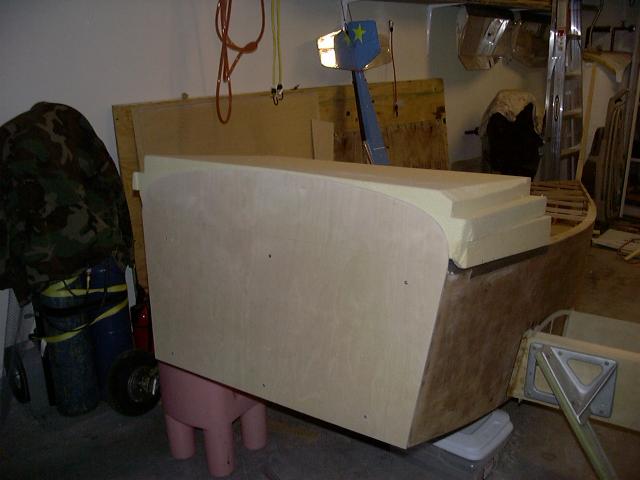
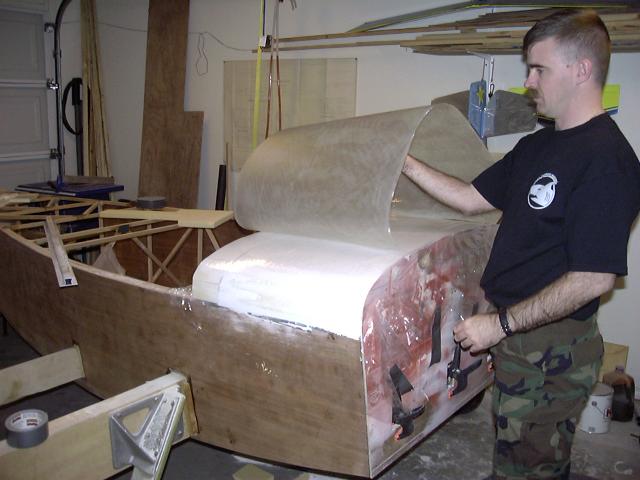
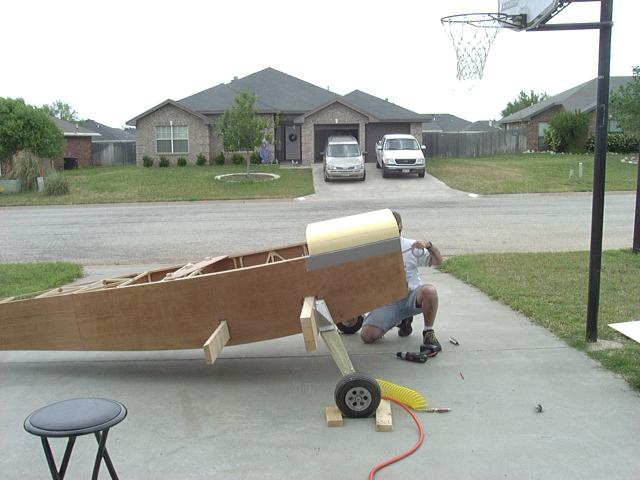
I moved the plane outside and put down some release agent in preparation for the top skin. My plan is to make the top
layer of skin extend down below the longeron. This way I have a built in wind seal (this may yet be removed, but this
is the plan for now).
Here I have the plastic on so I can mark it.
Lay the glass out on the plastic and wet it out.
Seal the foam with a runny micro mixture.
Squeegee the glass in place and remove the plastic.
The final step was to put down a layer of peel-ply and squeegee it into contact with the glass.
8 July, 2007
This is the first update on this page in over two years.
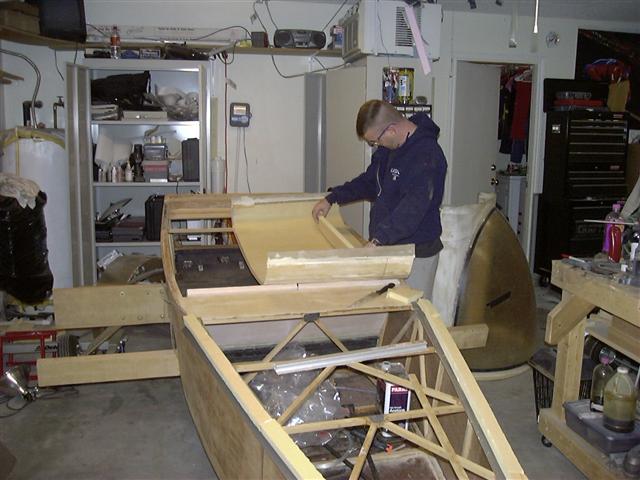
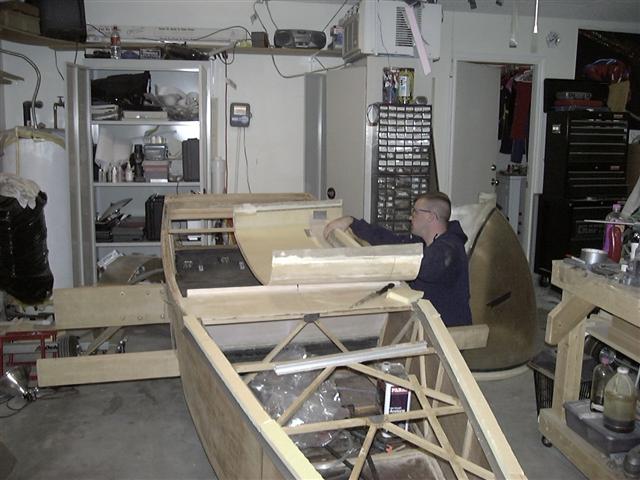
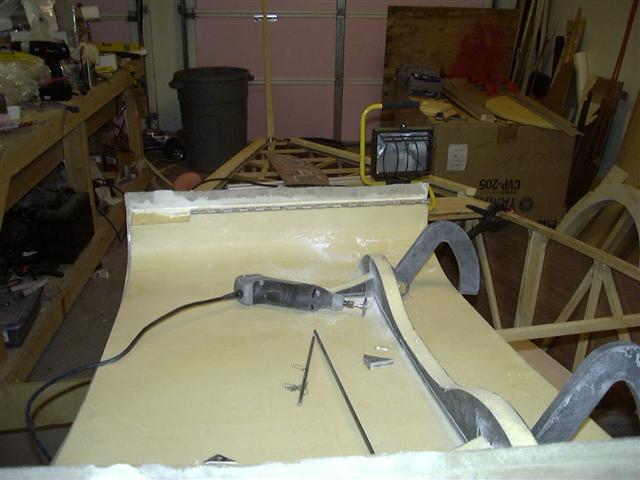
Now that the front deck has glass on both sides, I wanted to add something that would stiffen it and allow the canopy
hinges some place to attach. Here I am creating some layout marks for the hinge mounting points.
Once I had the layout line in place, I rough cut a piece of foam to shape, then attached some sandpaper to the bottom
of the deck to use to finish shaping the foam to match the curve of the deck.
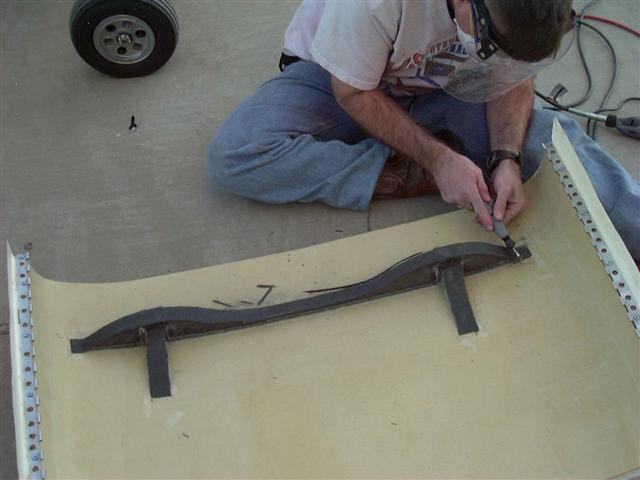
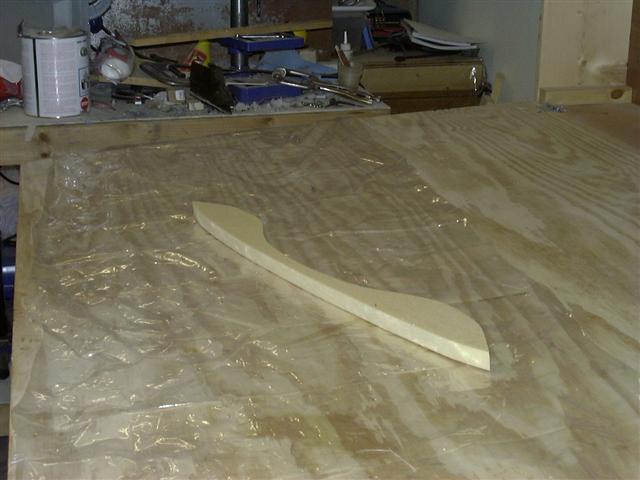
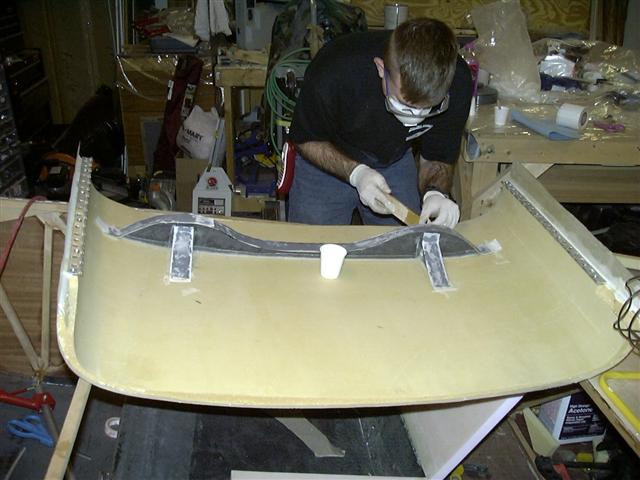
Here is the first piece (the main brace) all cut to shape and ready to have Carbon Fiber (CF) put on both sides.
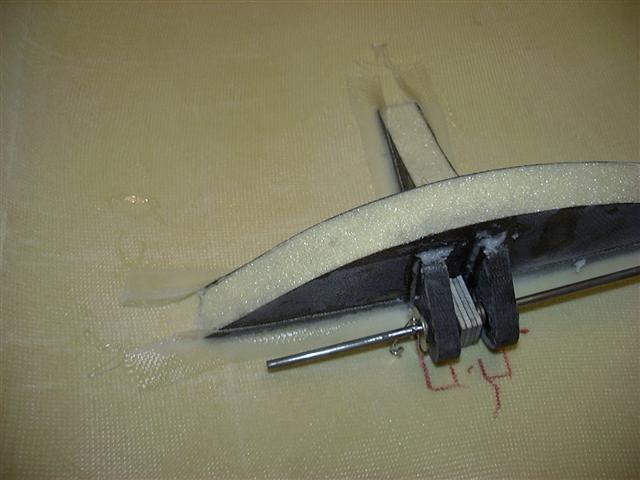
Once I had the CF on both sides, I attached it to the bottom of the front deck. I also put in the hinge pivot points
and another brace behind the hinge attach points for extra strength. The long rod was used to keep the hinge points
square.
I then trimmed everything up,
Covered the exposed foam with CF,
And finally trimmed everything up.