This page will document the construction of my firewall. I may eventually move it under the
Corvair page when I start adding components to it, but for now, I'll keep it separate.
16 June, 2005
I started by making a template for the firewall on scrap paneling. I did not want to mess up my
real firewall when I was making the front deck and figured it would be a good learning practice.
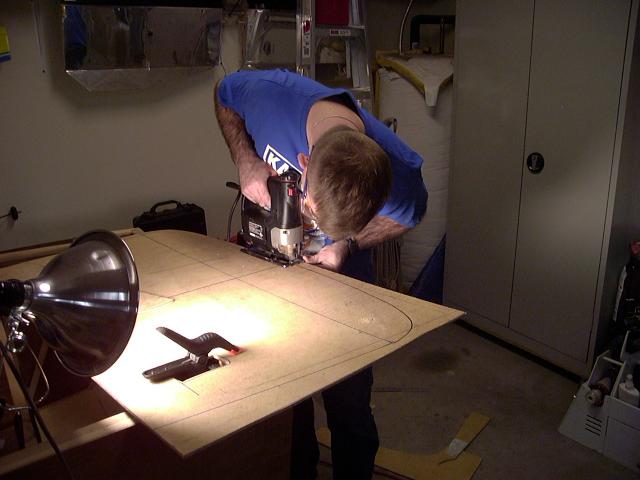
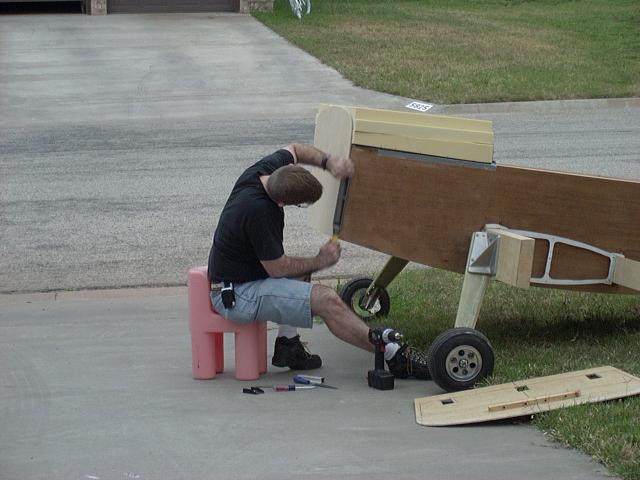
The four bolts you see here are holding a second sheet of wood under the top section of the
firewall. This is so that I can duplicate the curve on the second side by simply flipping this
board over once it is cut out.
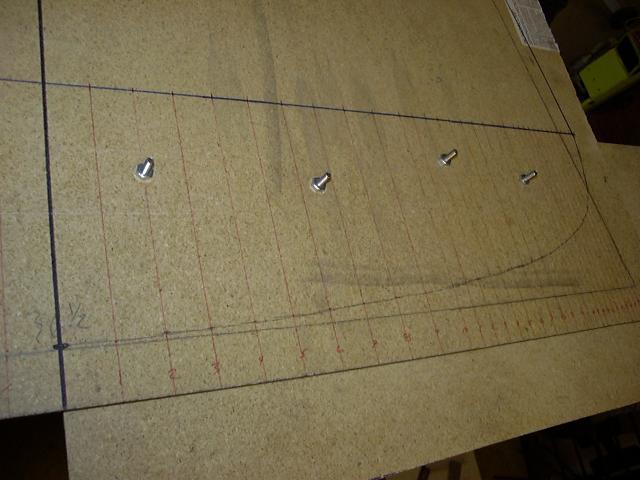
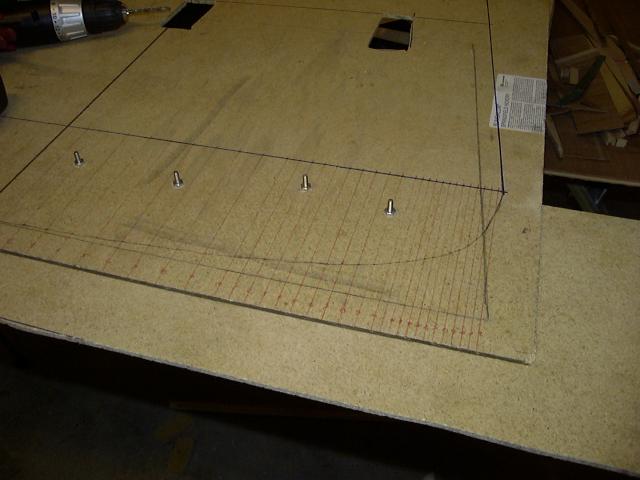
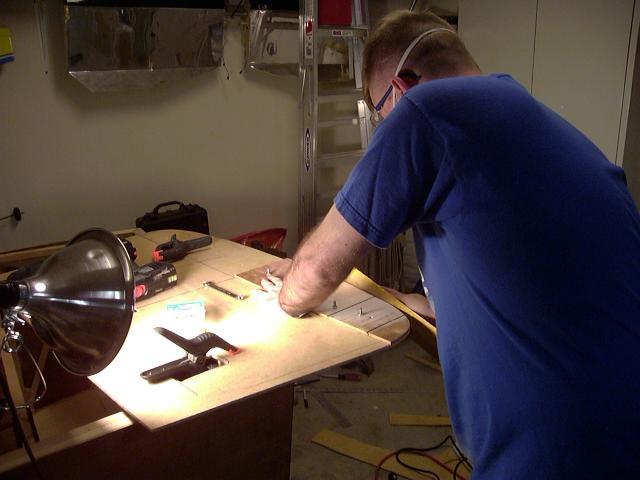
This is another shot showing more of the firewall templates. The two holes you see at the top
(there are actually three) are used to clamp the template to the lower firewall brace on the
fuselage. That is how I was able to draw the outlines for the fuselage on the firewall template.
The red lines are plots to where to draw the top curved arch. I was originally going to use them
to duplicate the curve on the other side of the firewall and then use them when it came time to
draw the instrument panel (with modifications for width). After plotting out one side, I decided
it would be simpler to create a template (hence the reason for the bolts).
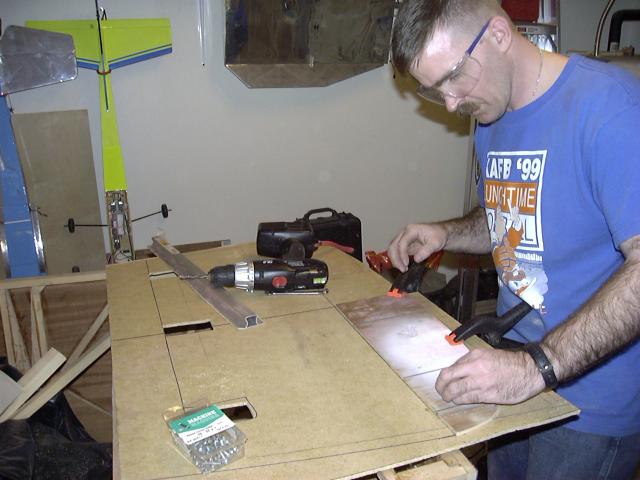
Here I am cutting out the first side of the firewall template. You can see that I am cutting out
the half template at the same time.
The half template is then attached to the second side of the firewall and the arch is drawn.
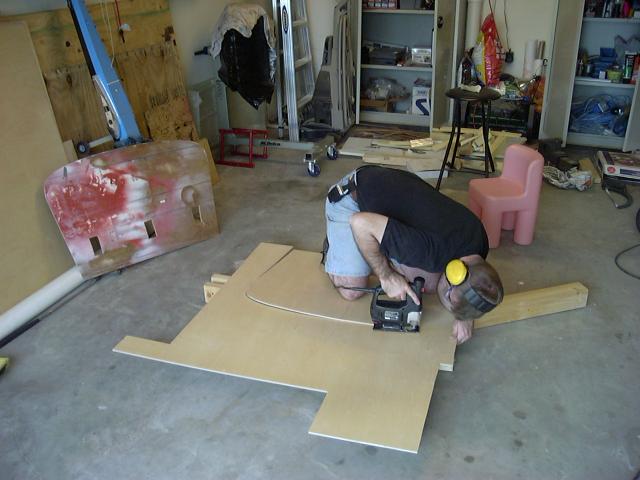
Here I am cutting out the second side of the firewall template.
After both sides had been cut out, I cleaned up the half template, the re-attached it to the
firewall template. Here I am sanding the firewall template down to the half template. This
is done for both sides of the firewall template.
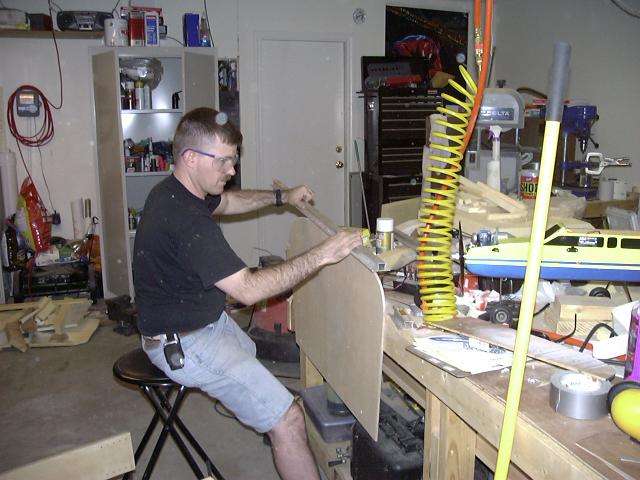
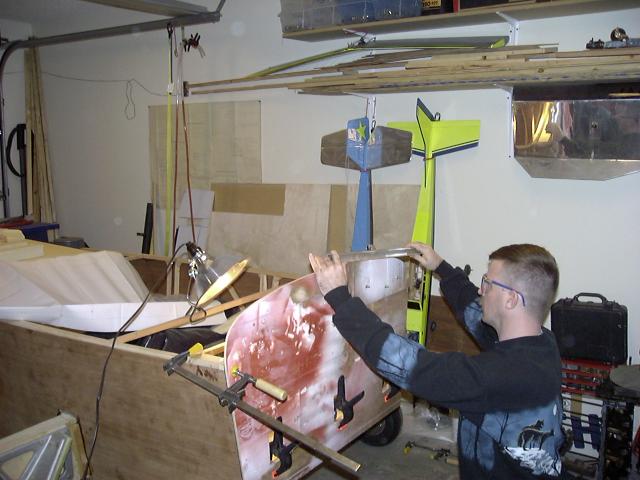
Next, I mounted the firewall template on the fuselage and began the slow process of sanding the top
so it "looked" right. In this picture, I am rocking the strait edge across the top to find any low
spots or high spots. Once everything is done, the strait edge will rock from one longeron to
the other without feeling any bumps.
I did use the firewall template to create a forward deck, however, I was not pleased with the way
it turned out. Actually, I knew it was going to be a practice piece because I had seen where others
were putting their instrument panels and knew mine was to far forward. Since I was almost ready
to glass when I came to this conclusion, I decided I would use this opportunity to try out a different
method of construction. Once I was satisfied, I remade the instrument panel template and created
the second front deck
Once I had made the front deck, I decided it was time to cut the real
firewall out of 1/4" ply as called for in the plans. I began by laying the firewall template down
on the sheet of plywood and tracing the outline.

I then cut out the firewall.
Since the pencil marked outside the template, I had to trim the real firewall down to fit the
fuselage. I did this by mounting the firewall to the fuselage with three small wood screws and
then trimmed to shape. I started with my sure-file and ended with sandpaper. The end result is a
firewall that matches the fuselage perfectly.
Once the firewall matches the fuselage, I made sure it was smooth across the top and matched the
template. Here I am checking with a strait edge.