5 April, 2003
Background:As I was going through the Wicks and Aircraft Spruce catalogs trying to determine what product to use for corrosion control on my aluminum parts, I remembered doing some research some time back about anodizing aluminum and decided to do a little investigation. A few quick searches on the internet led me to believe that I could anodize my own parts at home in my garage for next to nothing. This webpage will describe the process using photos taken during the process. Some photos were taken while I was doing my sample pieces and others while I was working on real parts. I did however do all of the sample pieces BEFORE I did any real airplane parts. This gave me the opportunity to pick which color I wanted to use with some idea how the end product would look.
Please note that I have not done any destructive testing to determine the effects of this process on the parts, however, the theory is that an anodized part is actually harder than the original part and is more corrosion resistant. The process described here is for 6061 series of aluminum alloys and you will have to do your own research before attempting the process on any other alloy. This is because the other alloys have different trace metals which react to the acid bath in different ways. The other alloys (even cast) can be done, it will just take a few more steps. A quick search on the internet will give you most of the information you will need to do these parts (lots of sites dedicated to anodizing everything from paintball guns to telescope parts).
The whole process boils down to just a few simple steps:
Step 1: Polish, clean and prepare the parts.
My first few sample pieces were polished over the course of 3 or 4 days by simply dropping them into my tumbler (used to polish pistol and rifle brass) while I was working on some of my aluminum parts.
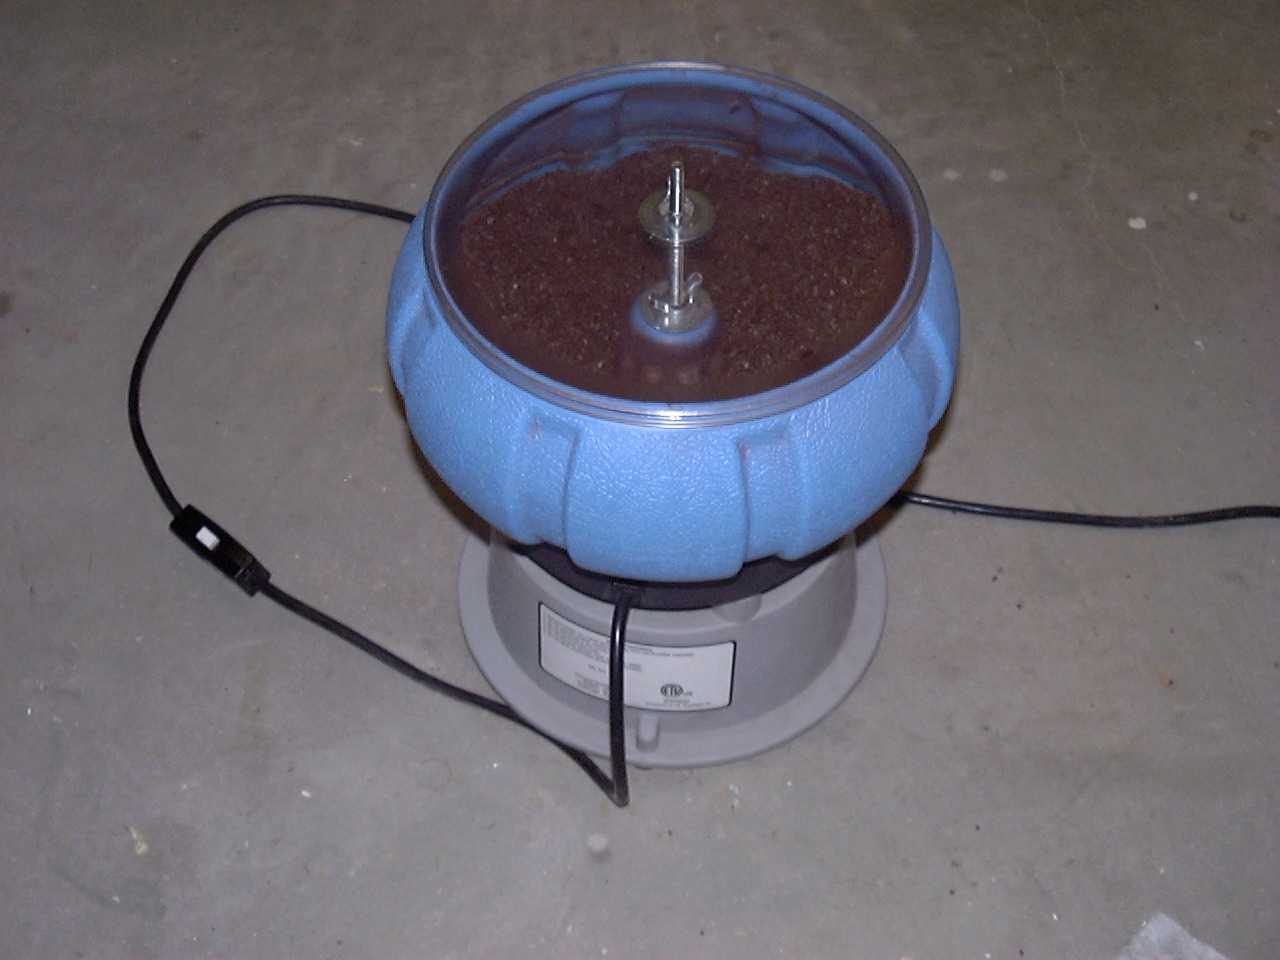
This worked for small pieces if I had plenty of time before I was planning on anodizing them. I soon discovered however
that a polishing wheel mounted on my bench grinder and one mounted in my drill press did a much better (and quicker) job.
Once you have the surface the way you want it (the end product will not get any better than you have the part now), you
need to clean it real good. I used soap and water with good results taking care not to touch the parts with my bare hands
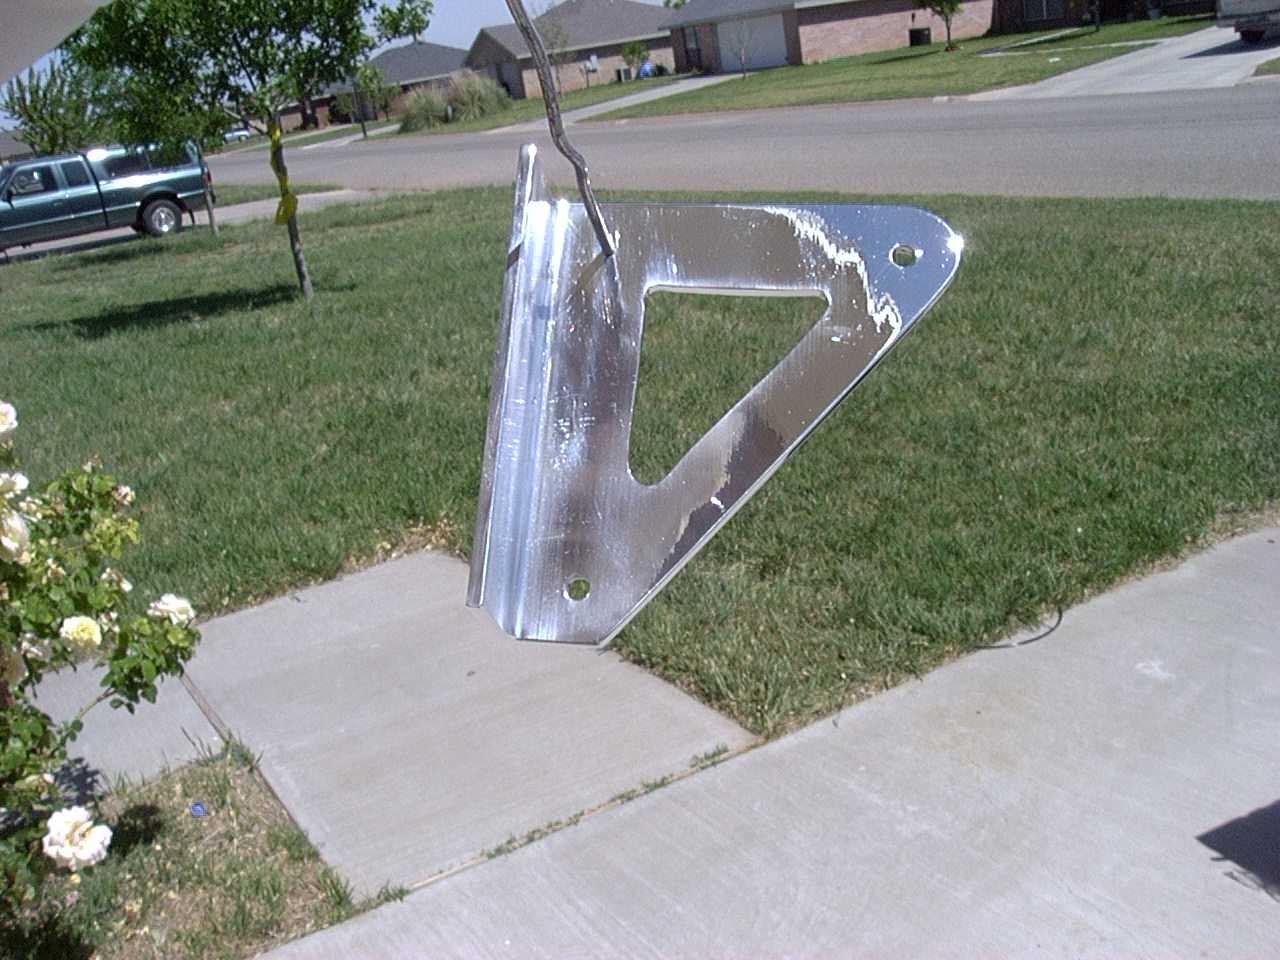
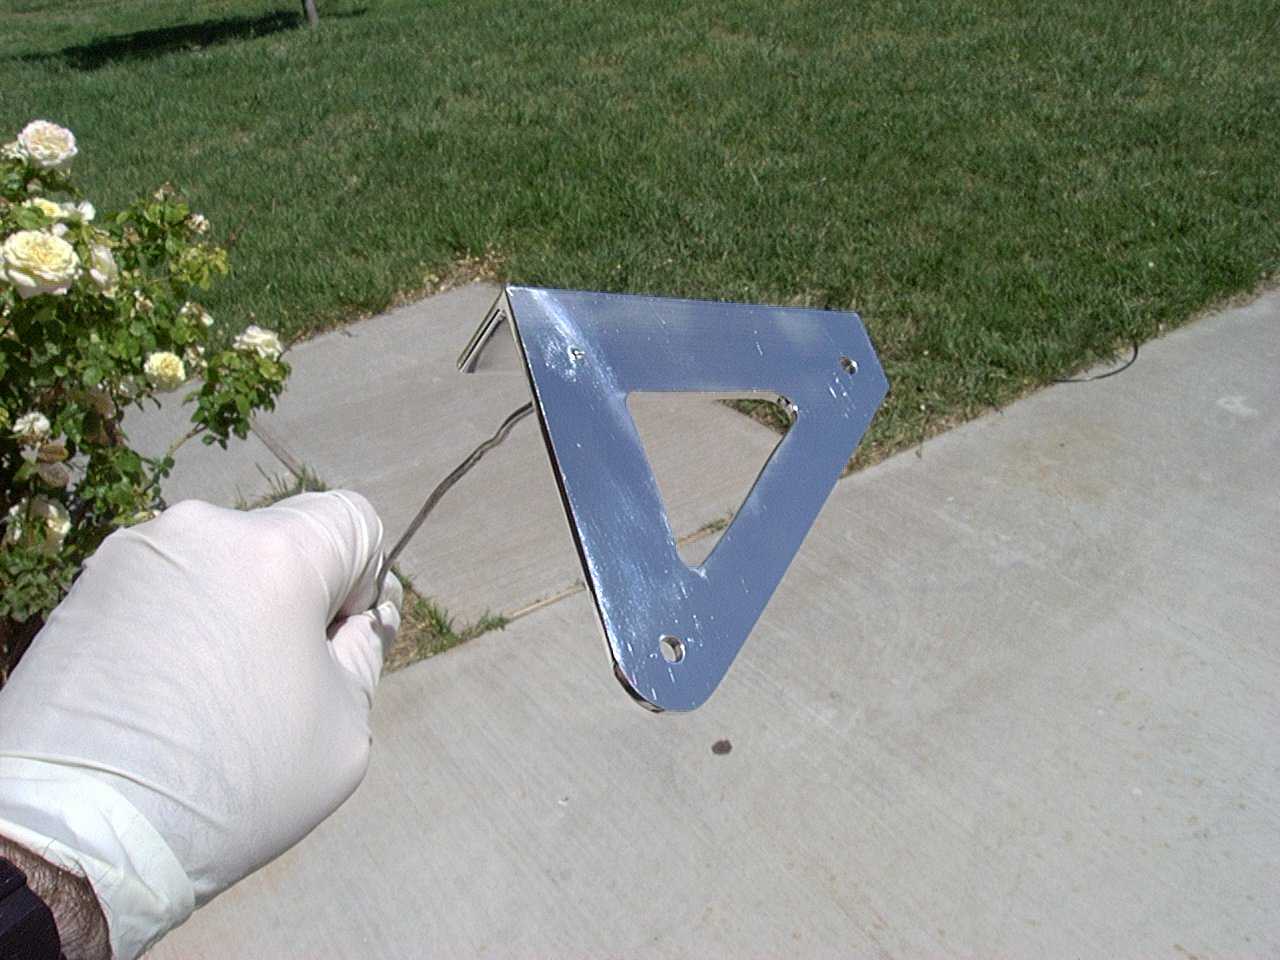
after they had been cleaned (keeps the oils from you hands off it). Here is the elevator counterbalance bracket shown after it has been cleaned and prepped for the
acid bath. Note the wire used to support it. It is 12.5 gauge aluminum wire used for electric fences that has been screwed
into the part. To do this, you'll need to drill and tap a hole for the wire (44-40 is the size I used)
--remember that this hole must have a secure connection for the current to flow and it will NOT be anodized.
Step 2: Prepare the acid bath
The acid bath is nothing more than a container large enough to hold the parts you plan to anodize submerged in a bath of acid.
I used a simple plastic tub labeled as a sweater box. I filled it with about a gallon and a half of distilled water (I'd recommend
against tap water just to keep the impurities out of the solution), then added an equal amount of battery acid (1.5 gallons for $6
at a local battery shop). This strength solution worked out well for me. Remember the three A's when dealing with acid:
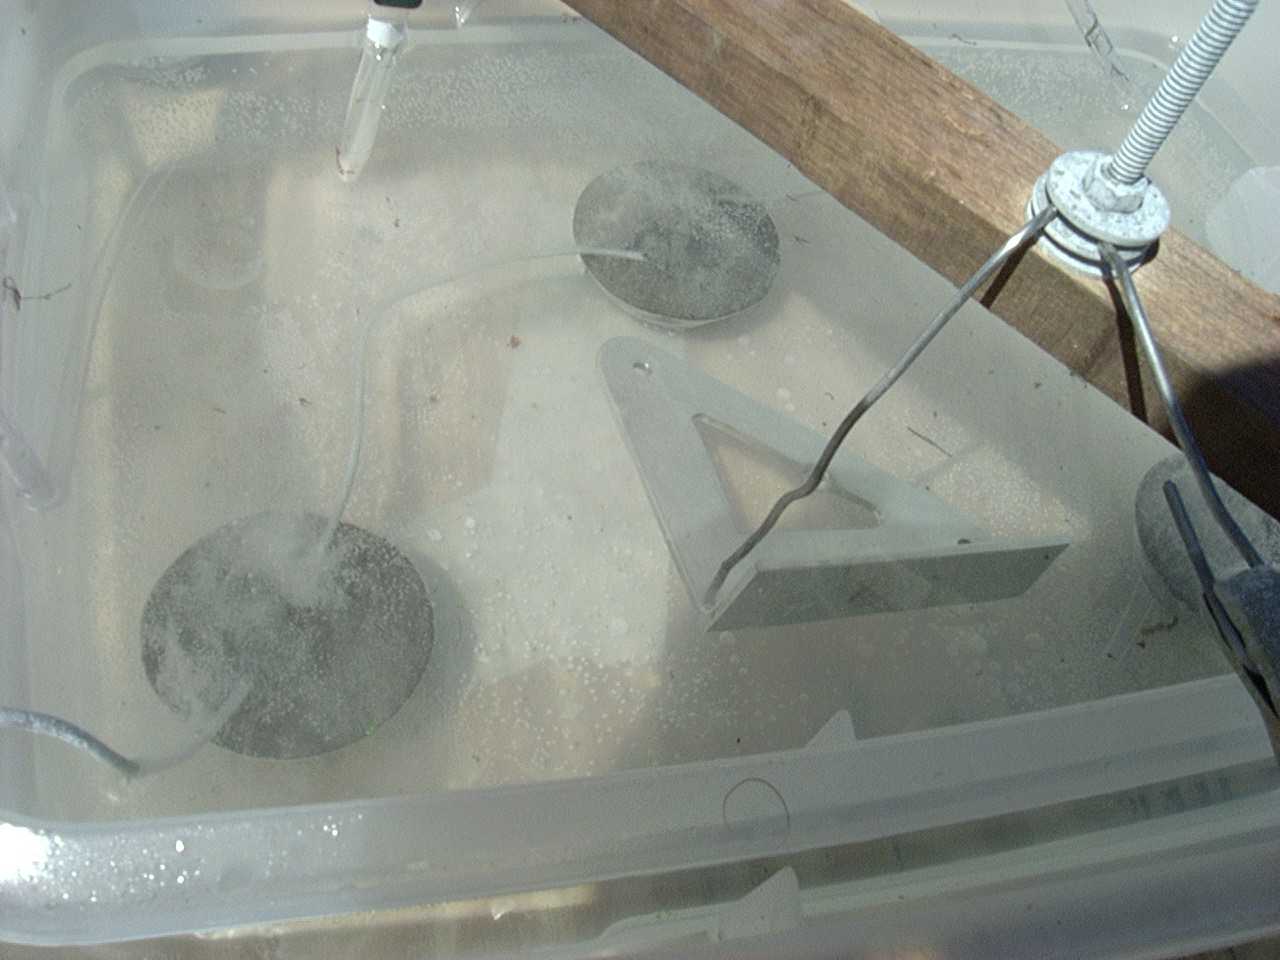
Always Add Acid! The solution may heat up a bit when you add the acid so watch out. You will need something to use as a cathode
for the system. This can be anything from a piece of aluminum to a piece of lead. Just remember that it needs to have at least as much
surface area as the parts you anodize. I used three chunks of lead that had been poured into a muffin pan and then connected them
with aluminum wire. In this picture, you'll note that all three pieces are connected in series. The wire going into the bath
and the wire coming out are connected together and then connected to the negative lead of a 6 amp battery charger (the current
source). In this picture, the acid bath is actually sitting in a second container (the positive lead of the battery charger is
connected to it just as a place to put it so I know where it is). This allows me to add ice water in the outer container to help
cool down the acid bath while it is working.
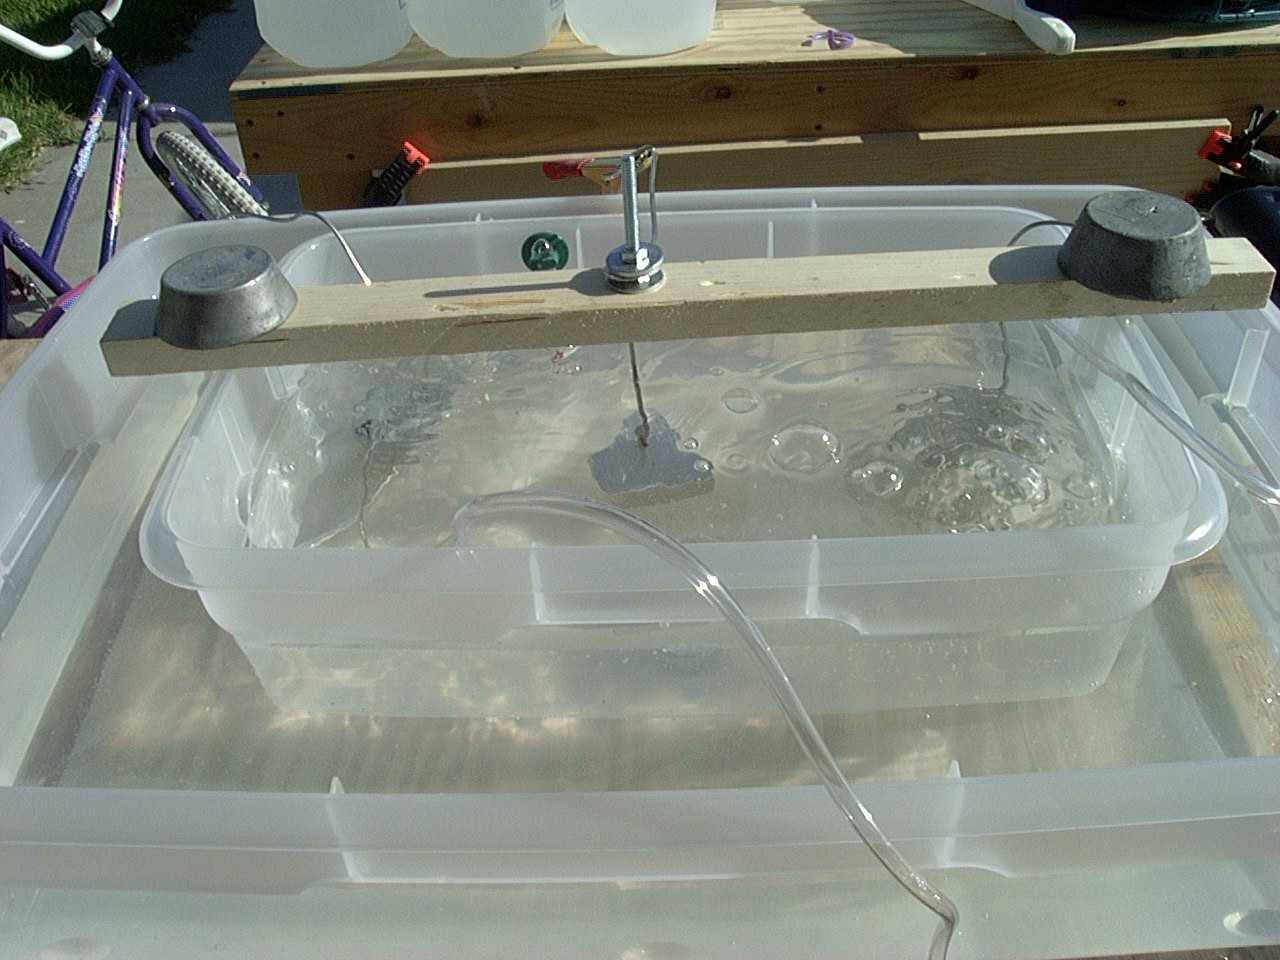
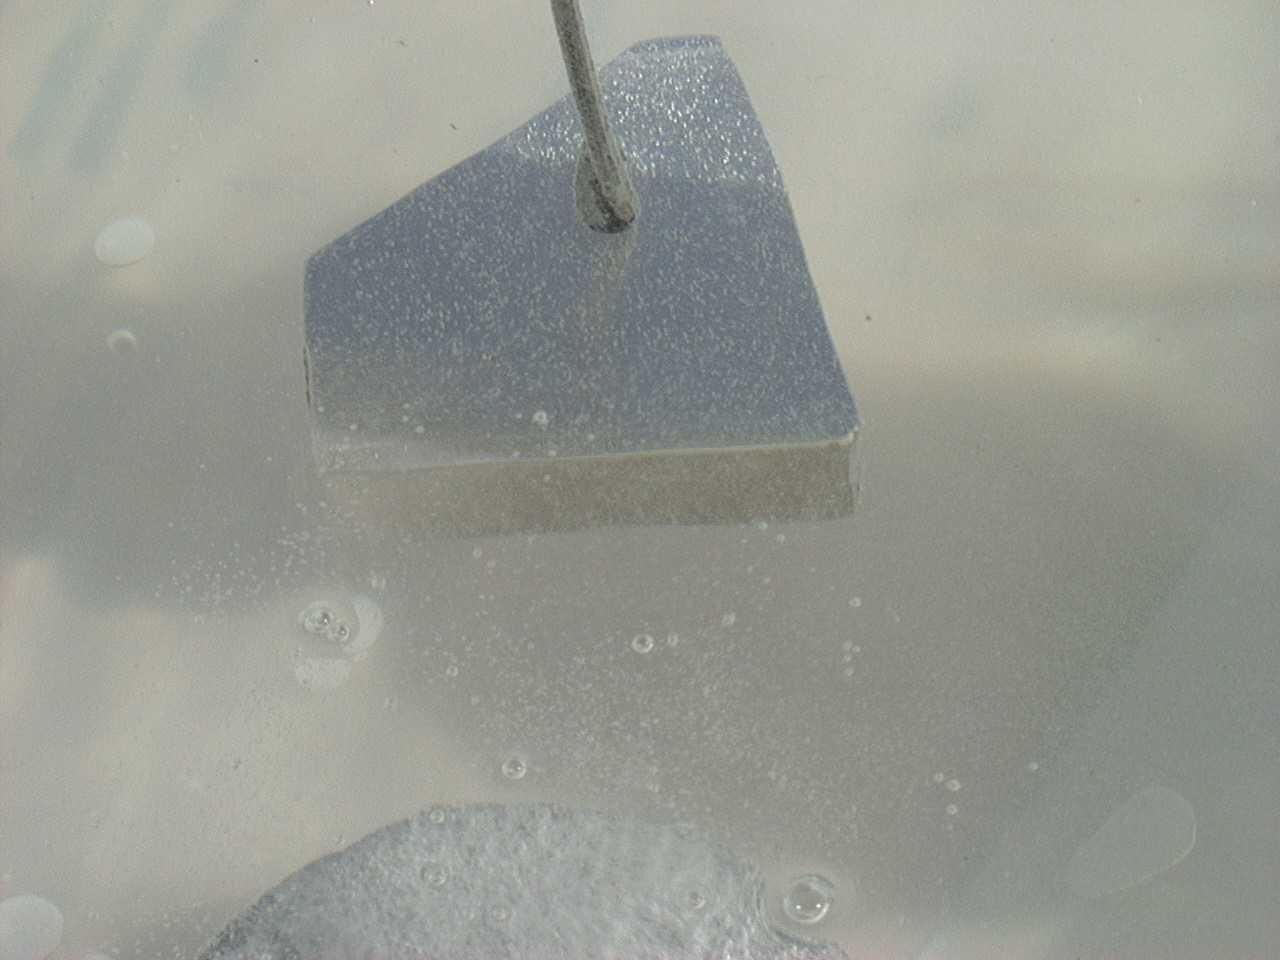
Step 3: Put the part in the bath
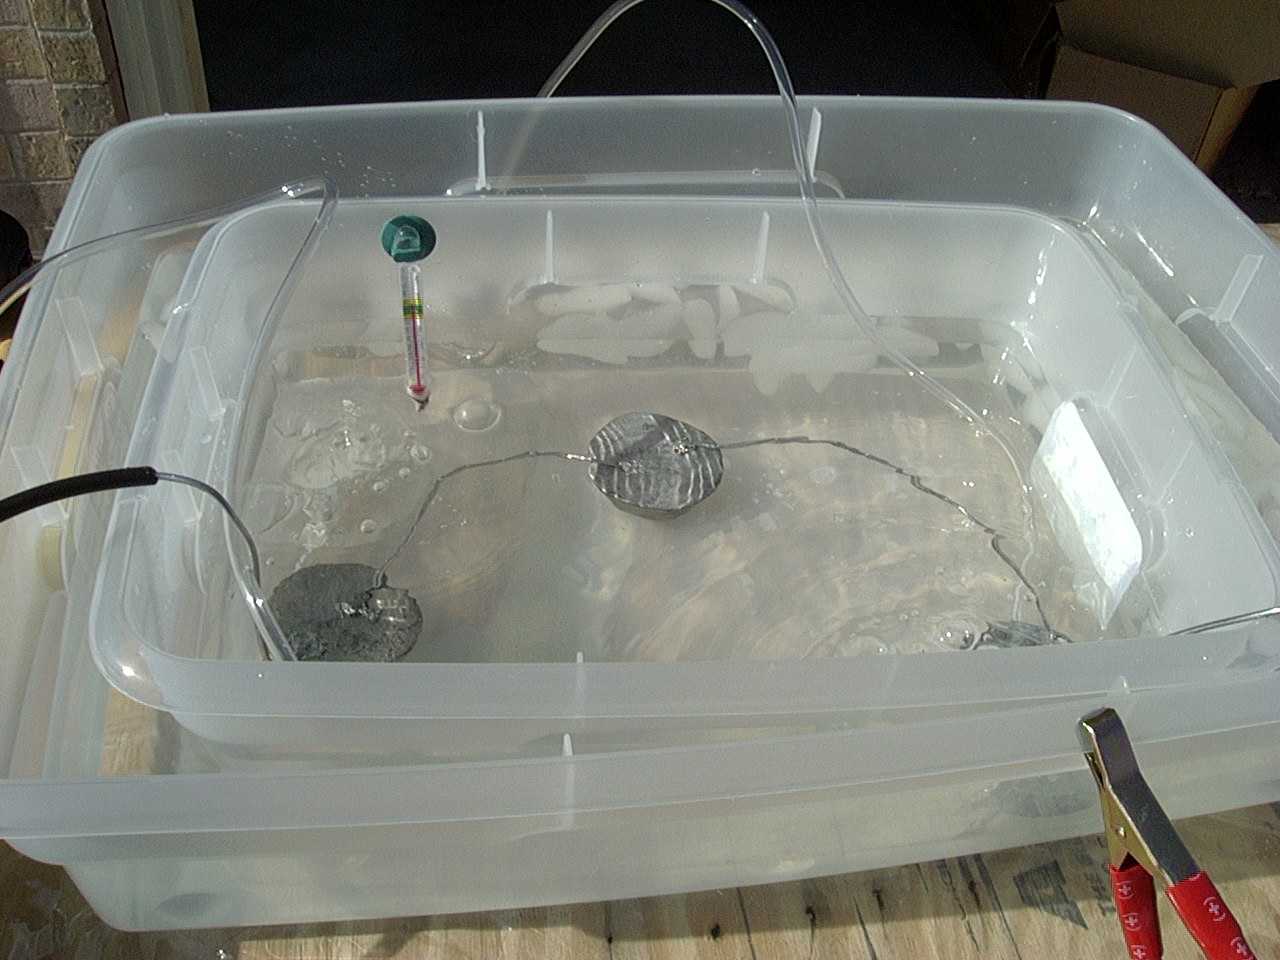
These 4 pictures show parts submerged in the acid bath. I suspended mine from a board such that the part was completely submerged
and not touching anything (the lead cathode, the sides or the bottom of the bath). Then the positive lead of the battery charger
is attached to the aluminum wire screwed into the part and the charger is turned on. The rule of thumb here is that it takes 900
Amps per square foot of material for the process to work. This sounds like a lot, but really is not since we are dealing with
square inches and truth be told, I never really figured it out to the minute anyway. I just left it in the bath for just over
an hour (about 70 to 80 minutes depending on the size of the part). The larger the part, the more current it will draw from
the charger. Some of my small test samples hardly drew 1 amp, yet the bigger pieces drew over 6 amps. Once the current flows,
you will notice lots of bubbles from the cathodes (lead in my tank) and smaller bubbles from the part. If you do not get bubbles,
you do not have a solid electrical connection. Make sure to do this in a well ventilated location because of the hydrogen gas
formed as part of the process. The two clear airlines you see in the picture are to keep the solution stired up.

Step 4: Dying
Once the part has been in the bath for the required time, it will take on a slight yellowish (great technical term!) tint.
At this point, I removed the part (turning off the current first!) and rinsed in a bath of fresh distilled water. One of the
chemical changes made to the aluminum part is that the surface becomes porous. This allows it to accept a dye. There are dyes
made just for this purpose, however, I did not feel like ordering them and having to wait for them to arrive to start my
experiment. On the recommendation of some of my research, I tried plain old Rit clothing dye and it worked great. I actually
bought several different colors to make different samples to see which one I liked best (more on that later). I preferred the
liquid version, however the powder worked also. To create my dye solution, I emptied an entire bottle of the liquid dye
into a gallon of distilled water. Don't forget to remove some of the water first so that it does not overflow when you pour in
the dye! Once it is all mixed up, pour it in a large pot (it has to be big enough to hold your parts submerged). I used a
12 quart stock pot which worked well for the pieces I've done so far. I know I'll have to improvise when it comes to do some
of the longer pieces--I'll probably end up creating something using house gutter material sealed at both ends. Now you have
to heat the dye solution to somewhere between 140 degrees and 160 degrees and maintain it at that temperature. If you are using
powdered dye, heat the water and add two packages of the powder and stir it well. Next, suspend your part in the dye bath. I
used 15 minutes, but did experiment with less time with some good and some bad results. All my real parts have been done for 15
minutes so far. Try not to touch the sides or bottom of the pot if you can, however it is not as critical as it was in the acid
bath.
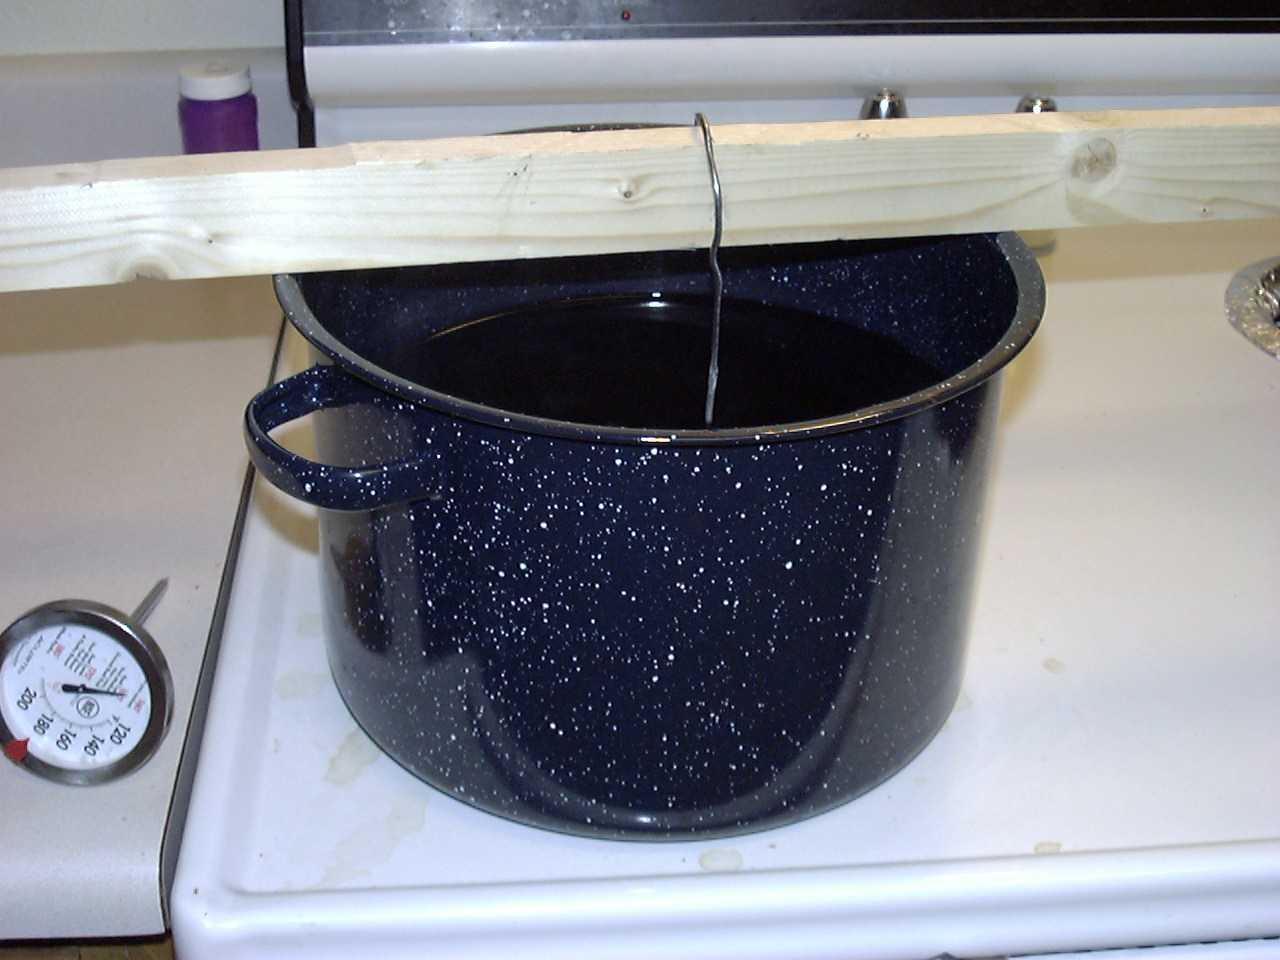
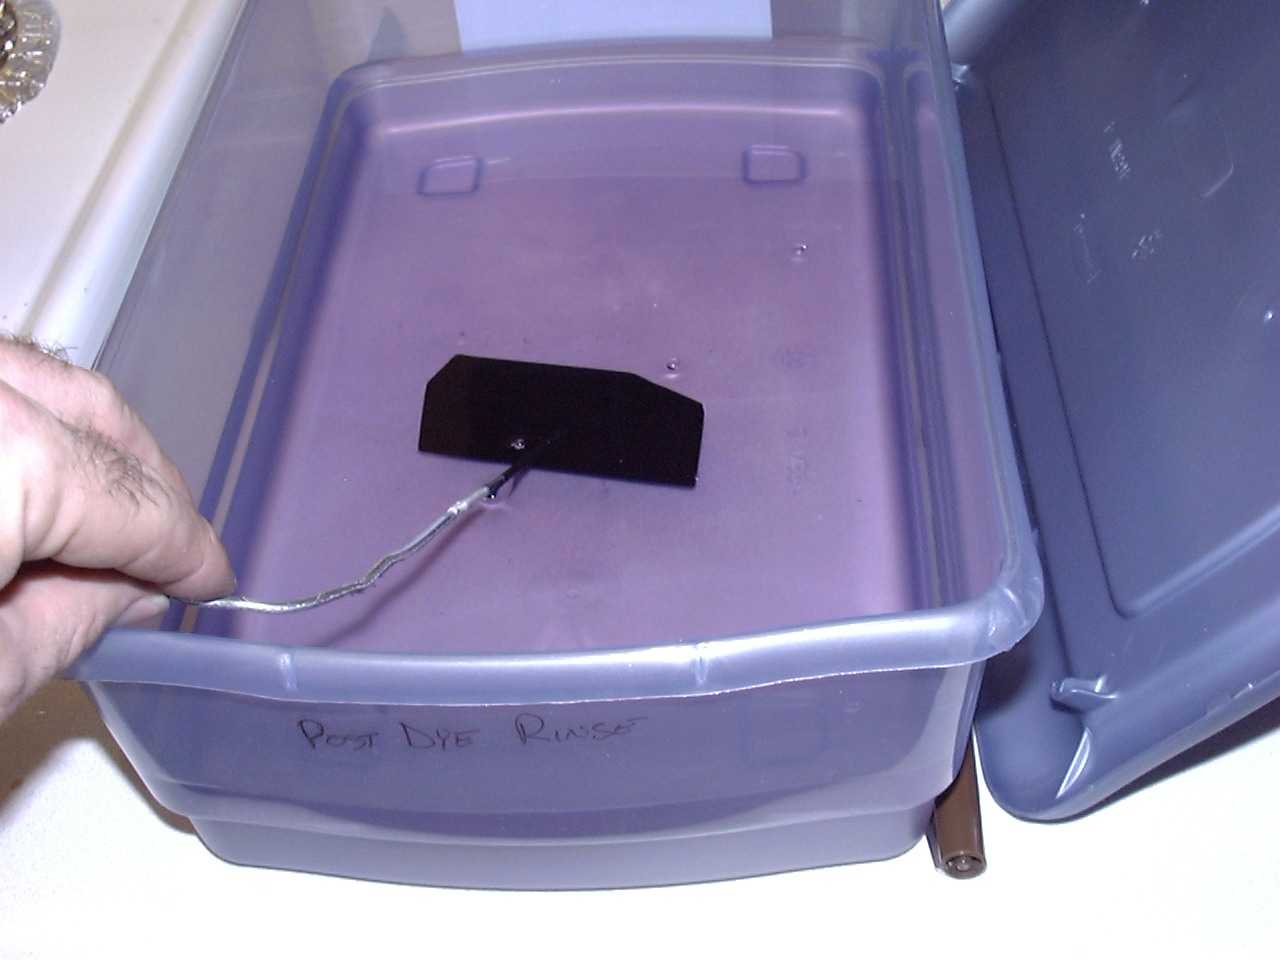
Step 5: Sealing
The next step is to seal in the dye or finish the part if you elect not to dye it. Once it's time in the dye bath is up,
remove it and rinse any remaining dye off in a bath of distilled water. Remember how we said the surface of the part becomes
porous in the acid bath? Now we will close those pours, trapping the dye in for ever. There are chemicals to do this job if
you elect to purchase some kind of anodizing kit, however our simple solution is to simply boil the part for about 15 minutes
in distilled water. These pictures show the post dye bath, and then the part in the sealing bath.

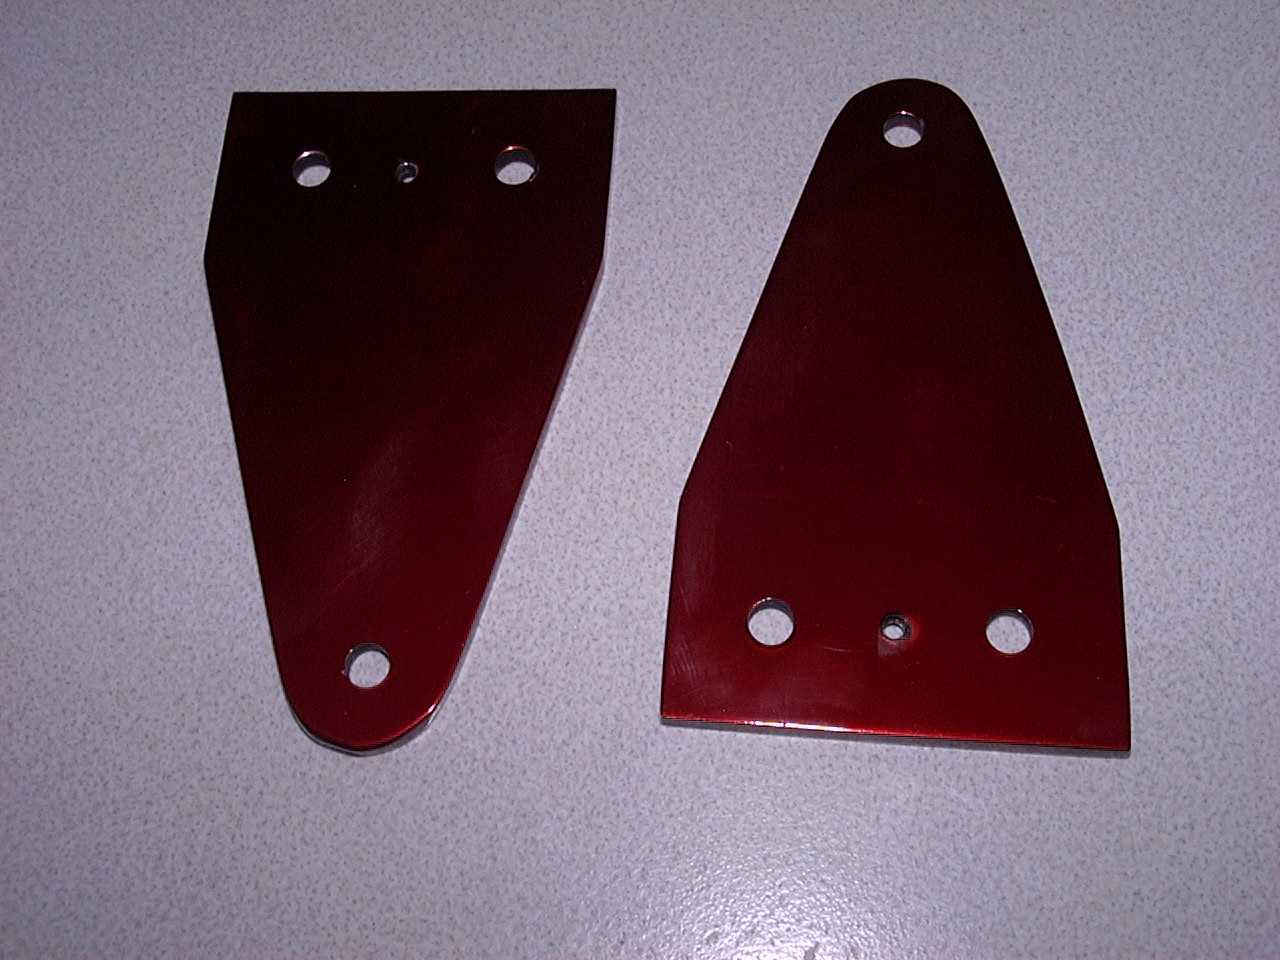
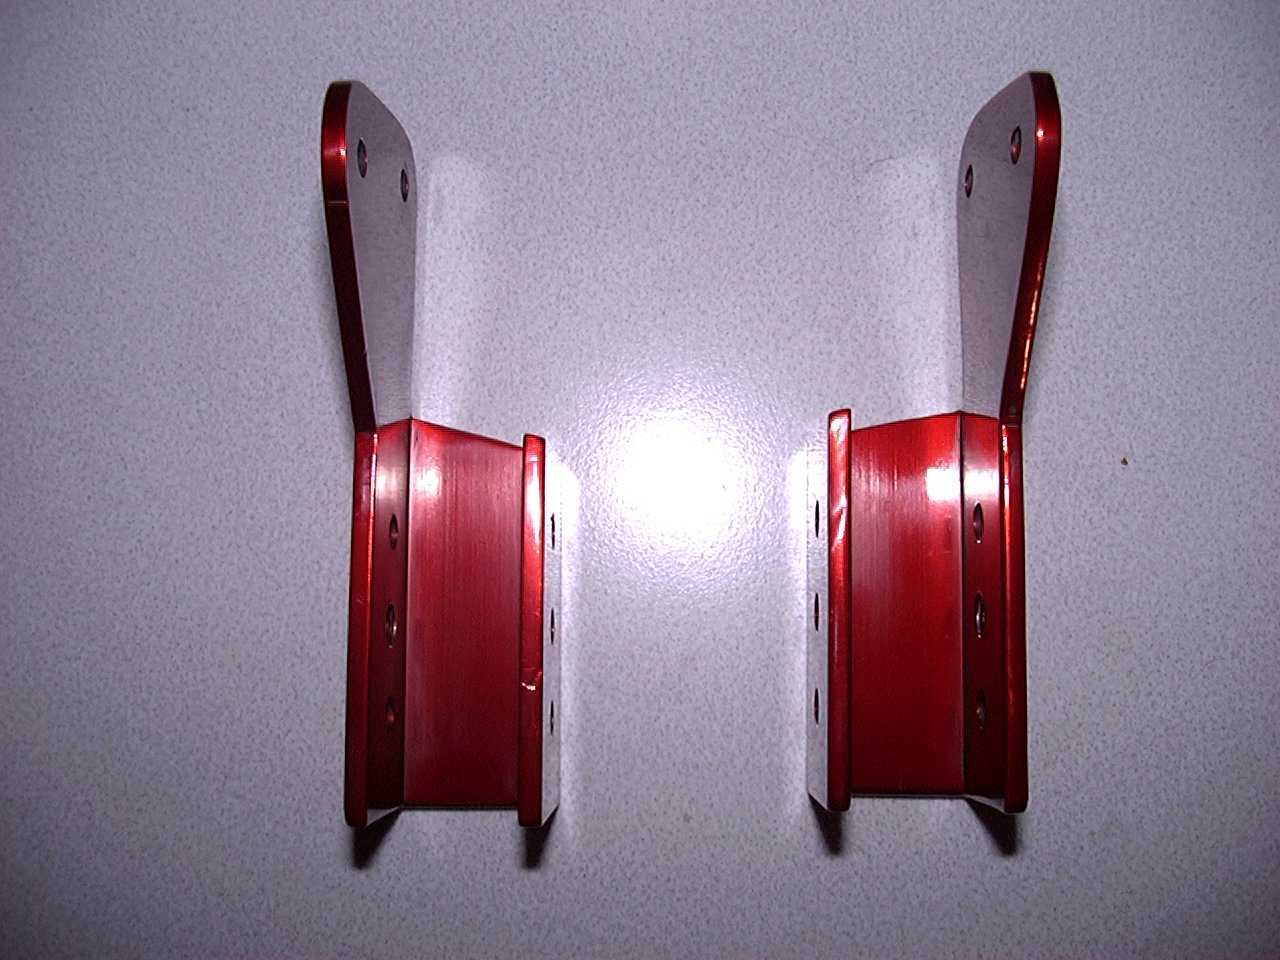
Step 6: Final polish
The part may be dull after it comes out of the sealing bath and will probably have dried dye on it's surface. The final step
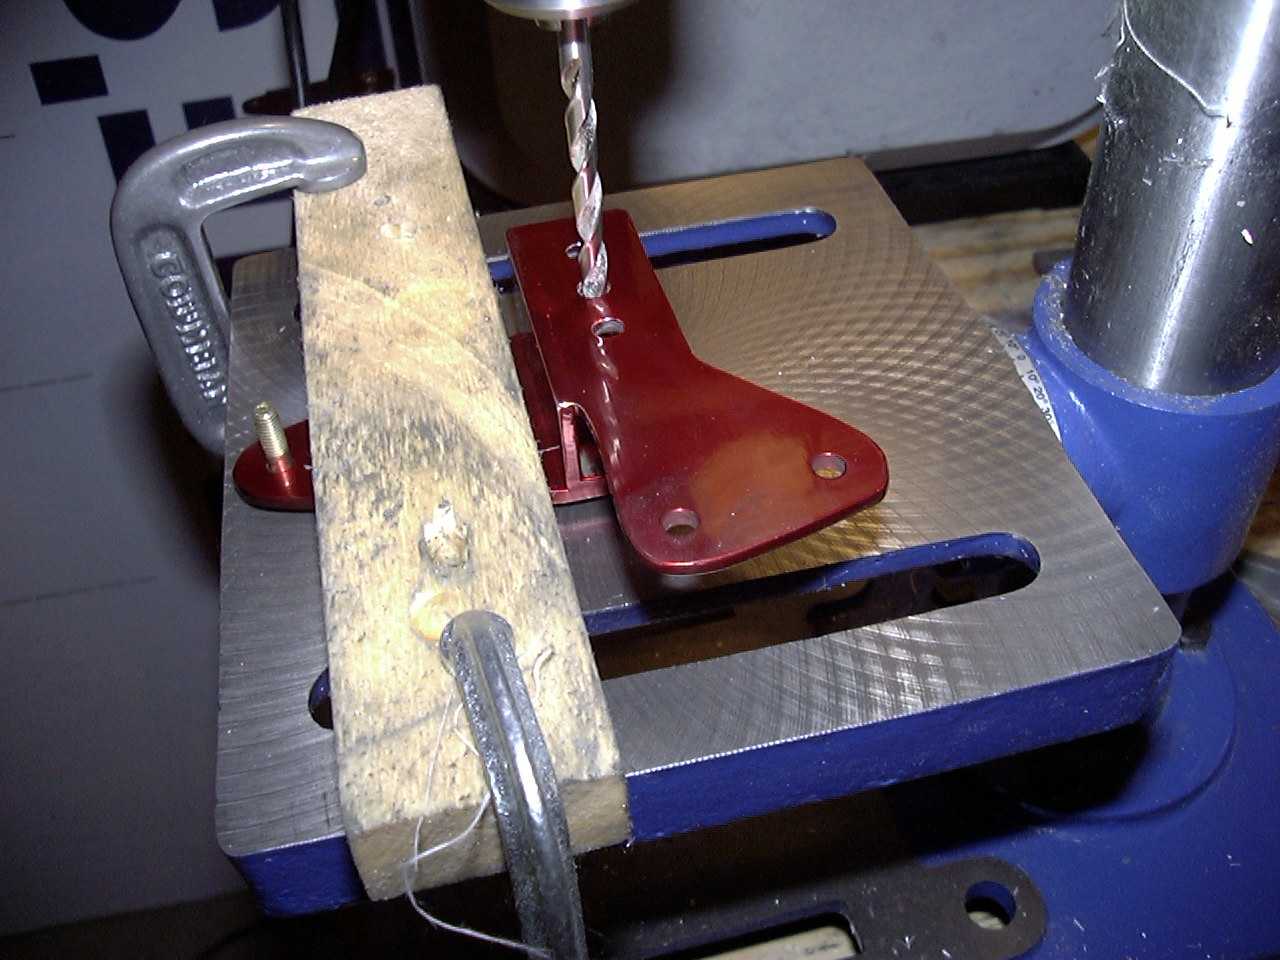
is to simply return it to the polishing wheel for a bright finish. These three pictures show my aileron bell crank parts. The
third picture shows the subject of the first two pictures assembled together and the center pivot hole being drilled for the
bronze bushing. I used this hole as the location for my hookup wires.
Final thoughts
I'm very pleased with the results I have had with this process. If for no other reason, I can now say I have taught myself
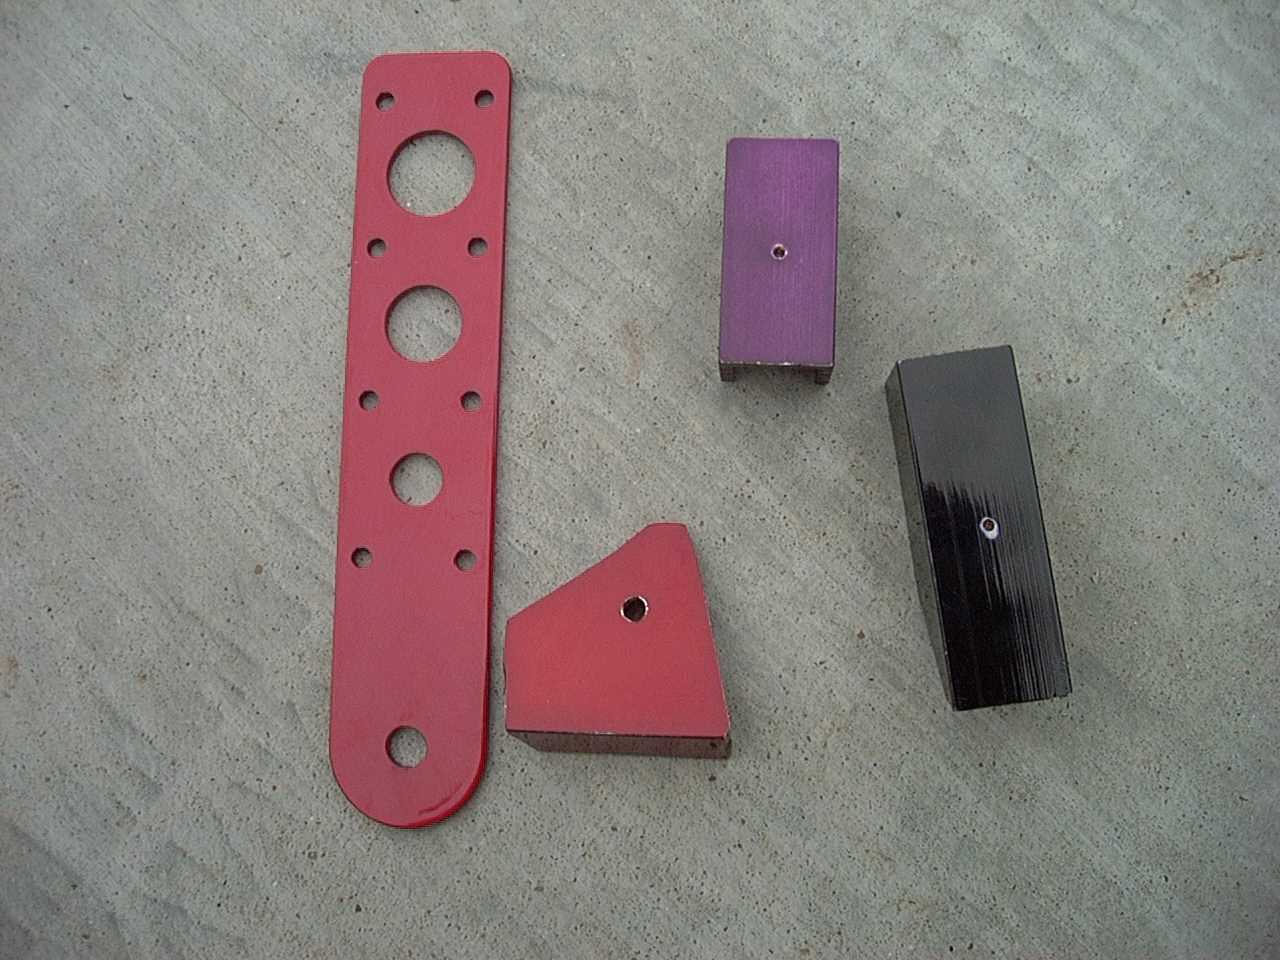
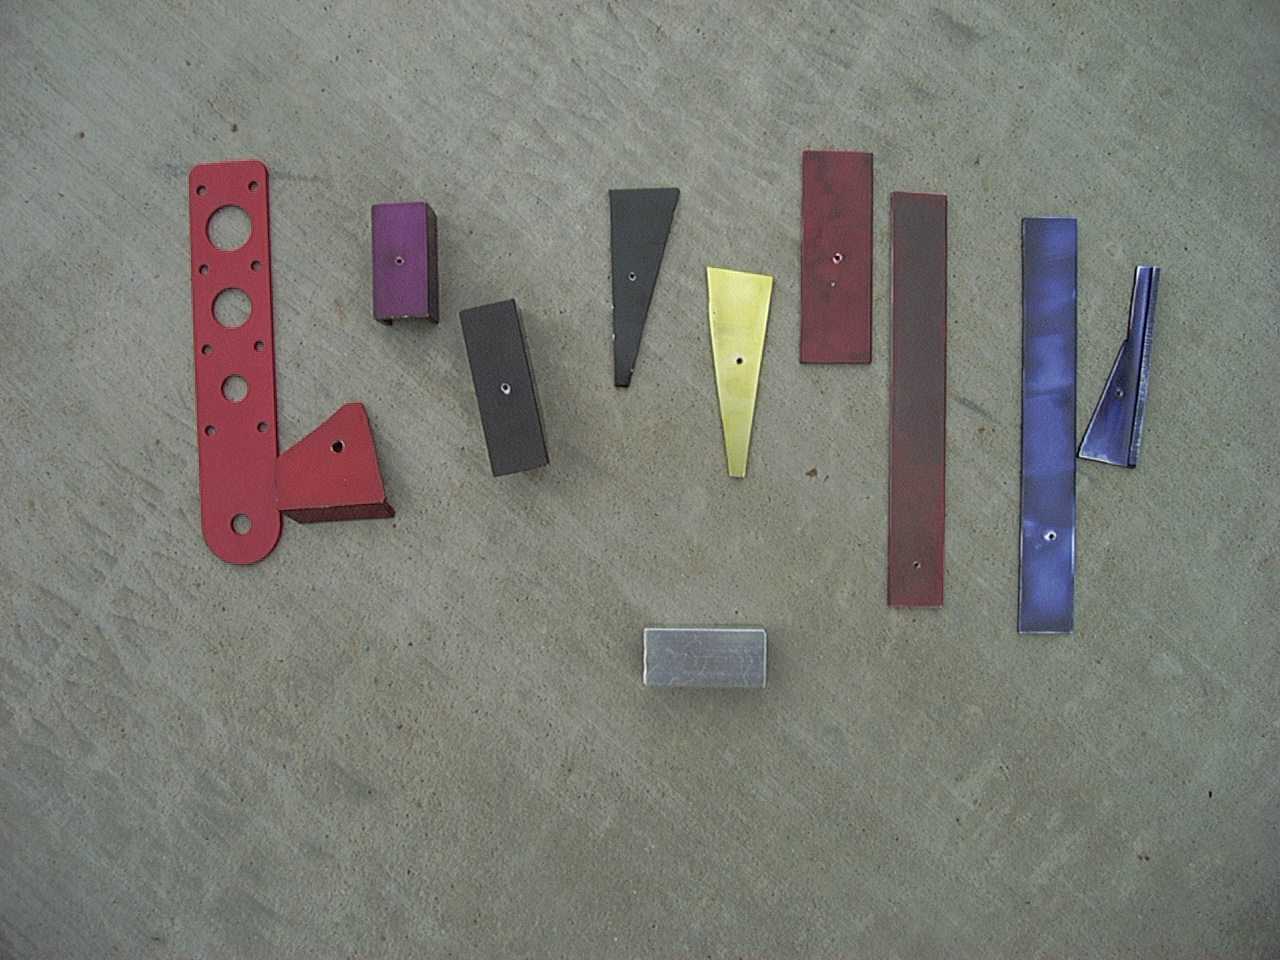
how to anodize aluminum. I have learned! As promised earlier, here are a few pictures of my sample parts and the colors
that created them. The third is simply a combined picture of the first two with a piece that has not been anodized thrown in for
comparison. From left to right we have:
1. One of my WAF's (ordered from TET) I really wanted the rest of my metal parts to have a high tech look like these
2. Rit #5--Scarlet. This is the color I opted to make my parts because it most closely matches my WAF's
3. Rit #13--Purple. This one is cool also, it may show up at some point in the future on some part
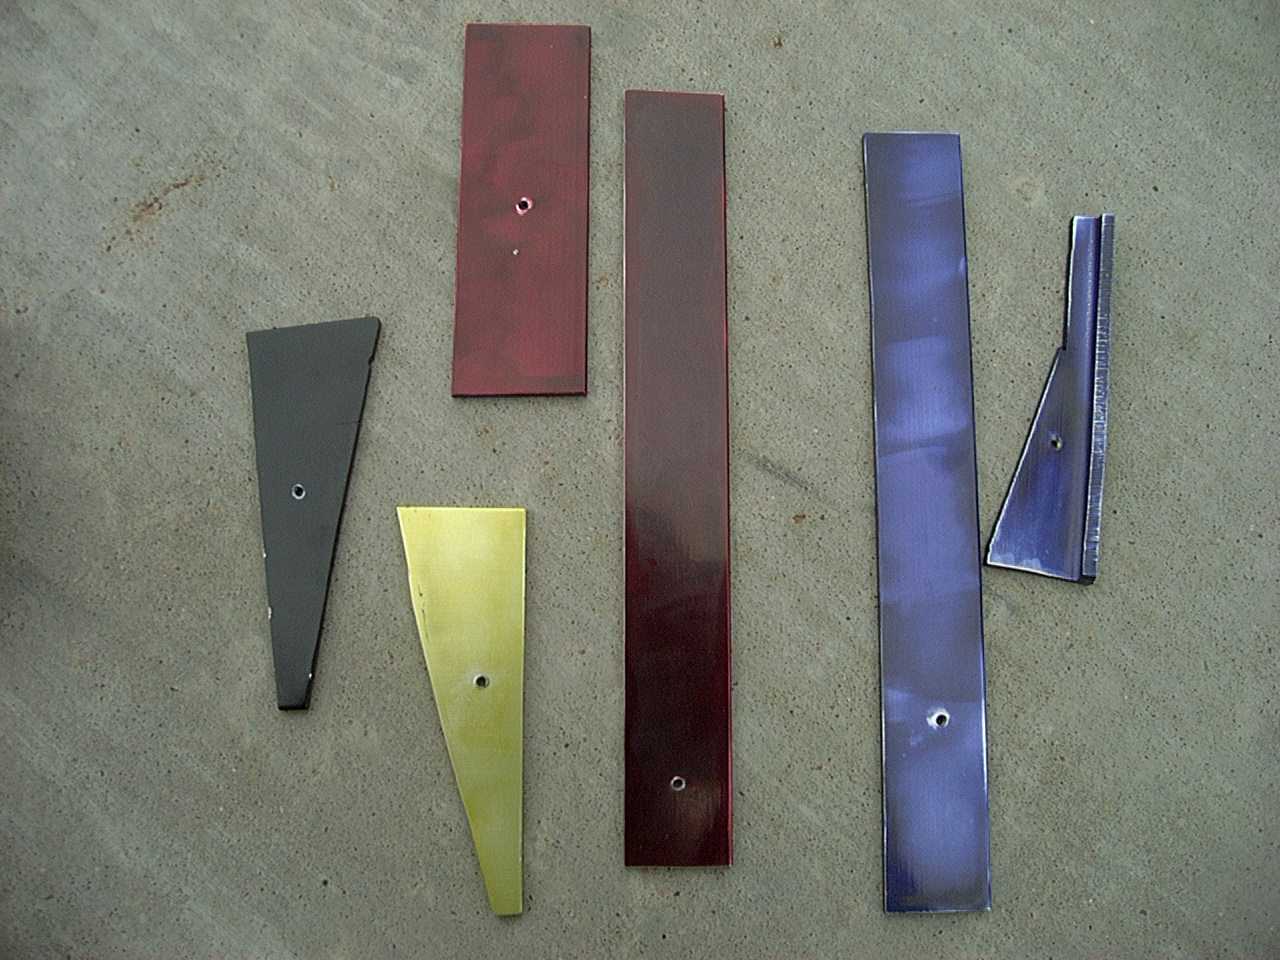
4. Rit #30--Navy Blue. This one turned out almost black (you can't tell its blue at all)
Next picture
5. Rit #35--Dark Green. This one is also almost black
6. Rit #42--Golden Yellow. I only had one package of dye so this one is done half strength. It would probably be real nice full strength
7-8. Rit #10--Wine These two pieces were experiments in different times in the dye bath. 5, 10 and 15 minutes (each end of the long one)
9-10. Rit #29--Royal blue. These two pieces are also 5, 10, and 15 minutes in the bath. It really needed the full 15 to work well
More to follow!
Back to main page