Back to canopy page 1
14 November, 2005
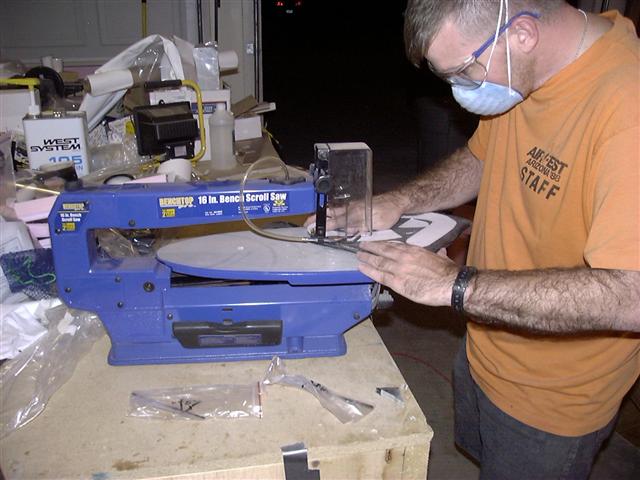
This is a quick update on the canopy hinges. First, I dusted off the old scroll saw to cut the hinges out of the CF sheet.
The problem here is that I broke four blades getting it cut out (I only had three and had to go to the store to get more!)
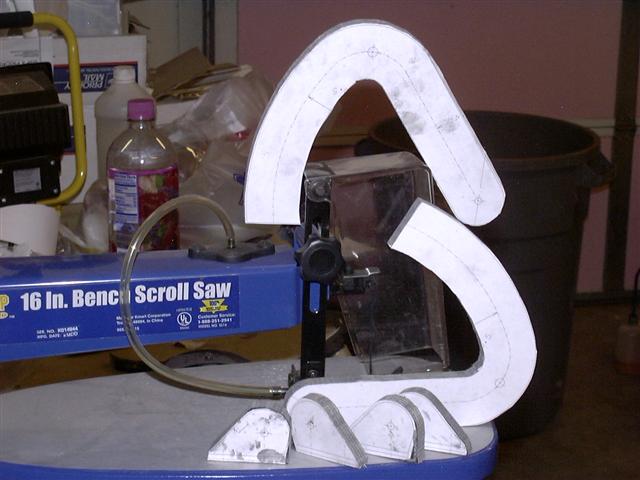
All cut out.
I drilled the holes and installed the bushings.
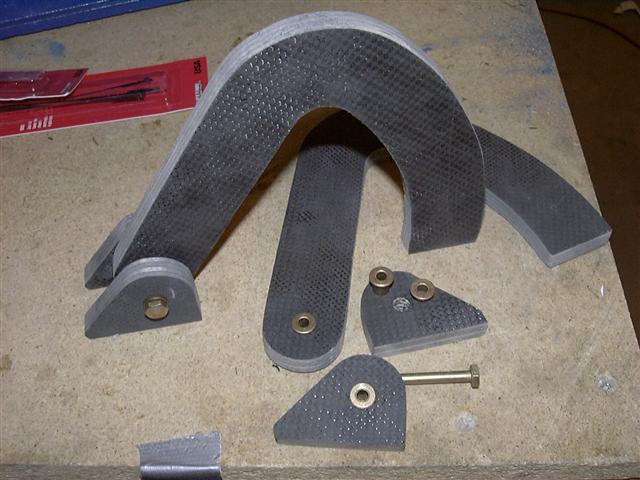
Not too bad. All the parts and only 4.4 Ounces! Of course I still have to add the CF around the edges so they will gain a
little.

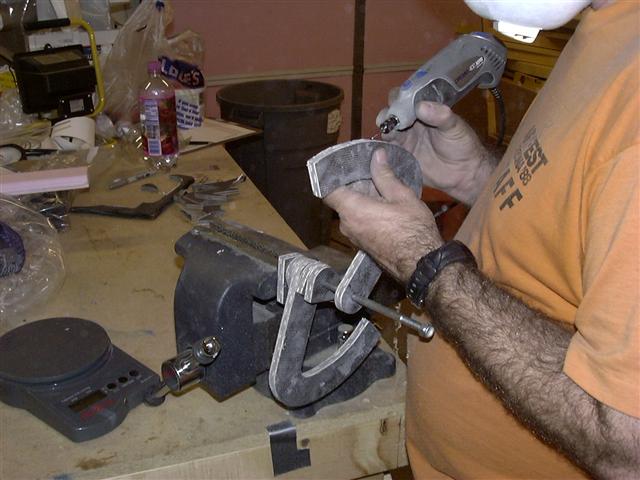
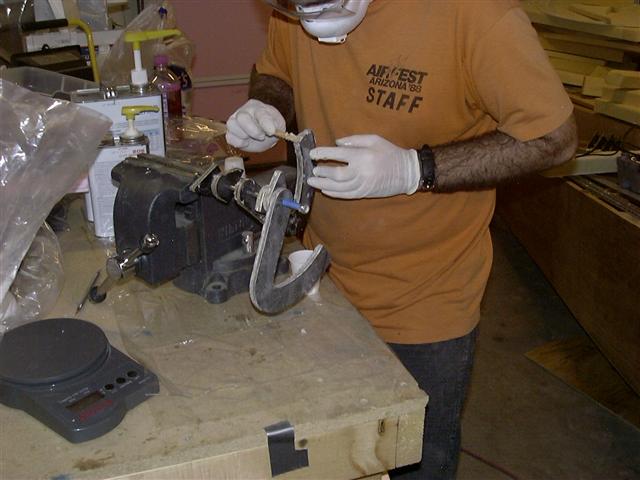
I used the dremel tool with the smallest bur bit I had to carve out a hollow for the FLOX to go into.
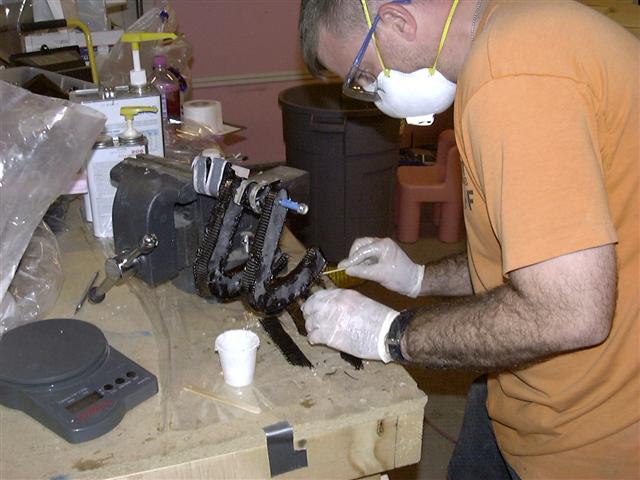
Apply the FLOX.
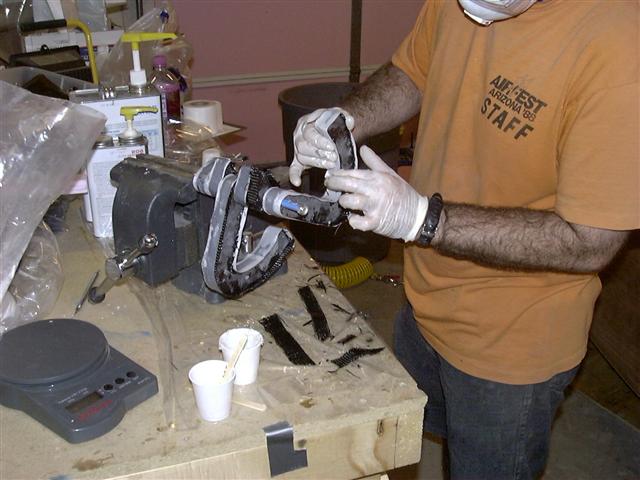
Put CF around the outside edges.
Peel ply and we wait to see how they turn out. These are 7/16 of an inch thick and they are very stiff. They will probably
be even stiffer once this outer layer of CF cures.
8 July, 2007
It has been over a year and a half since the last update. I've done a little work on the plane, but no where near as much as I
would have liked to have done. This update on the canopy has two major parts; the hinge system and the canopy frame. With my
last canopy update, I showed the CF hinges I had cut out. With this update, I'll show how I put those on the canopy. I then
discovered some difficulty getting them to work properly, so I've changed to another method for attaching the canopy to the
fuselage. I actually started with the CF hinges, experimented with two other designes, went back to the CF hinges and finally found
a new hinge system. I'll only show the CF hinges and then the final method on the web page just to simplify things. Before I get to
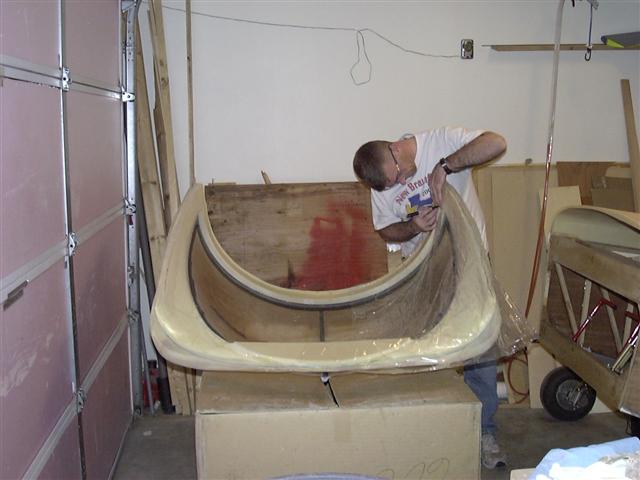
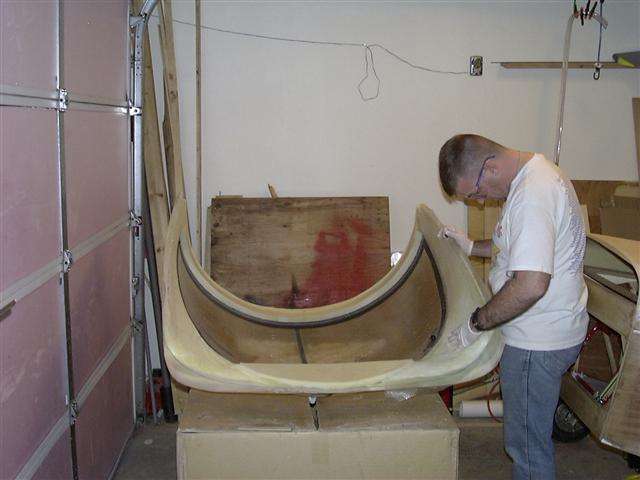
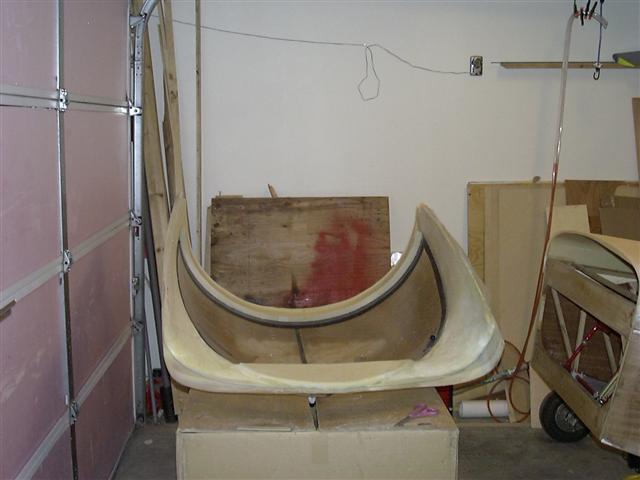
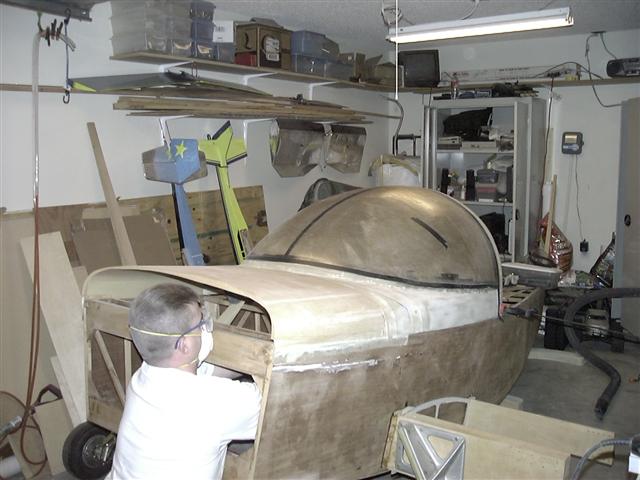
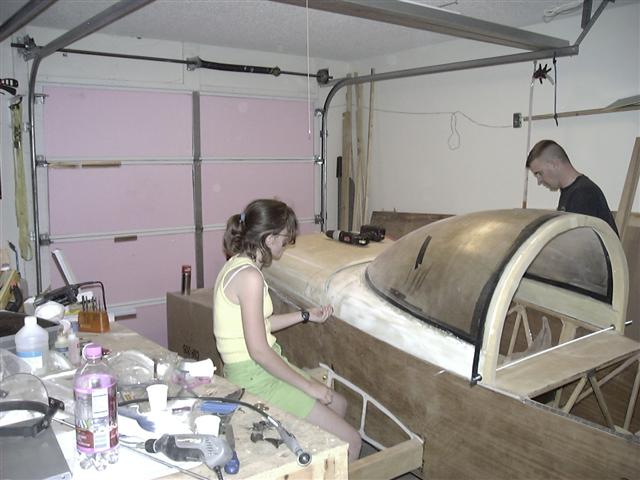
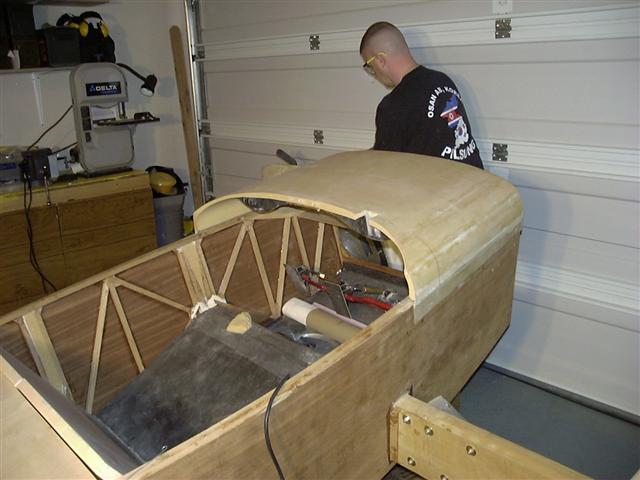
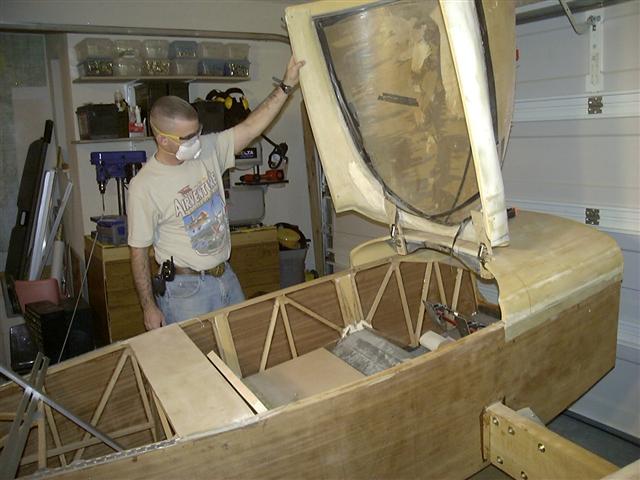
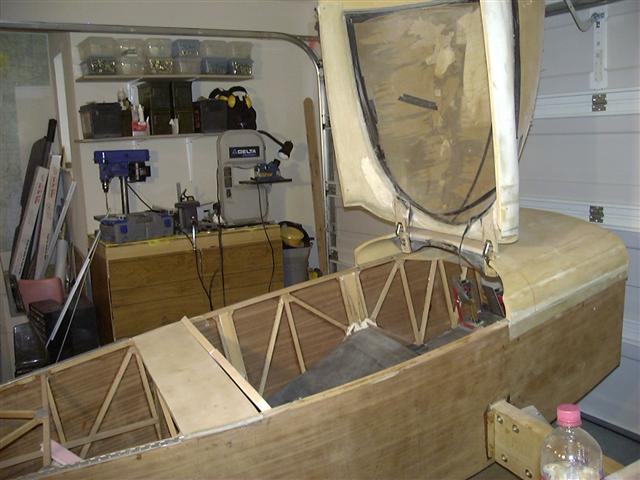
the hinges however, I'll start off with the canopy frame. This first picture is of the canopy sitting on the fuselage and you can see the basic
frame outlined on canopy page 1.

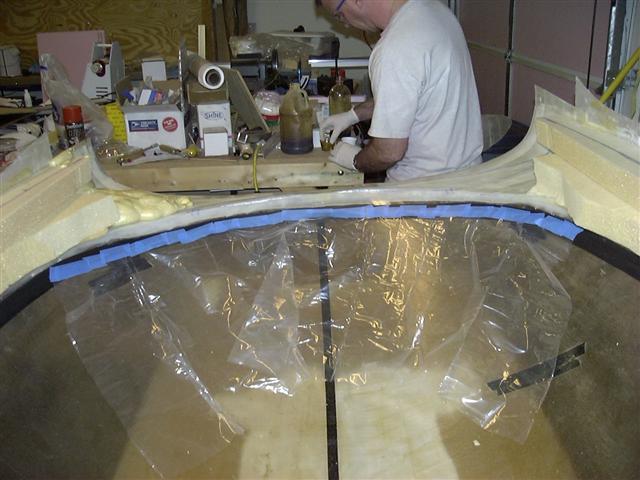
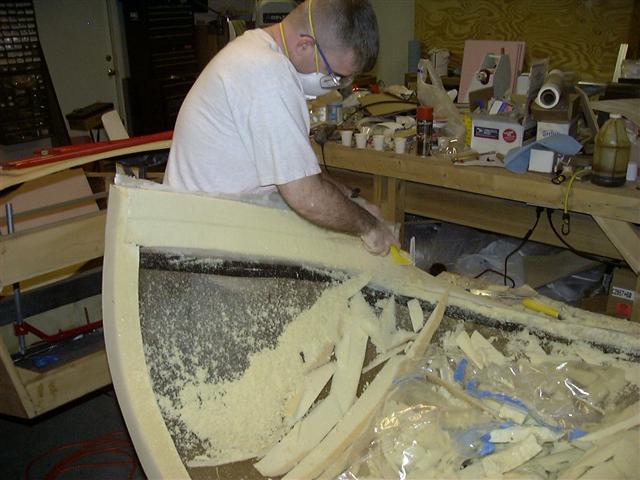
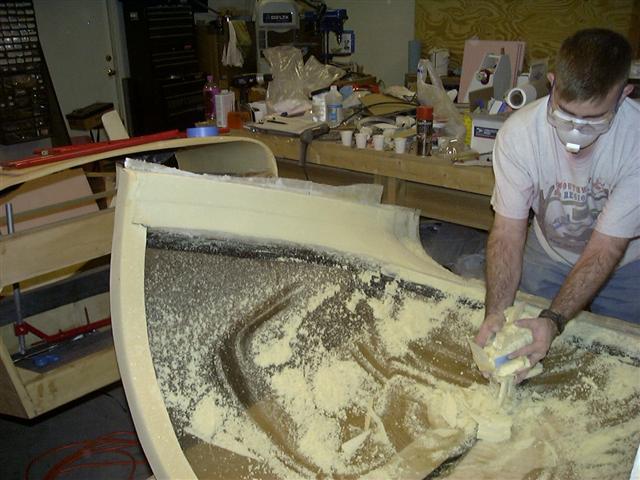
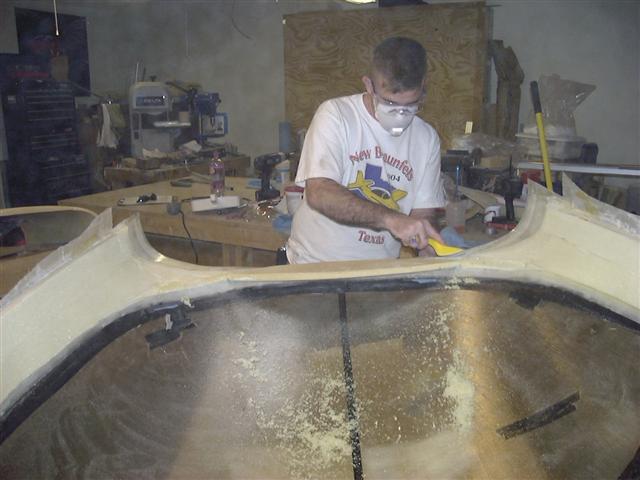
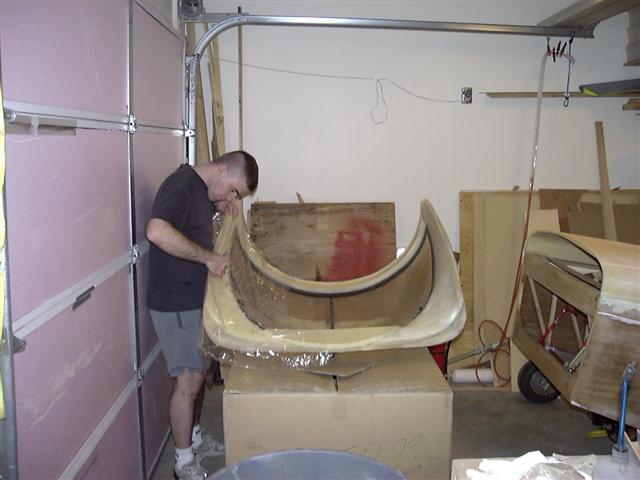
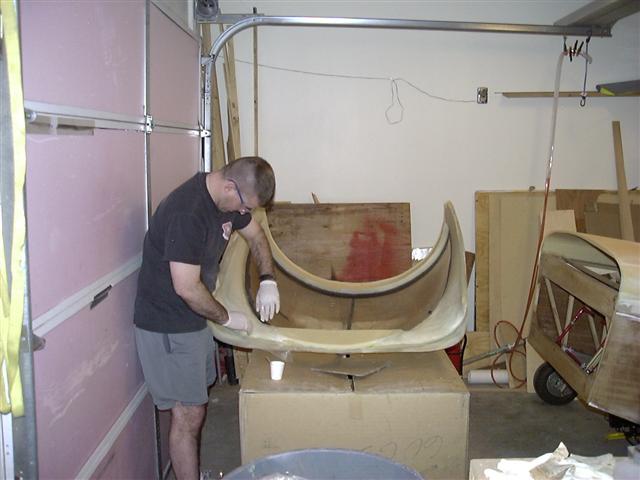
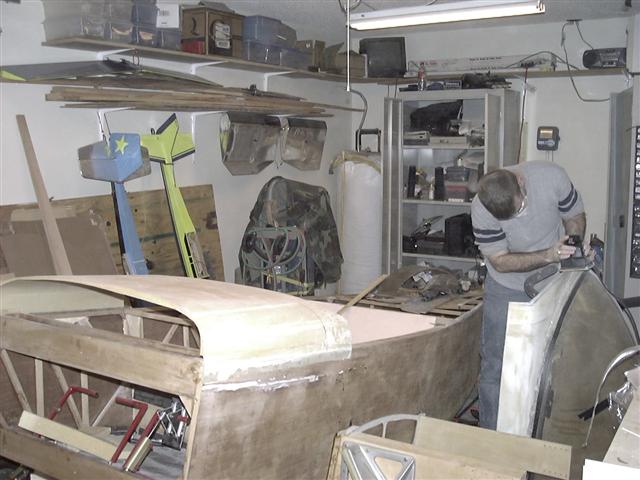
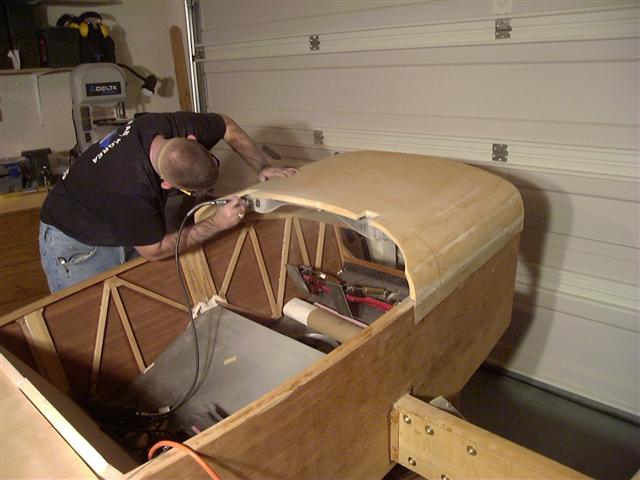
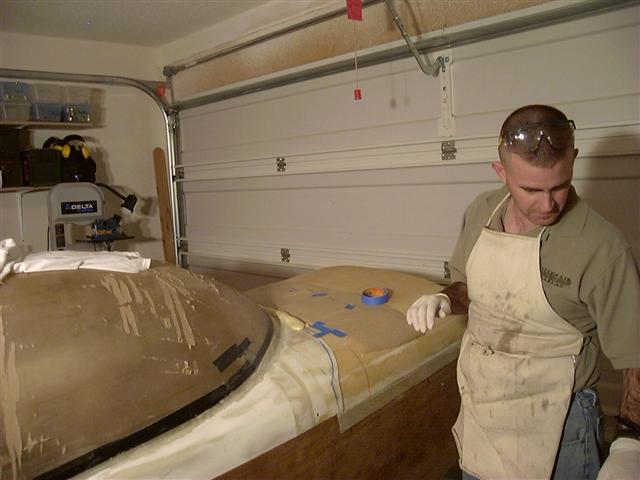
Since I've already described how I went about creating the outside of the frame, I'll now show how I created the inside of the
frame. The foam on the sides will need to be trimmed down a bit and I'll have to build up the front. The next eight pictures
show how I built the area up with two part foam, then trimmed it and the sides down.
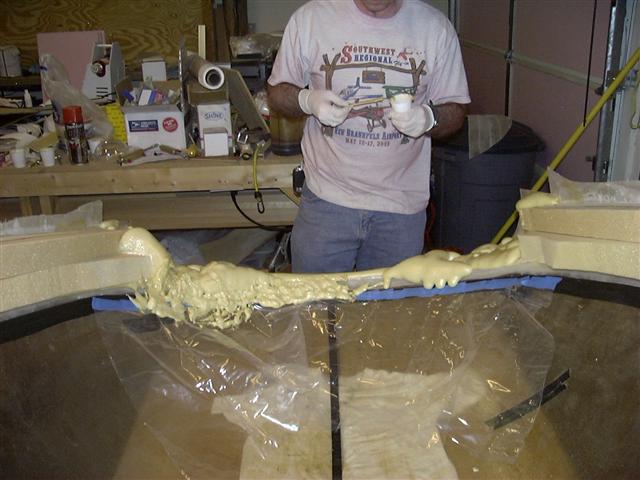
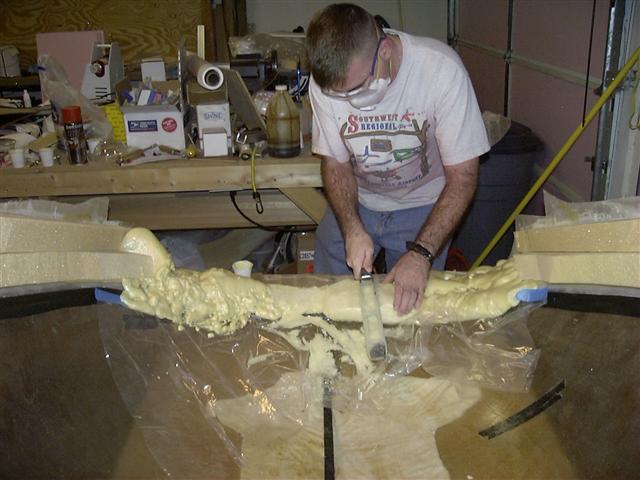
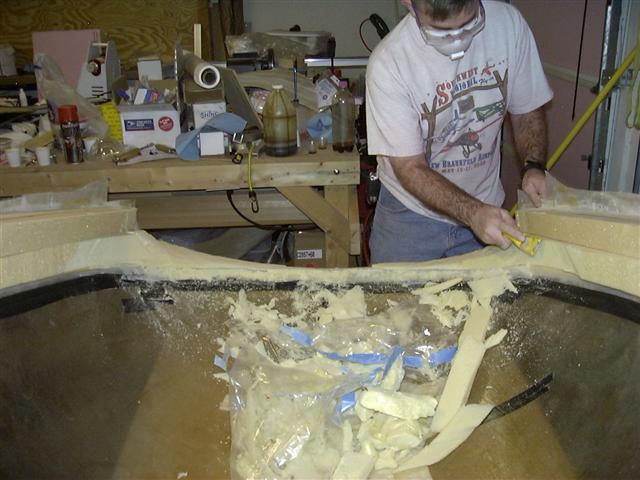

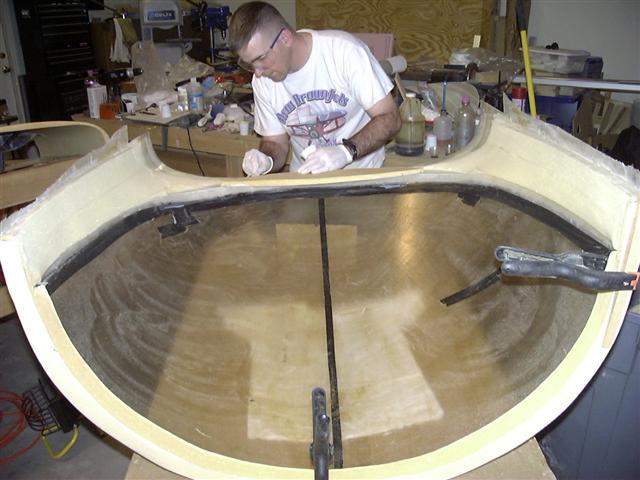
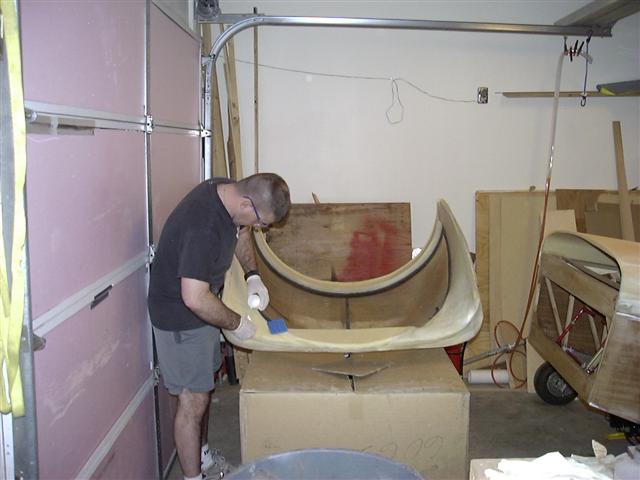
Next, I added a piece to the canopy frame that I cut from the front deck. Some more two-part foam,
then sand it all down in preparation for glassing.
Mark out the shape on plastic, (I actually did each side on different days)
Cut and wet out the glass,

Put some micro on the foam,
And finally put the glass on the foam.
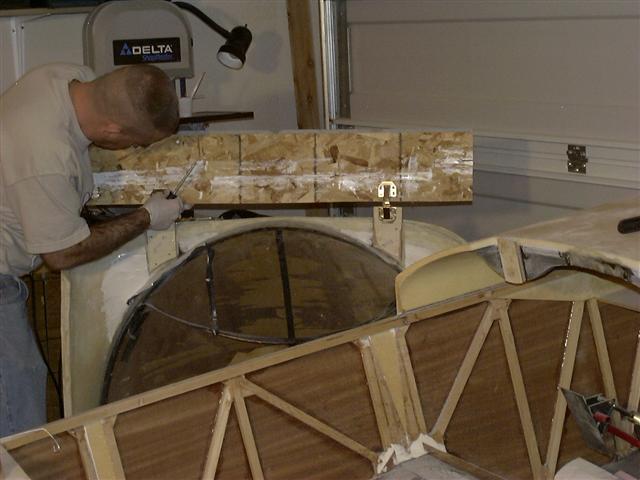
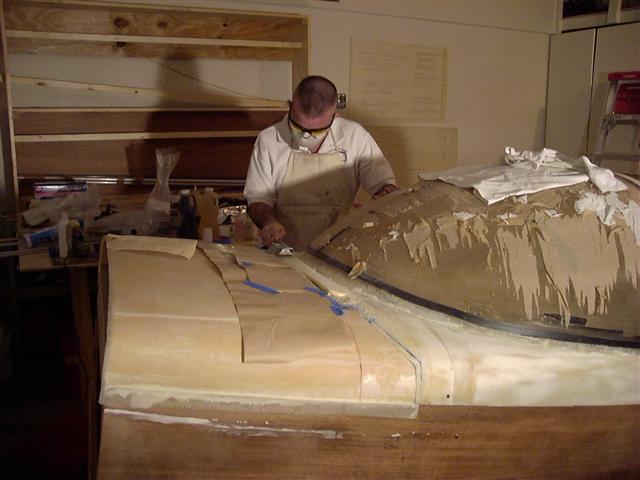
Now back to the hinges. I mentioned previously that I cut out a piece of the front deck to add to the
canopy. Here you can see where it came from. You can also see the support I made underneath the front deck
for the hinges.
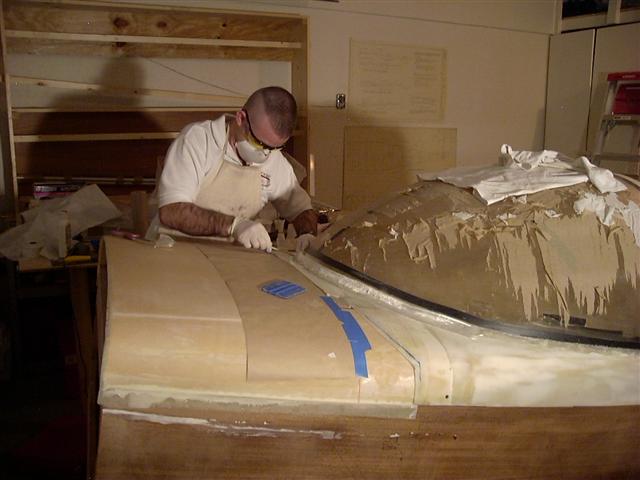
To attach the hinges to the canopy, I put the canopy back on the fuselage and used a little flox on the end of the hinges to temporarily
attach the hinges to the canopy. Here you can see the wedges I used to hold them in place till the flox cured.
I then removed the hinge bolts and the canopy and trimmed everything up.
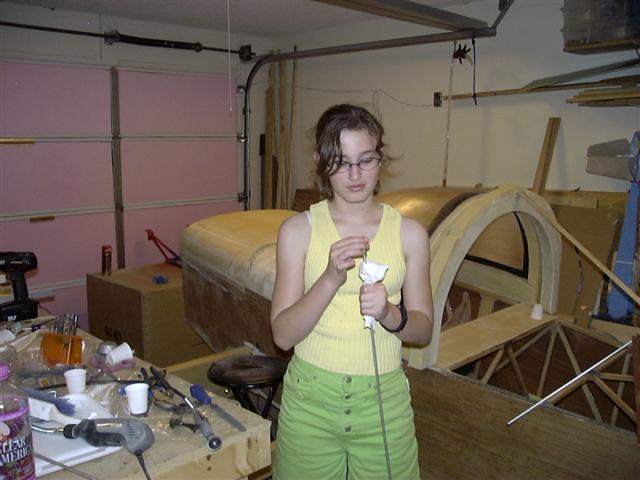
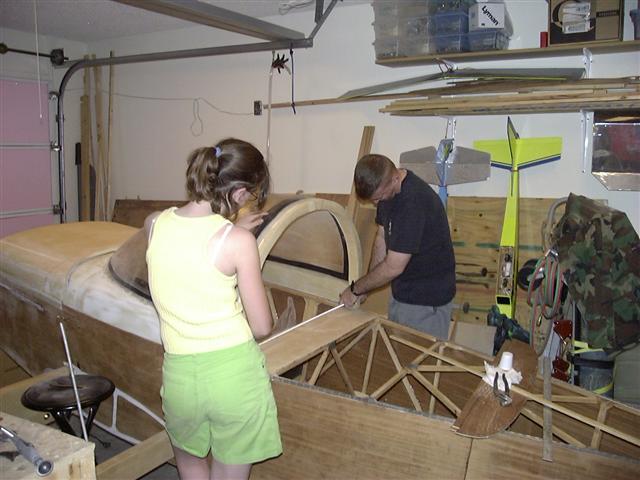
Next I enlisted the aid of my daughter Betty Faith (now 13) to help. We are going to put two threaded rods into canopy to make sure
that the canopy retains its shape. These are some of the last pictures taken while living in San Angelo, TX.
This is before I added additional CF around the hinges. The rod inserted into the hinges is to keep everything square while I did add the
CF. The pictures from here on are at the new house in El Paso, TX.
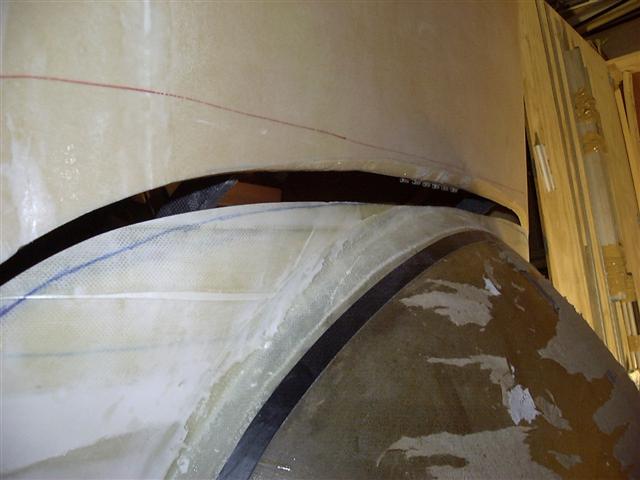
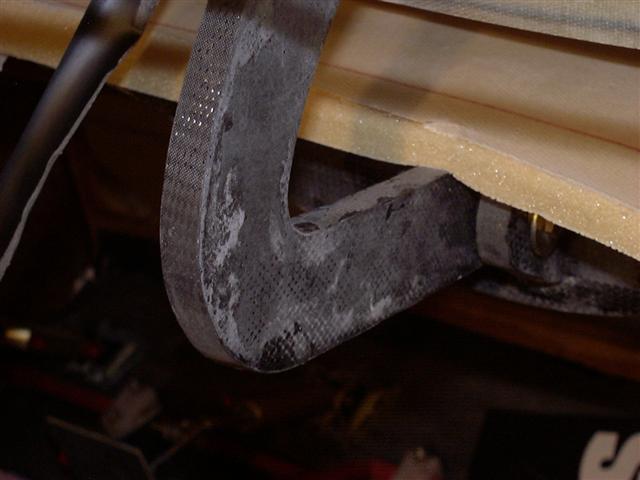
Here is one reason I decided to not use the CF hinges. This gap was cut trying to get the canopy to open without snagging on the front deck . I
kept trimming and checking, then trimmed some more and could never get it just right. I guess I had the height wrong on the hinge pivot
points. If you look closely, you can see the remains of one of my previous hinge attempts in the center of the gap.
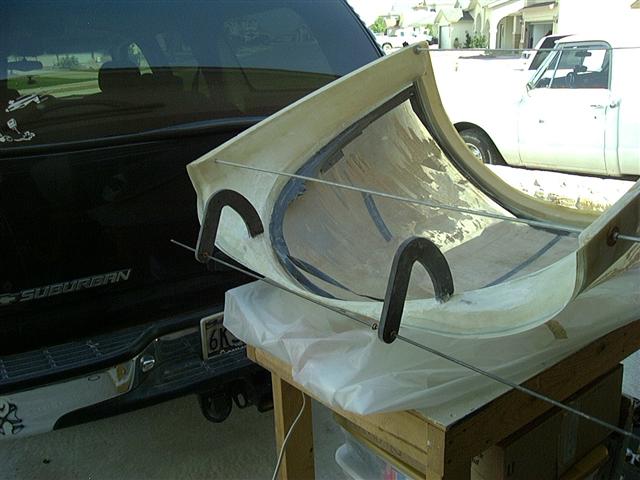
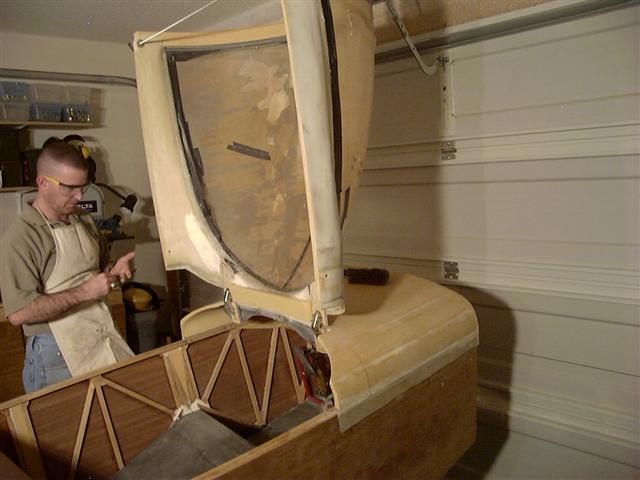
This is what it looked like when it was open.
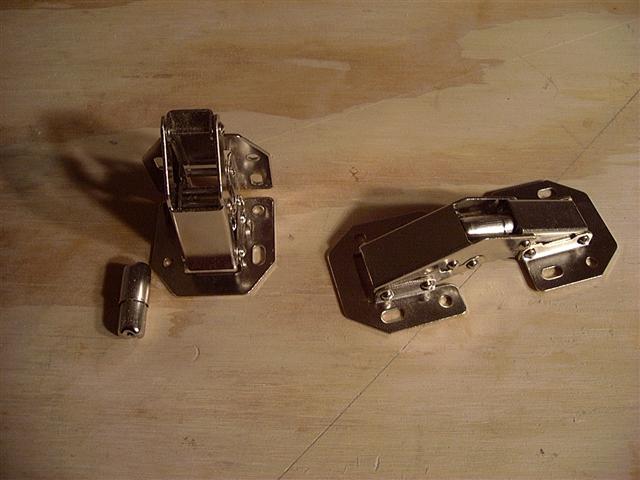
Between the open and closed positions, it became clear that I was not going to be able to get the geometry to work right, so I went looking for
a different method to hinge the canopy. I found these at the local Home Depot. The nice thing about this style of hinge is the geometry works
such that the canopy does not snag on the front deck .
In order to use this new hinge, I had to remove the old hinge brackets mounted on the underside of the front deck .
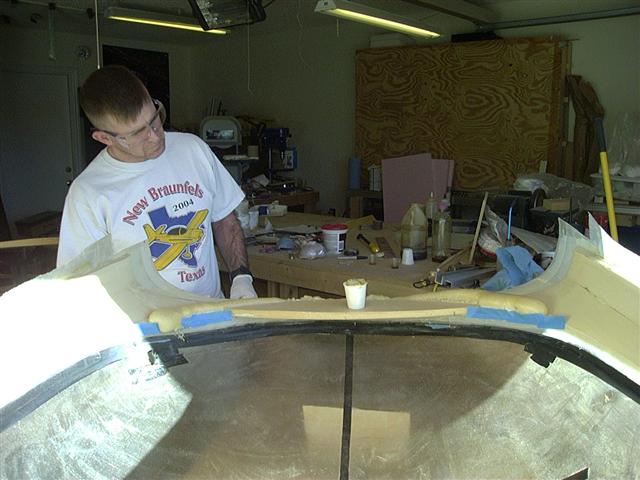
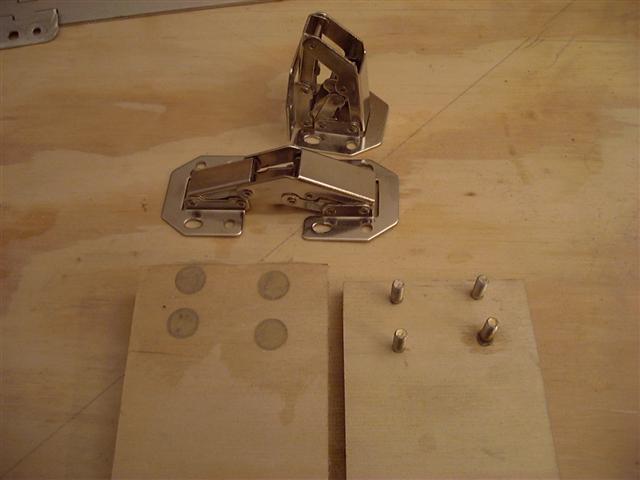
These two pieces of 1/4" plywood will form the starting point to attach the hinges to the canopy. I will use bolts to attach the hinges to the
canopy and screws to attach them to the front deck . These have been potted in flox.
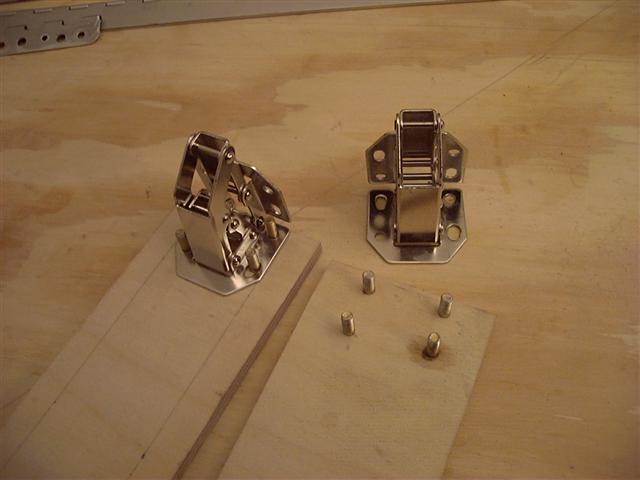
Here I am getting the geometry set right.

Now I have to remove the CF hinges from the canopy frame. Once I cut them off, I created pockets to mount the plywood in.
I then set up the canopy on the fuselage and used a few screws to locate the plywood (atached to the hinges) pieces where
they need to be located.
The canopy now opens all the way.
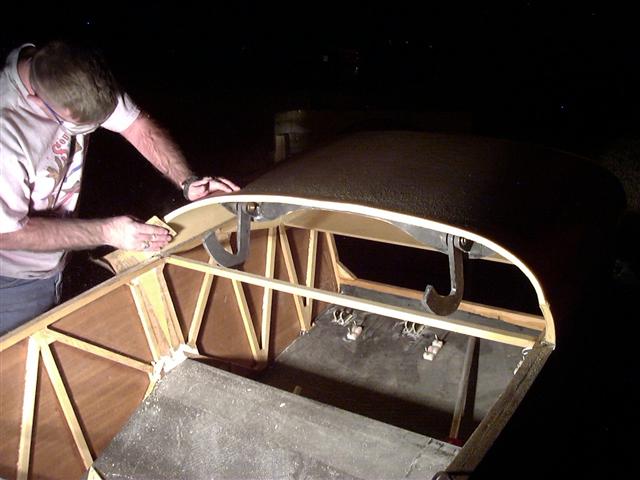
From here, I took the canopy off the fuselage in order to epoxy the plywood to the frame. I attached a piece of scrap wood to the hinges
while everything was put in place so that everything would stay square.
Once everything sets up, it still opens all the way.
Now that I have a hinging canopy that opens, I need to do something about the hole I've cut in the front deck while trying to make the
previous attempts work. This first picture shows a block of foam glued between the hinges on the underside.
I then masked off under the canopy frame and on top of the top deck and used some two part foam to fill the gap.

I've sanded down the foam and glassed the top, but I don't have the photos with me at the moment to put here, so I'll put them in with the next update. More later...
27 October, 2007
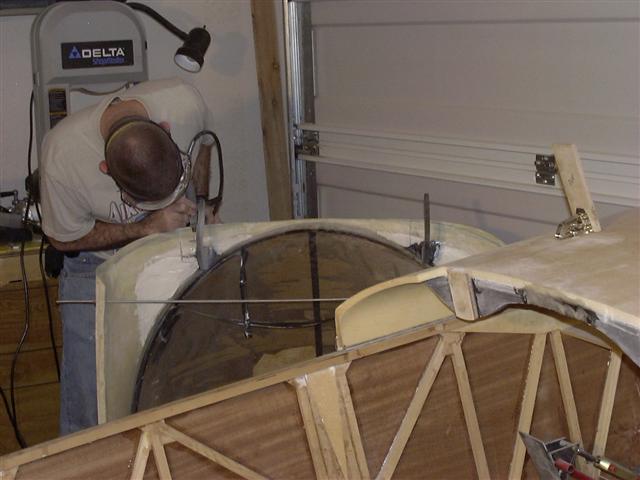
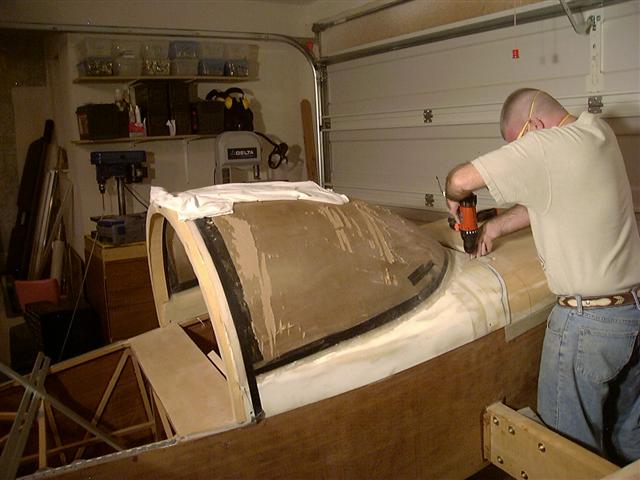
Sanding and glassing as promised.
That's all I have for now on the Canopy. As you can tell by how long it's been since the last update, I have not had much of an oportunity to work on my plane for a while.
Back to main pageBack to canopy page 1