On to page canopy page 2
2 July, 2005
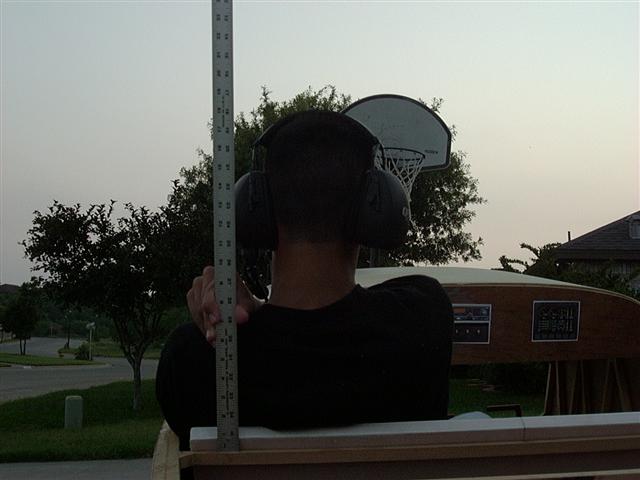
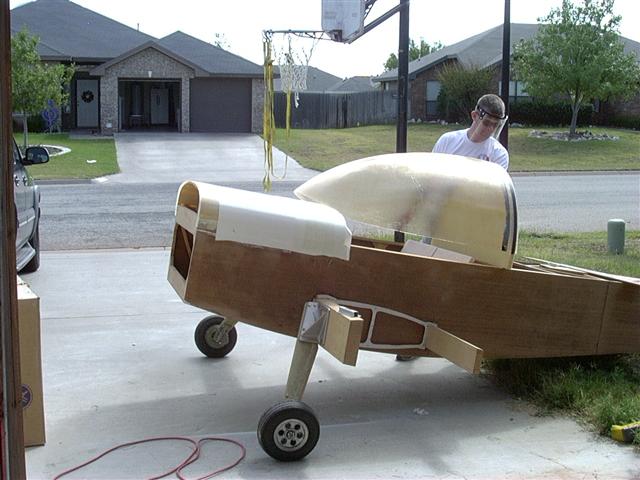
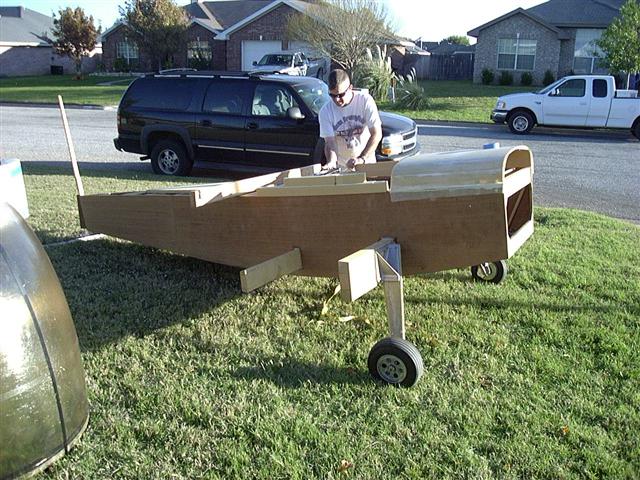
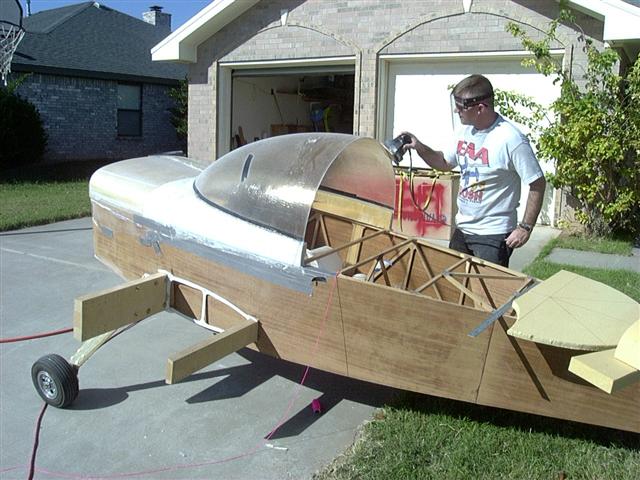
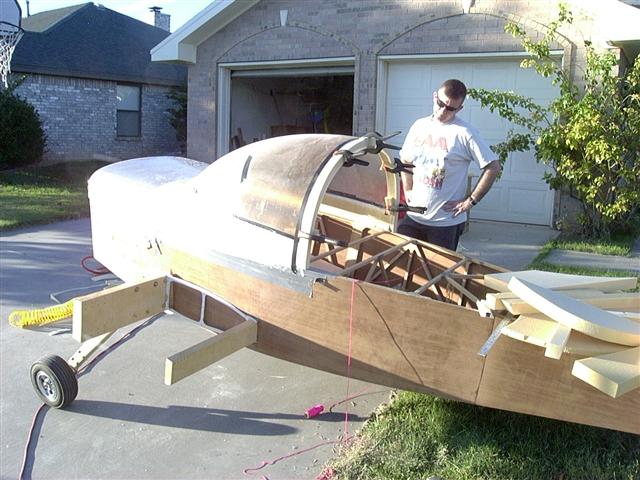
To begin the process of constructing my canopy, I decided I needed to make sure that others who are not
as vertically challenged as I am (I'm only 5' 6") could sit in my plane. The easiest way I could think to
do that was to start by getting someone tall to sit in the cockpit and take appropriate measurements. I
enlisted the aid of one of my neighbor kids who is 6' 4" (at 15 years old no less!) This is one of the many
pictures I took and idicates his head is 19" above the seat brace. I'll take that as a starting point.
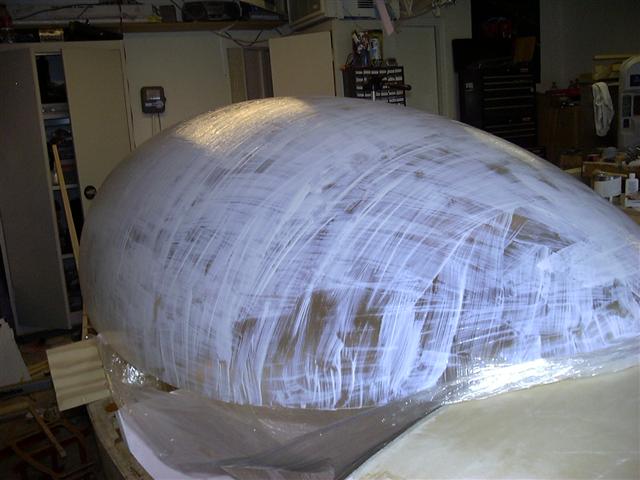
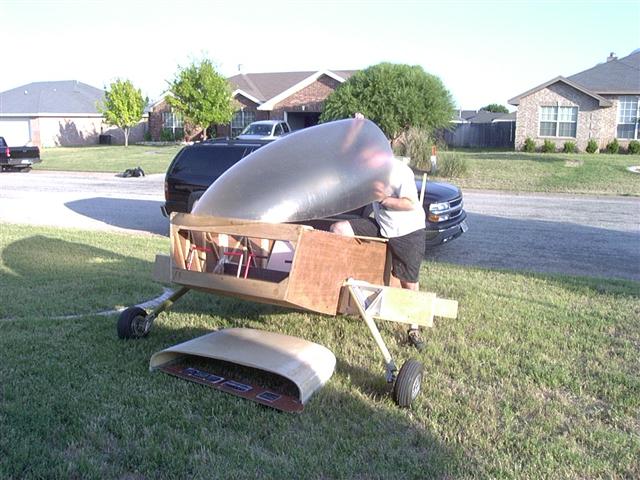
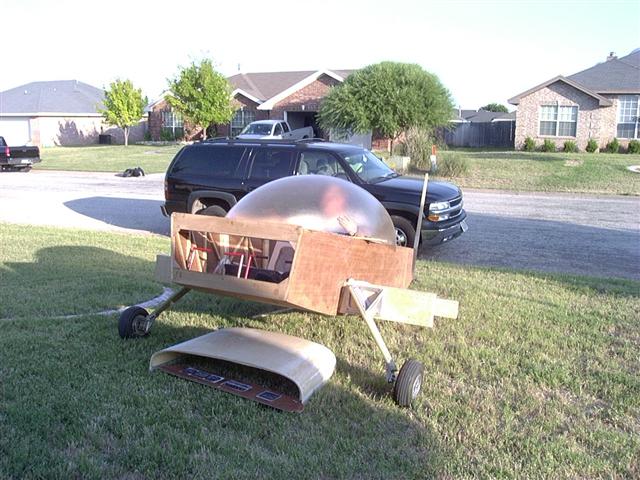
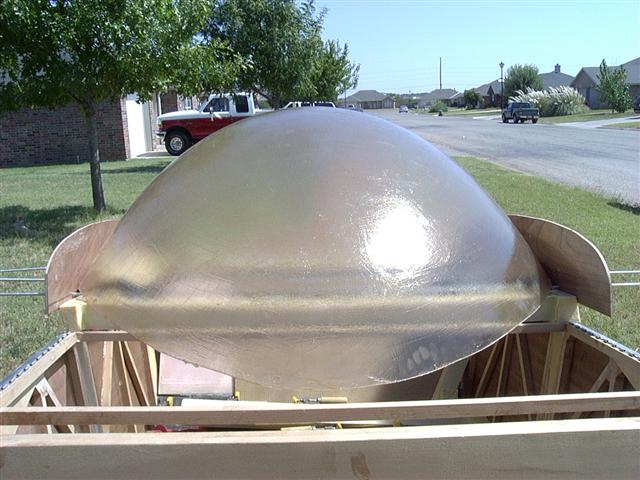
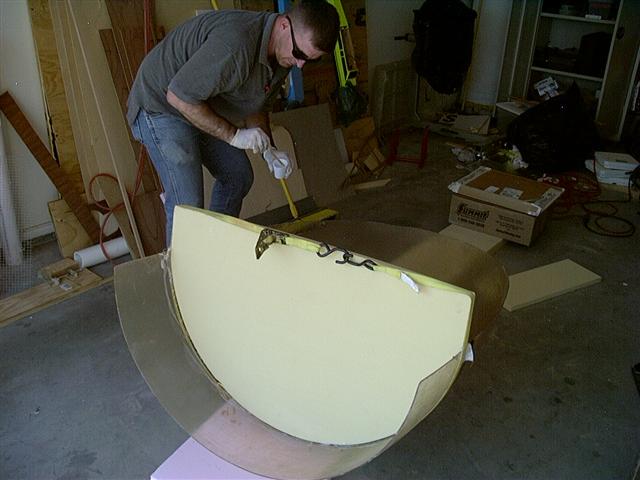
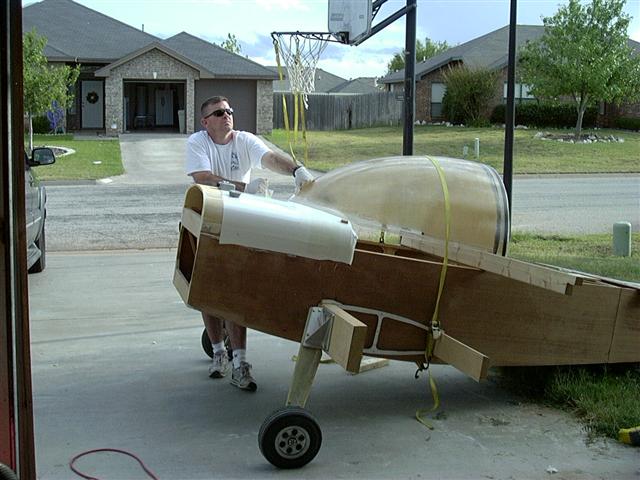
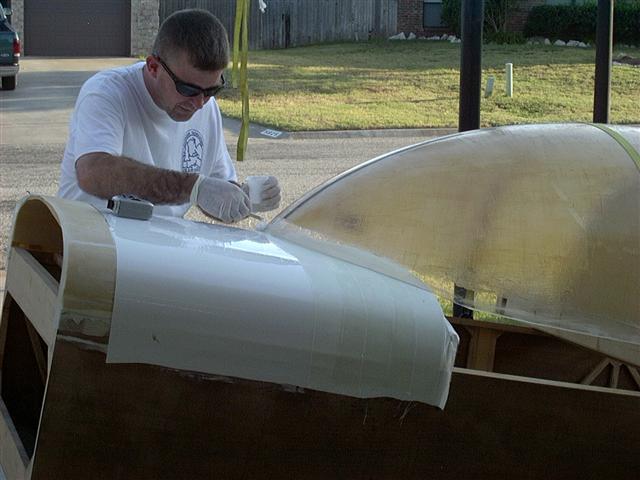
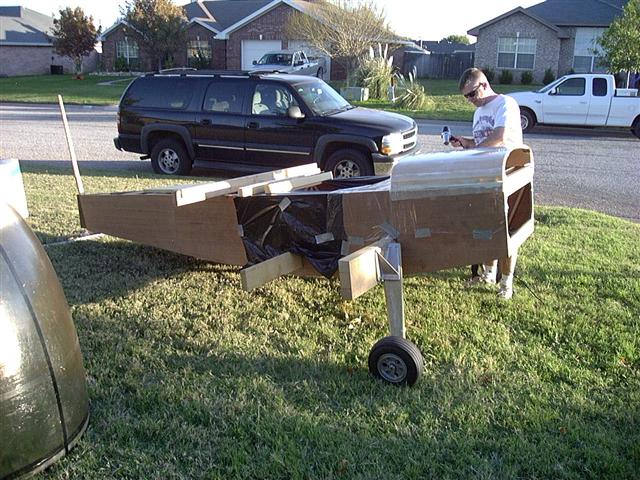
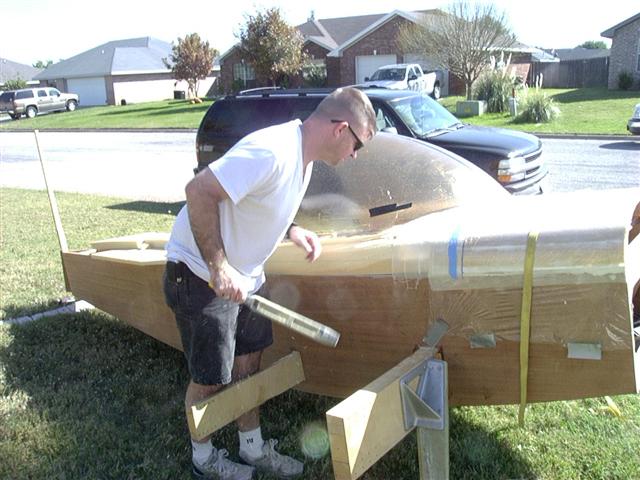
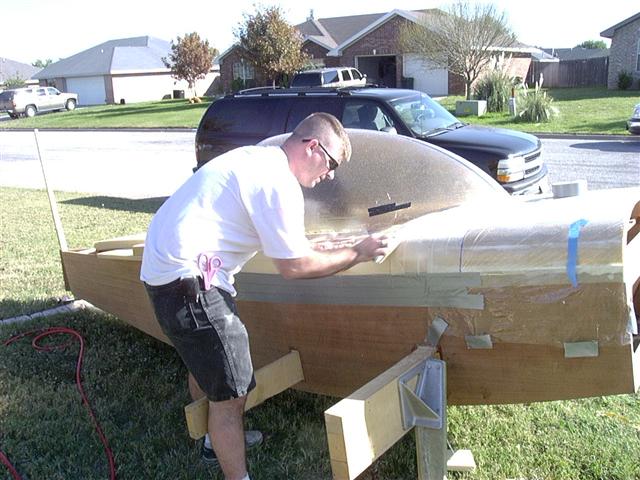
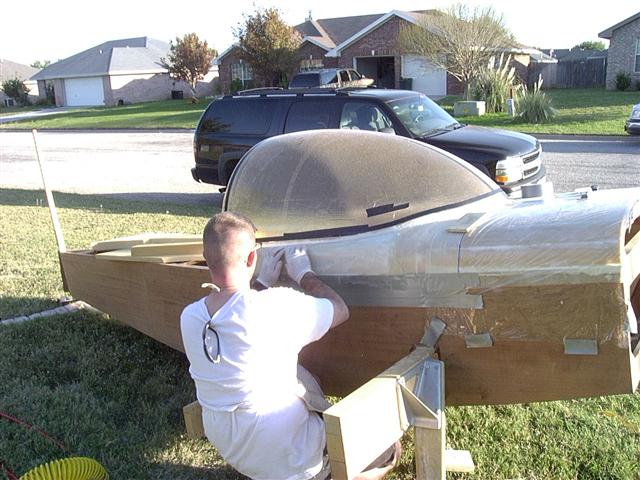
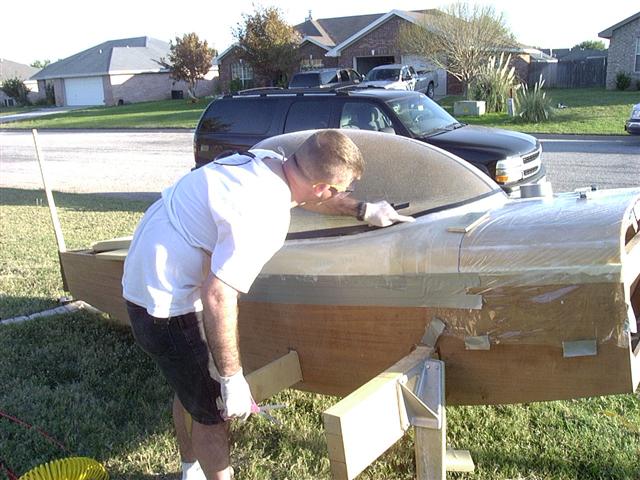
Since my canopy (Todds Canopies) only had a piece of plastic wrapped around it for protection in shipping, I decided
to coat the canopy with Spray-Lat before working with it. These two pictures show how I brushed it on the outside
while it was sitting on the fuselage.

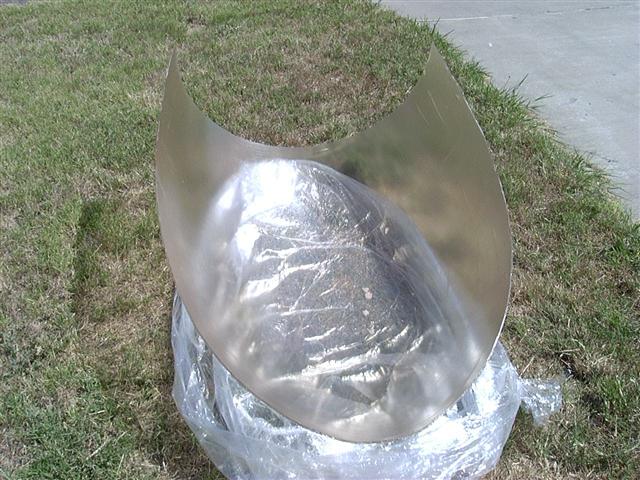
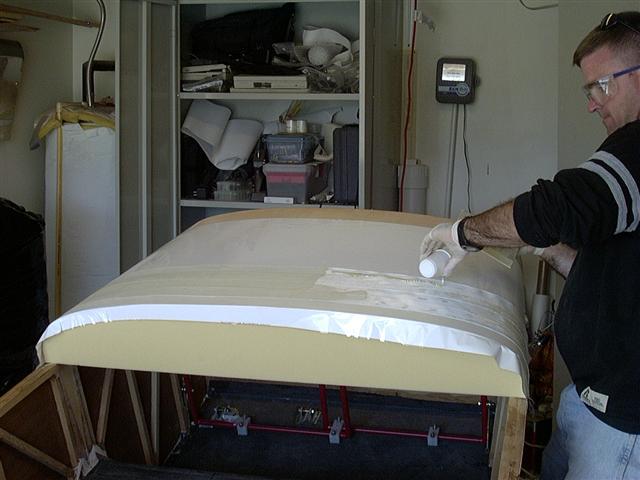
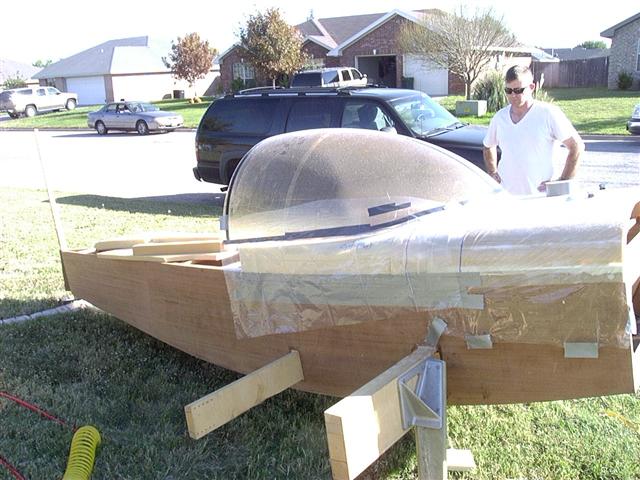
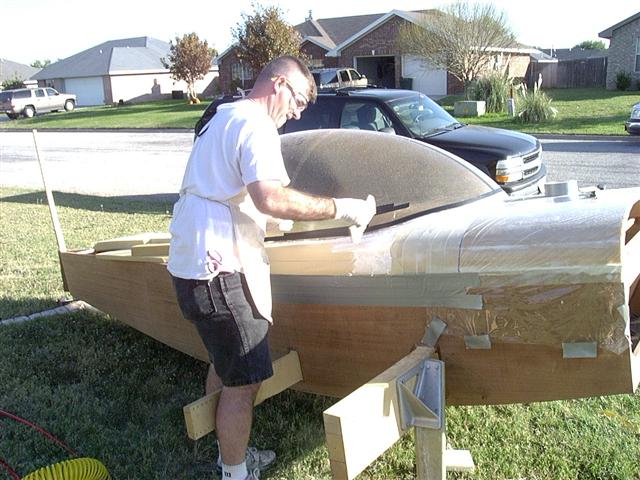
The next day, I took it outside and painted the inside with Spray-Lat also. It's a good thing I did the outside
first. While everything was drying, the wind blew the canopy onto the concrete and the only damage was a little
Spray-Lat rubbing off.
That's all for now, I'll get more when I actually start trying to build the canopy frame (hopefully within the next week.) More to follow!
10 October, 2005
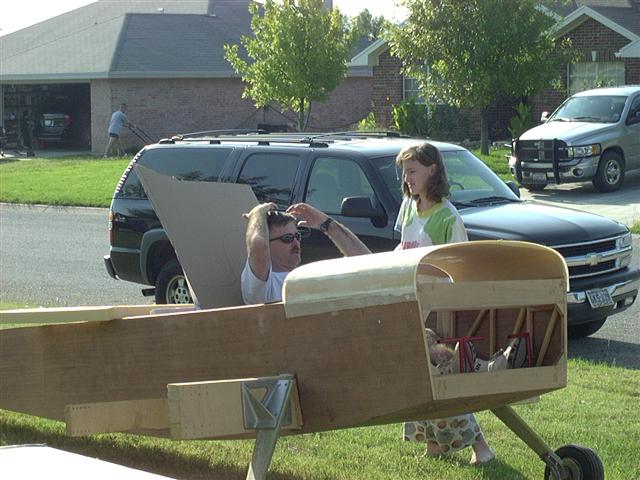
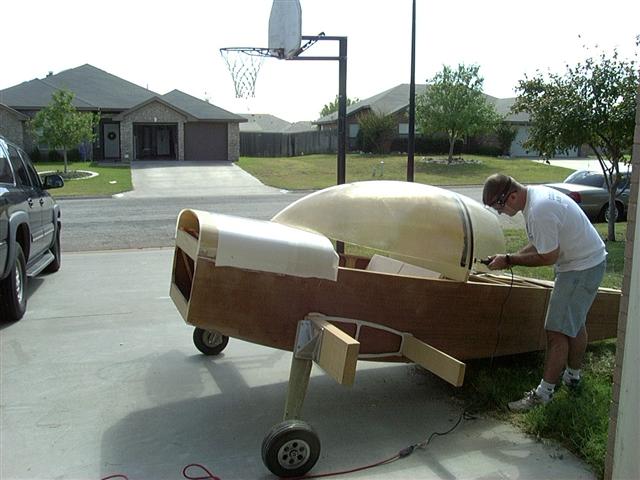
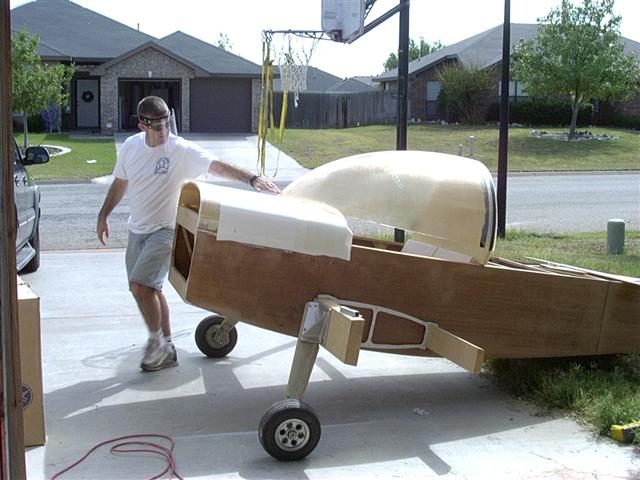
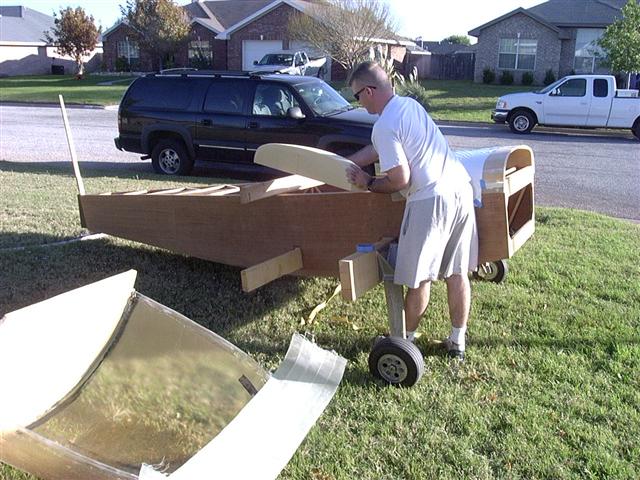
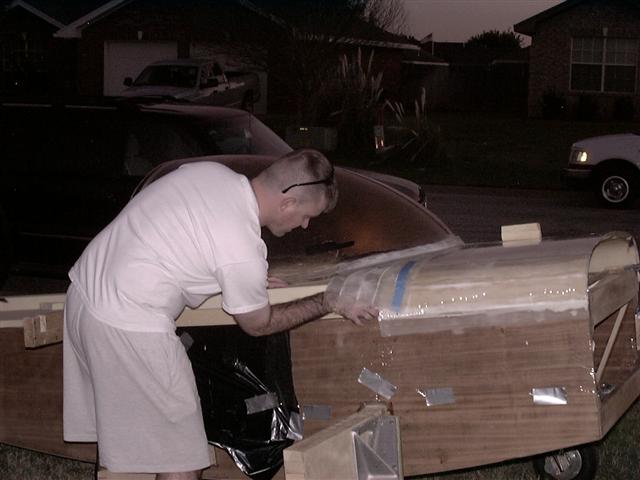
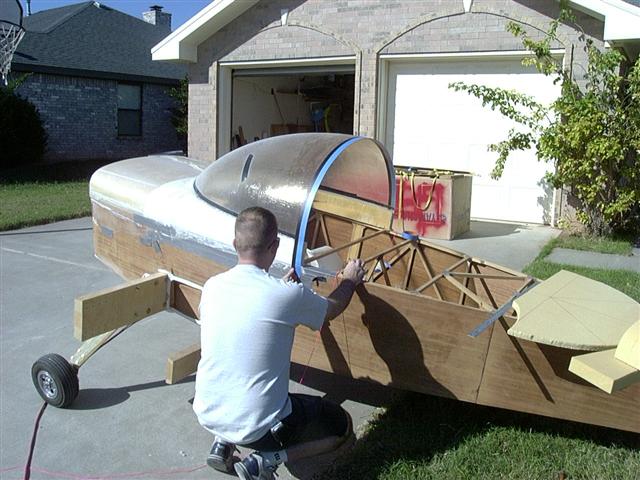
Here I am trying to figure out how I can get into the plane and check the "fit". Once I get into the plane, I discover that I
will need to raise the canopy to give the needed head room.
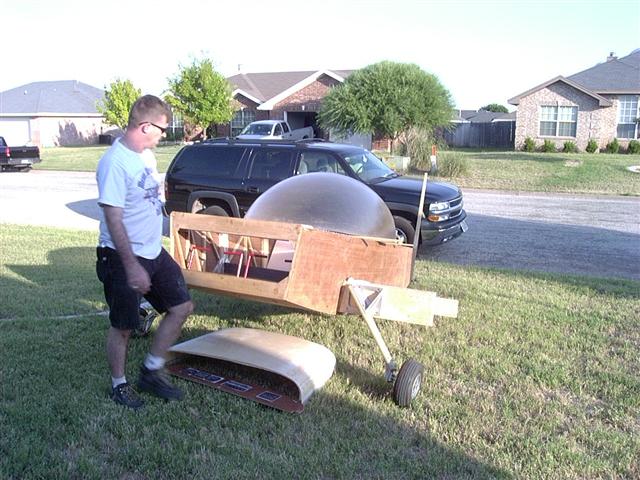
This starts "plan A"
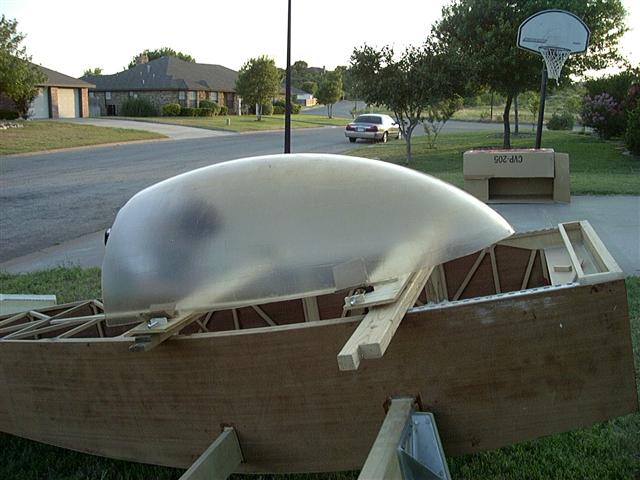
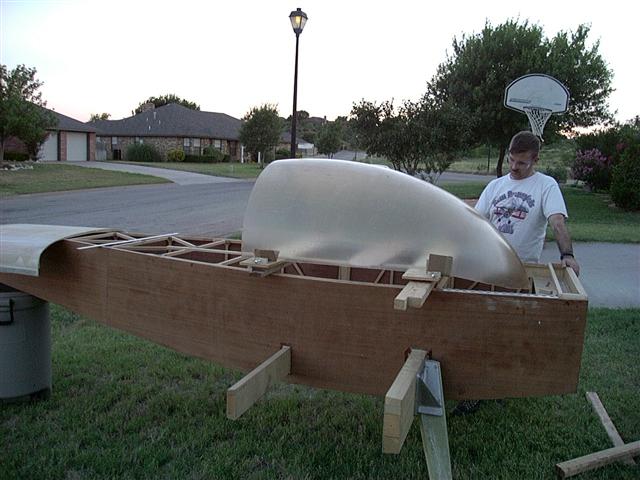
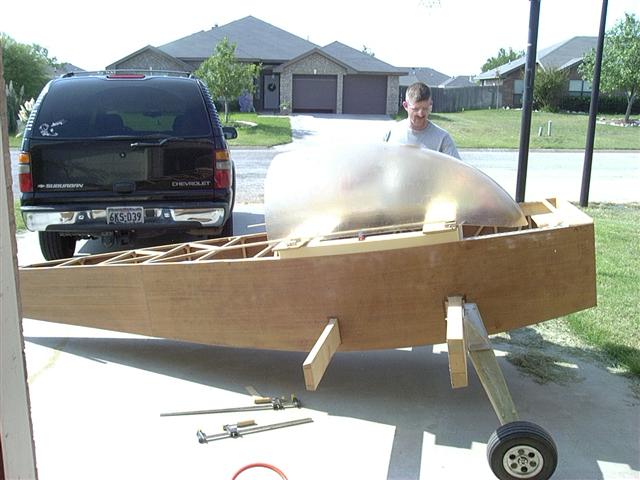
I used this simple frame to try to "raise" the canopy and to get an idea of how much the canopy will "stretch". You can see
from the second photo that I will have to cut off a little from the front to make it work.
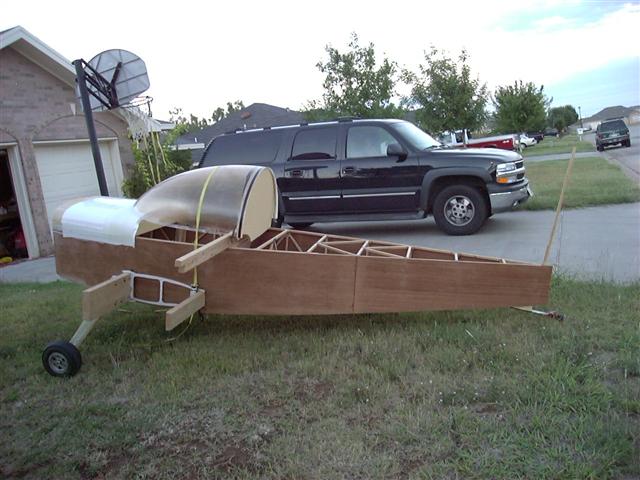
Once I've got it where I "think" it will work, I build a frame to set the canopy on by using a piece of two inch "plyfoam". My
plan was to use the pieces along the longerons as part of the canopy frame. The two pieces between them were used to keep the
sides spaced properly. I would then cut them out once I had the canopy attached.
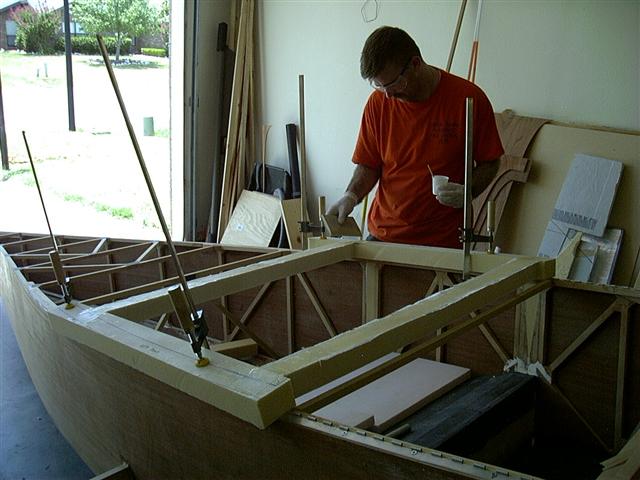
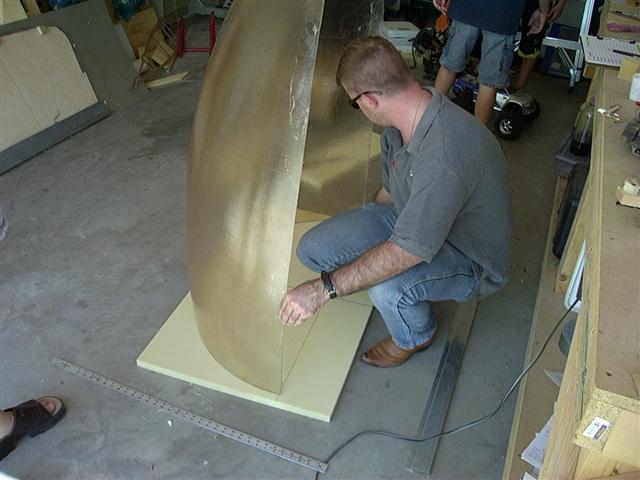
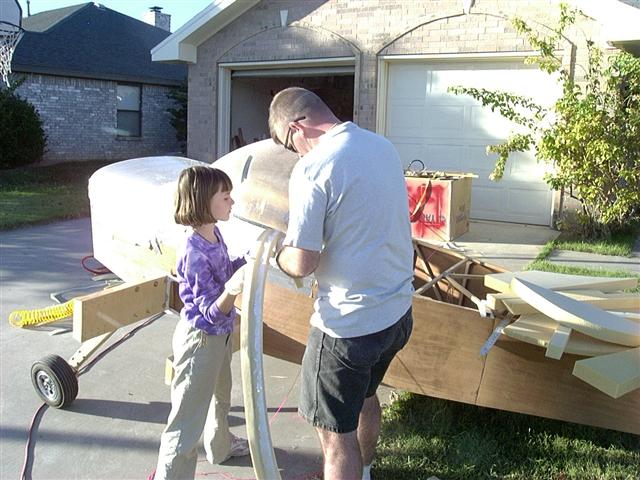
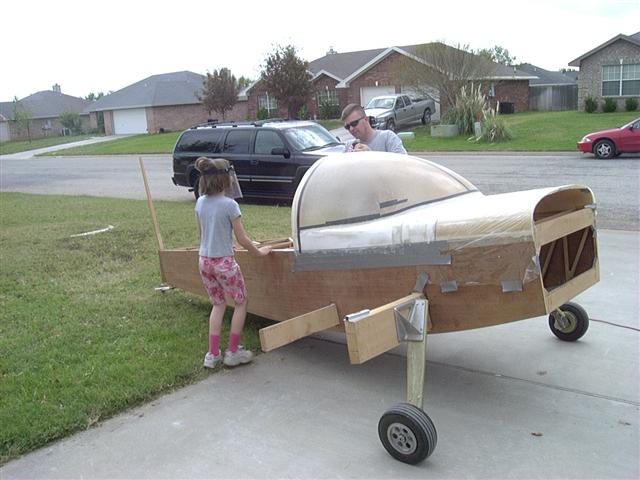
My daughter (Betty Faith) helps me to create a "template of me" that I could use this to make sure that the canopy was at the
correct height.
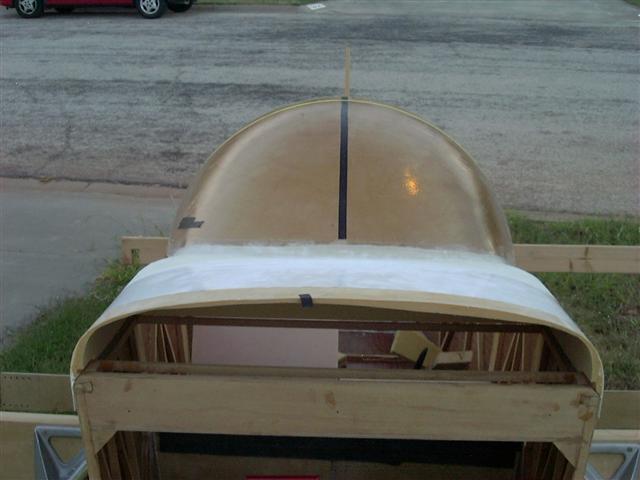
The two blocks mounted on the frame were offset so that the canopy would rest on the frame and the blocks would be on the
inside of the canopy.

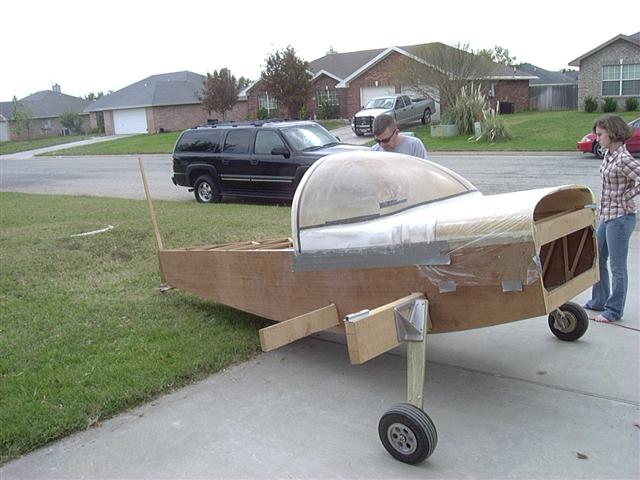
The problem is that once you stretch the canopy around the blocks, canopy takes an odd shape at the "bend" point and it does not
make solid contact with the blocks as I had hoped it would. The second photo here shows the jig I made to pull the sides into
close contact with the blocks (again it was not as close a contact as I would have liked).
Now we move to "plan B"
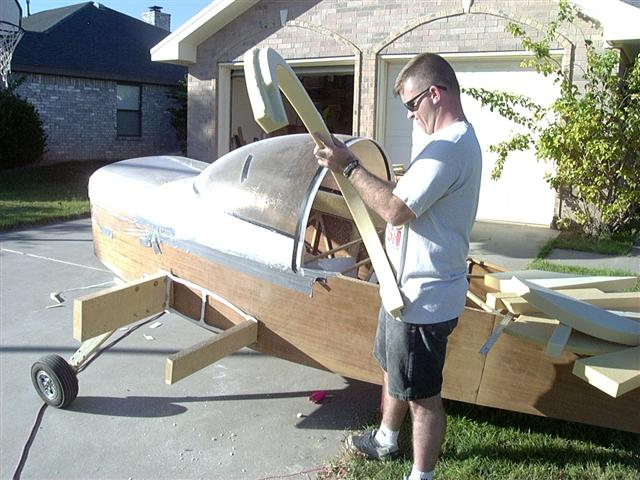
I decided that that method was not going to work, so I decided to "fix" the tail end of the canopy so that it would not bend
all over the place while I was trying to get the front aligned (I'm working on this all by myself). Here I am drawing the
outline on a piece of 1" foam. In hindsight, I should have used two inch.
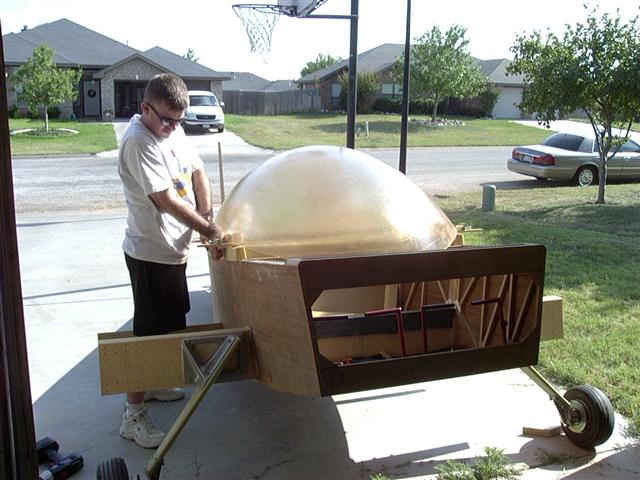
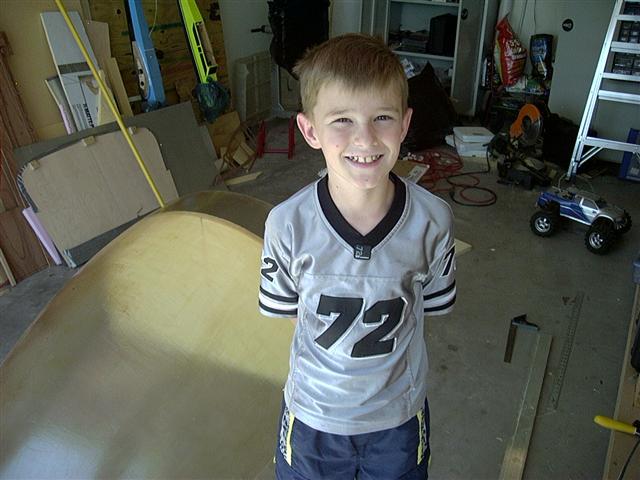
My son (Ricky Lynn Jr.) decided that since the camera as automatically taking pictures, he should stand in front and "smile"
for the camera. This is one of about three or four in various poses. You can see the foam in place inside the canopy in the
background.
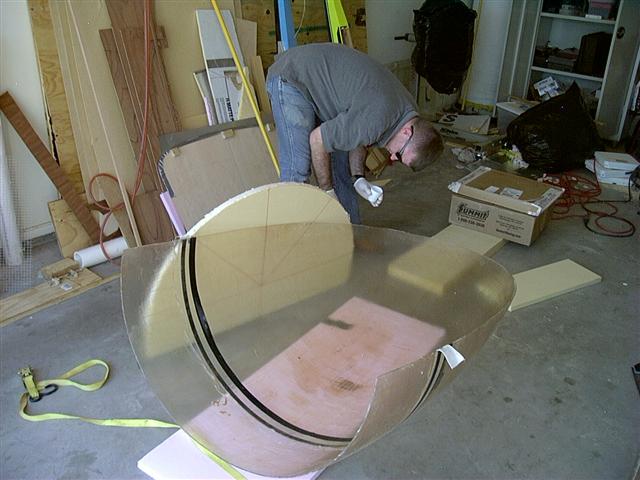
I masked off the area where I wanted to install it and removed the spray lat. Here I am floxing the edges of the foam. I plan
to remove all but about half an inch when I'm done and use that as part of the frame.
Once in place, I used a cargo strap the keep it secure until it dried. The problem I had here was that my epoxy was setting up
way too fast. It wasn't until after I was done that I looked at the thermometer to discover it was reading 110 degrees!
The extra foam below the canopy is so that I can adjust its height above the longerons.
The next step was to "extend" my front deck (I decided to move the instrument panel back about four inches). This will serve as
the staring point for the canopy frame.
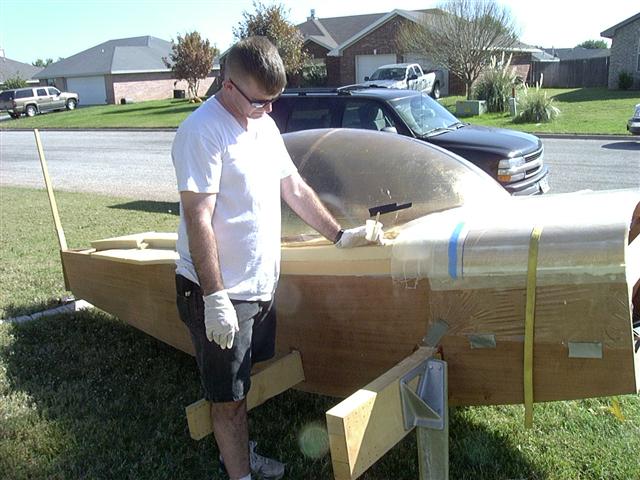
Once I had sanded the new foam to shape, I covered the front deck(and its new extension) with Monokote (to act as a release
agent). Here I am wetting out some 4 inch fiberglass tape that will serve as part of the frame.
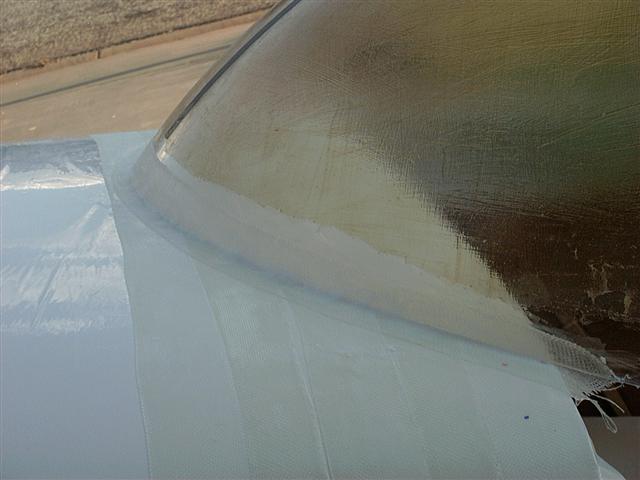
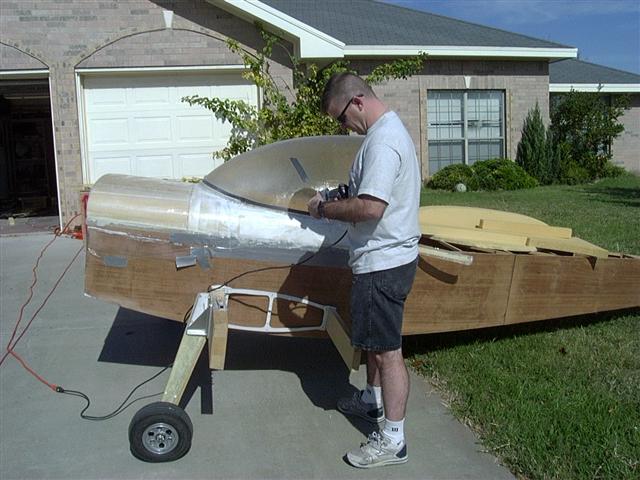
Once that glass was dry, I set the canopy in place and proceeded to start trimming the canopy (one of those steps you think about
hundreds of times before even attempting to do the real thing!).
Once it was trimmed with the cuttoff wheel on the dremel tool (which worked very well by the way), I hit the edges with a sanding
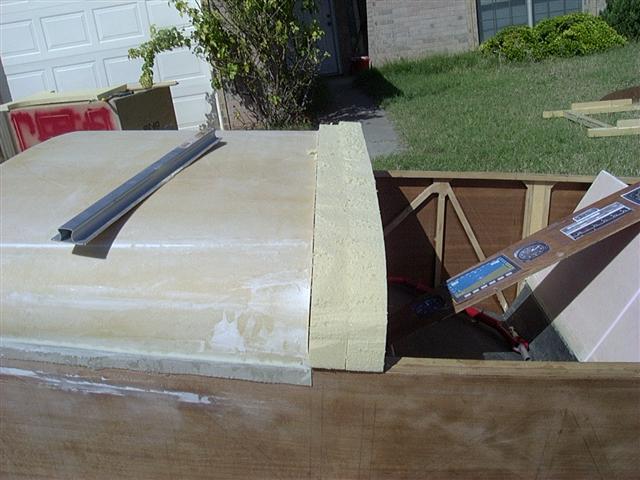
block to clean it up a bit. I have also taken the canopy off the plane and put it on a box so that I could trim the front edge.
The front edge here is not sitting on the front deck because it has to be stretched to make it fit.
Here is what it looks like when held down. If you look close, you can see the 1 inch foam is bending a little under the weight
of the canopy and the pressure being put on it up front. I eventually broke off a chunk of it.
I put a 2X4 under the canopy (I was lucky that the 2X4 was exactly the right height) and strapped it down. Here I am making
sure that everything still lines up.

Since the front would not stay down, I used a little 6 minute epoxy (from my model building supply) along with a small
(1X2 inch) square of fiberglass to hold it down. Here I am "holding" it down while it cures.
I then applied flox to the intersection of the canopy and the fiberglass layed up over the front deck.
One piece of 2" tape around the joint should hold it until I finish building the frame.
Hopefully I'll get to work on it tomorrow night and I will start to fill in the holes with foam to build the frame.
6 November, 2005
I guess it has been a little longer than I had hoped for, but here is a new update. This first picture shows the canopy
after I removed it from the plane. I made some marks on the fiberglass and the front deck, but ended up pulling off the
covering on the front deck and lost my allignment marks. Bummer...

Here you can see the spacer I made to move the instrument panel back (4 inches). I've removed it and will use it as a template
when I build the frame for the instrument panel.
Good thing I don't throw anything away. I was able to use part of the "canopy frame plan A" to start filling in the blank.
Here I am removing the added layer of foam from the frame. I also removed the top layer of glass.
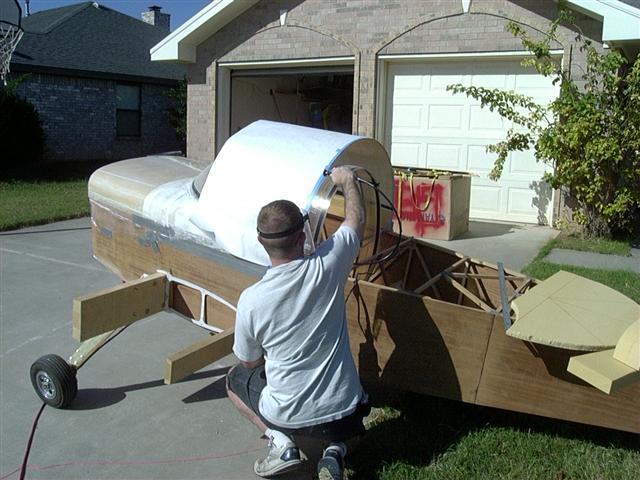
Here I am putting shrink film over the front deck. The plastic drapped over the longerons was later removed and replaced with
duct tape.
Trial fitting the foam. It started to get dark on me so I put it up for the night after this picture was taken (this is before
I removed the plastic and put down the duct tape).
The next day, I glued the foam together with two part foam and used some more to fill in the last areas between the foam and the
canopy.
I hate this two part foam because it does not sand as well as the regualr foam. Here I have been attacking it with the
surefoam, then the sanding block.
Laying out the plastic to mark for the glass. Here is where I made another one of those "I can't believe I did that" mistakes.
I actually layed the glass up on the wrong side of the plastic. It's a good thing that both sides are somewhat semetrical so I
was able to recover without wasting any glass!
Micro the foam (I also used a bit of flox at the foam / canopy junction).
Because of the contour, I ended up using my hands to smooth the glass into contact with the foam.
13 November, 2005
Once the glass had cured, I discovered that the foam had not been as smooth as I would have liked, therefore, the glass was
not very smooth either. This may have been partly because of having to smooth it down with my hands, but more likely, I did
not do as much prep work as I should have. To solve this problem, I mixed up some thick micro and spread it onto the foam.
Here I am geting ready to sand it down. The end result turned out much better than the first attempt.
Now to trim the canopy for the final time (hopefully). When I originally trimmed the canopy, I used my 13 year old dremel tool
to do the trimming. I have to keep the RPM's way up for the Perma-grit cut-off wheel to work properly and as a result, the
tool gets real hot. If you don't let it cool off every so often, you burn it up and it stops working. Ask me how I know!
After I burned it up the first time, I was able to get it working by "forcing" the brushes back in contact with the rotor (it
had gotten so hot, the brushes would no longer slide in their mounts). Halfway through this cut, I did it again, this time
there was no saving the tool. I had to go out and buy a new one (I've always said that building an airplane is just an excuse
to buy more tools!). Now I have a new dremel-tool that has a flex shaft attachment.
Once the cut was made, I went back over the edge with my sander to remove the sharp edges (the cuts from the last time I cut the
canopy are now finally healed thank you).
Next, I used a strip of masking tape as a guide for a strip of electrical tape. This allowed me to have a straight
line to use when I removed the spray-lat canopy protector. I then went back over the exposed plastic with the sander (60 grit)
to roughen it up so the epoxy will stick. I only scratched the surface first time I laid glass on the canopy and it did
not stick very well, so this time I roughed it up really good!
Here is the start of the rear canopy frame brace. It started life as a piece of 2" plyfoam and I have routed out half along
one side. This side will slide under the canopy. I will use the half outside the canopy to provide a good place to finish
forming the frame.
Once the kids got home from school (I took a day off to work on the plane), Miquela Hope (my 10 year old daughter) "helped"
me by holding the part while I applied the flox.
A few clamps to keep it in contact with the canopy.
The next day, Miquela Hope helps me to sand it down to shape.
Betty Faith (my 12 year old daughter) decides to take a peek while I'm finishing sanding. I'm not going to glass the top
until I work on the rear deck. The next thing I will do on the canopy will be to work on
getting it hinged and the inside of the canopy finished. This way, I can make sure the canopy will not move forward or back
as I'm working on the rear deck.
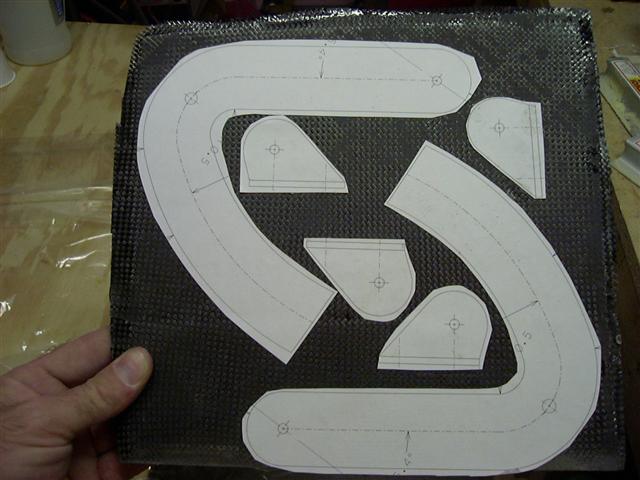
Here is the start of the canopy hinges (thanks Mark for the outlines). I'll have to wait to see if the CF will be stiff
enough to handle the job. This is five layers of CF with a layer of 3/32" balsa wood between each layer (a little over a 1/4"
thick). I'll let you know more once I get them cut out if I think they will work.
Back to main page