Back to main Corvair page
15 June, 2005
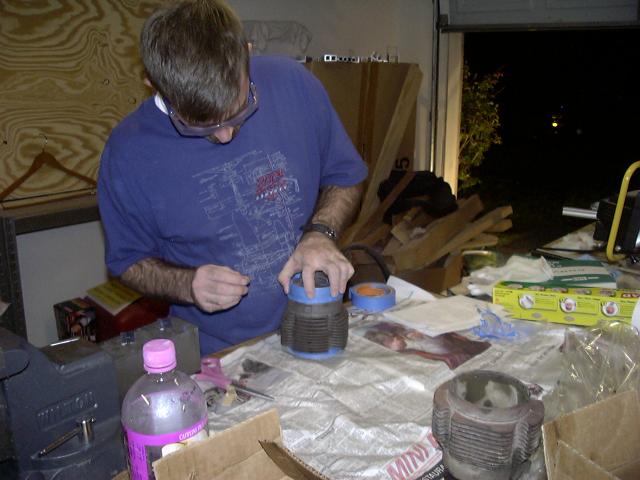
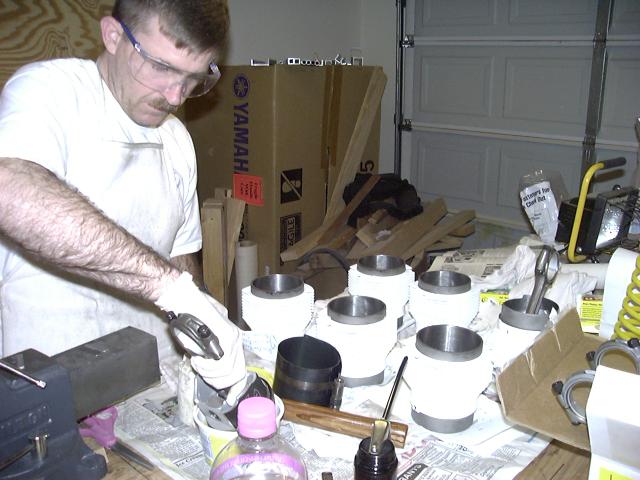
I'll start this page with a picture of me masking off the cylinders for paint. I used acetone to strip off all the oil
that was on them from shipping.
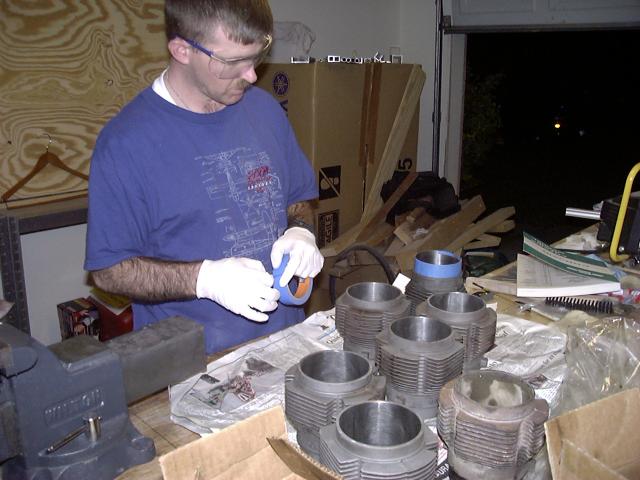
I used Glad Press and Seal to seal up the ends of the cylinders.
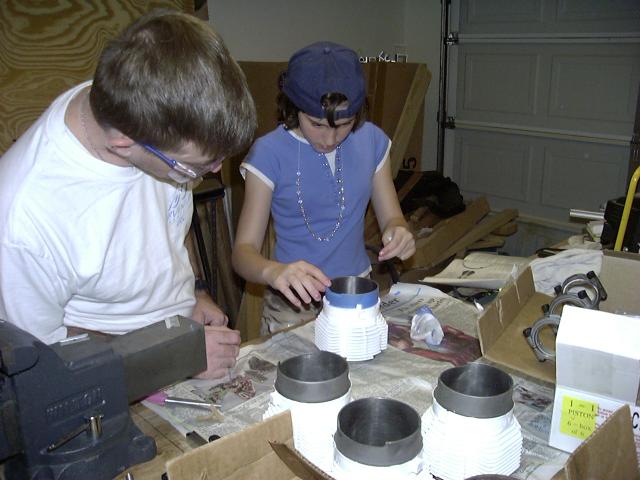
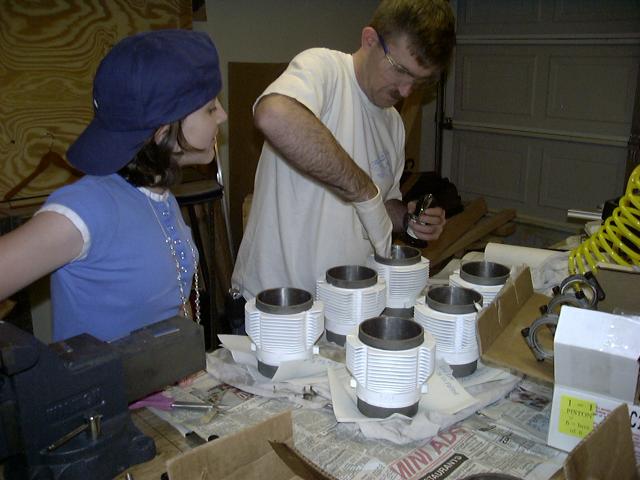
I used white high-temp paint (1200 degree) on the cylinders. Here Betty Faith (my 11 year old daughter) helps remove
the masking tape.
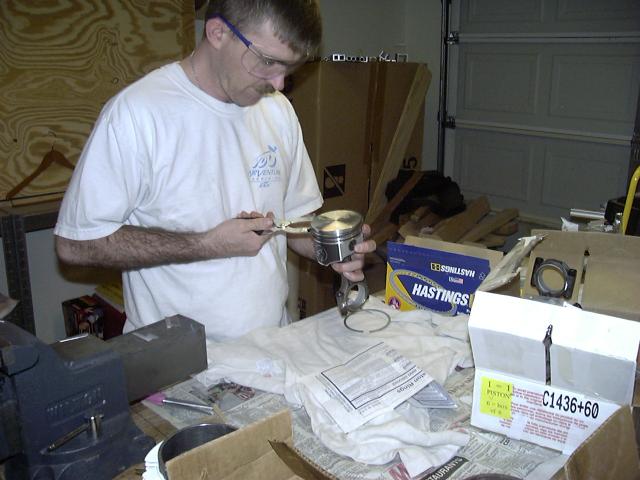
Now it's time to get out the pistons. I'm using cylinders and pistons from Clarks that are 0.060 over.
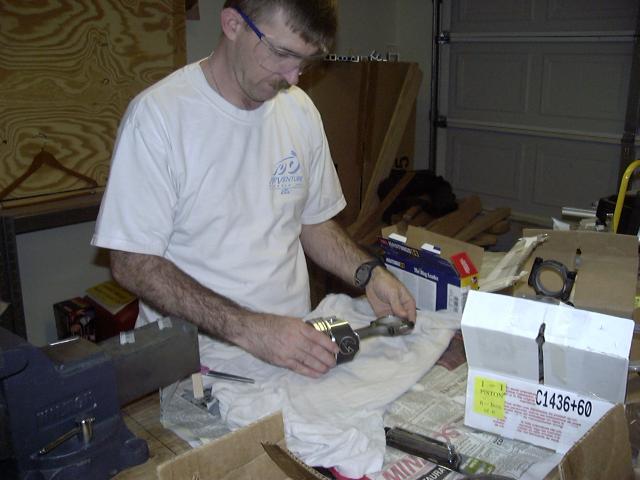
Here I am installing the rings.
Betty Faith really wants to help on this part--pre-lube! I'm using the recommended mixture of 50% 30 wt oil and 50%
STP. This is an important step for two reasons: the first is because I am about to put the pistons in and secondly,
and probably more importantly, because I had used acetone to clean them prior to painting. This stripped off all the
oil that was preventing them from rusting.
Not to be outdone, Miquela Hope (My 9 year old daughter) decides she needs to get dirty again.
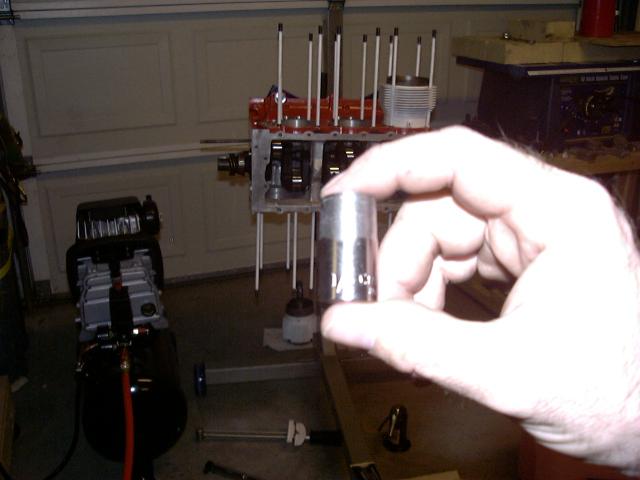
This picture is a little out of order (it is the second piston/cylinder assembly-- you can see the first one assembled in
the background) because I wanted to show how I was dipping the piston in assembly lube prior to putting the ring compressor
on. I have my camera on a tripod and set up to take a picture every minute. (I may go back at some time and create a
"time-lapse" movie for some phases of construction).
Here the piston is in the ring compressor.
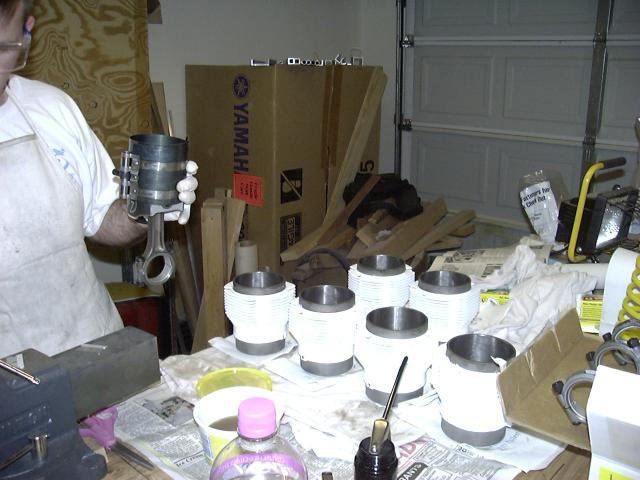
I know William has a fancy box to install the pistons in the cylinders, however, I figured I could use the method shown in the
green shop manual since I only had to do six of them. (This picture is exactly one minute after the last).

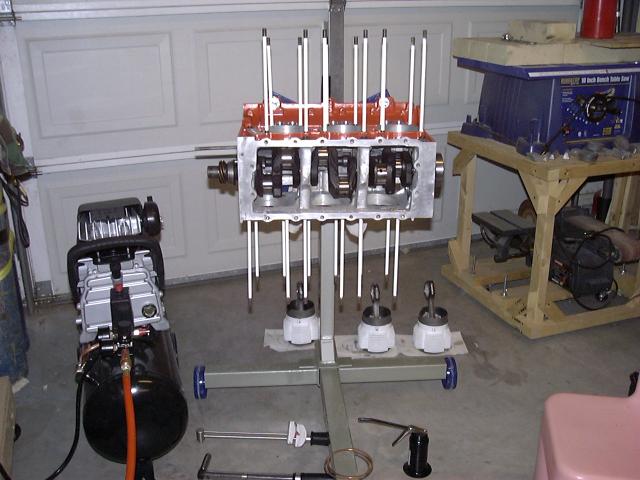
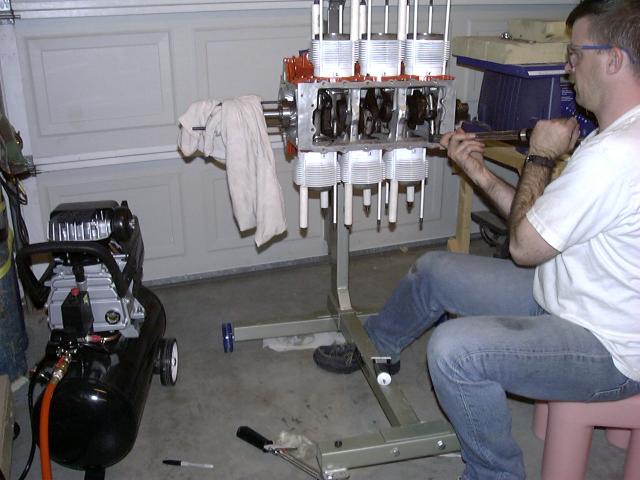
Here I'm getting everything set up to start installing the piston/cylinder assembly into the case. The little pink stool is a
by-product of having little girls outgrowing their toys! It's the perfect size to work on the motor when it is on the stand.
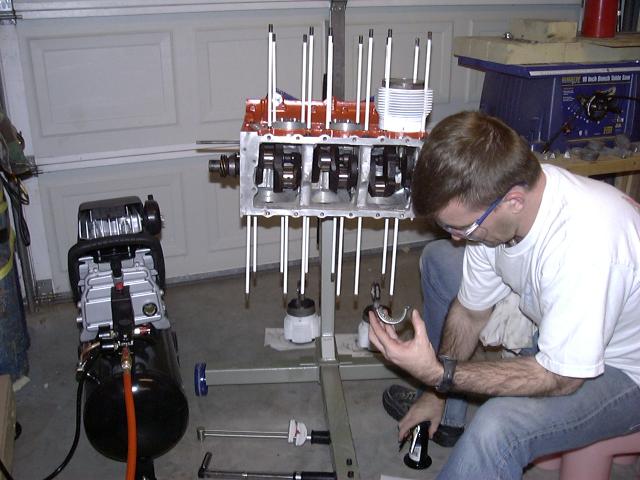
An important step is to liberally lubricate the rod journals and rod bearings prior to assembly.
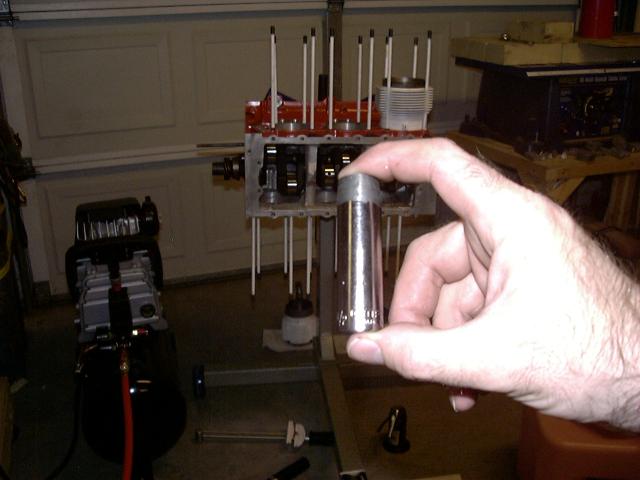
Here is the before and after shot of the Craftsman socket I "modified". It was sure easier to install the studs than it was
to remove them! Having the proper tools always makes the job easier.
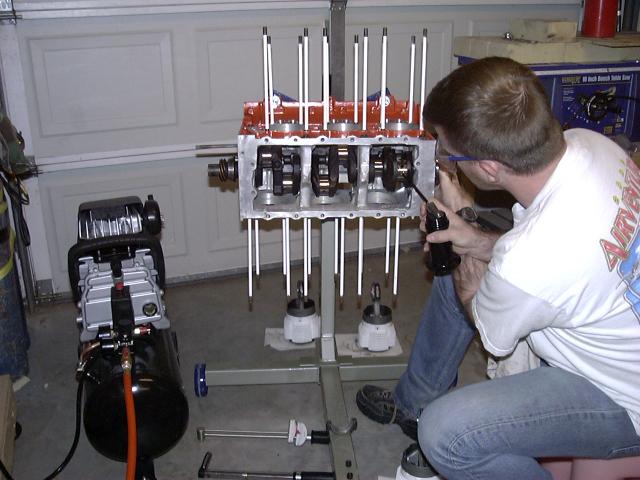
Here I am getting set to torque the final rod nut. You may notice that I am using a Craftsman click type torque wrench.
I know that William recommends the beam type, however, I used both and discovered my click type "clicked" at the same point
I was reading on the beam. It is much easier to use the click type since you don't have to keep your eyes on the scale. If
you decide to use a click type, make sure it is accurate first.
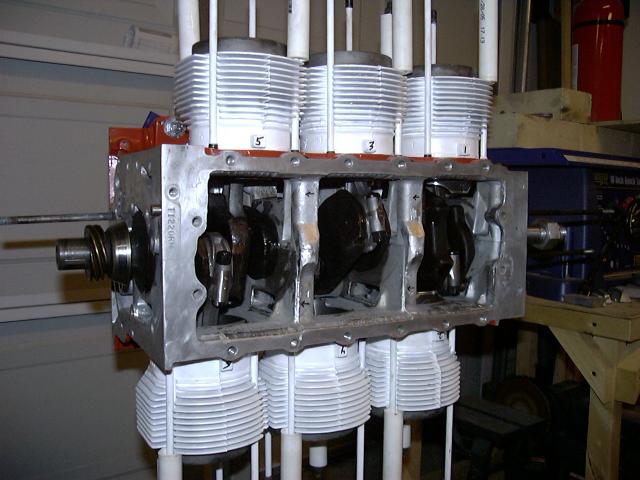
The end result?
NO! How could I have done this--I pointed all my arrows in the wrong way and put the cylinders in the wrong order! The arrows should point the other way towards the flywheel end of the motor and the number one piston should be on the distributor end.
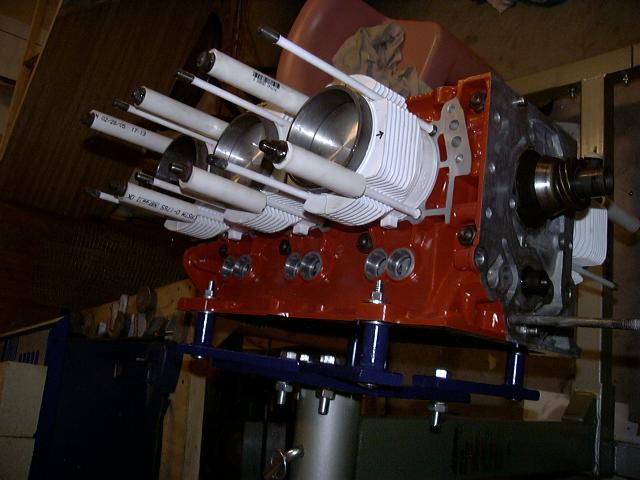
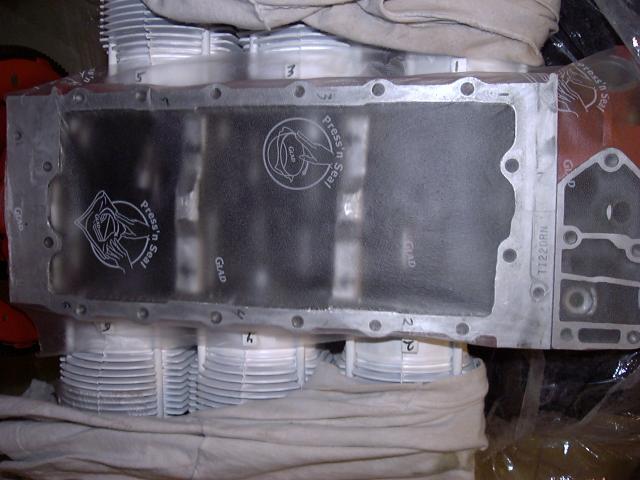
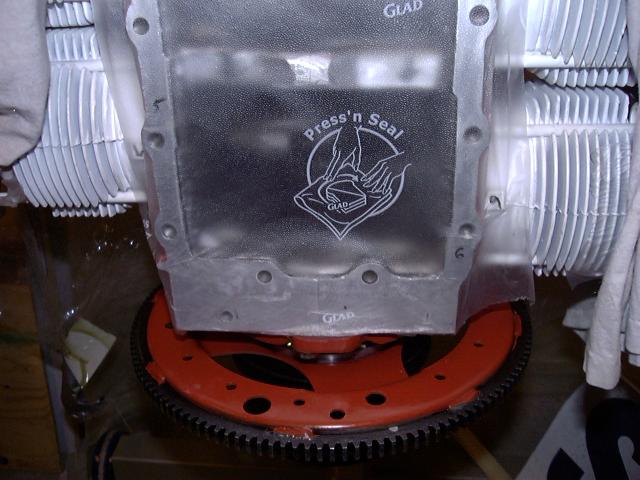
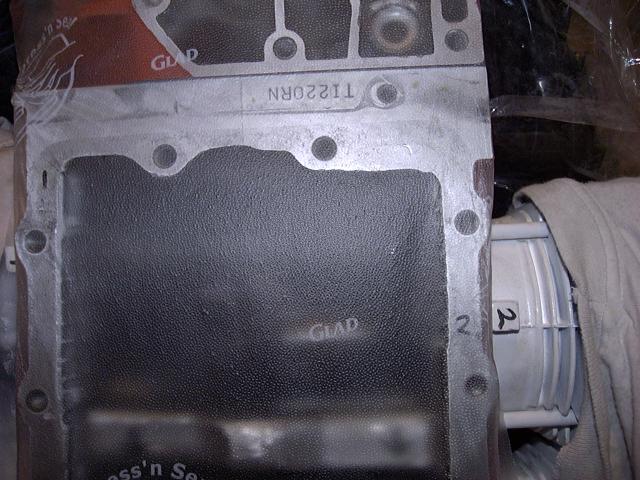
I completely removed all six piston/cylinder assemblies from the block and put them back in the right way. The Glad
Press and Seal is covering as many openings as I can get it around as the motor sits until I get my heads back from
William. I took the plastic bag off of the motor so I could take these next three pictures.
This is all I have pictures of for now. Once I get my heads back from William (he is modifying the intakes), I'll finish this thing up and hope to get it running before Oshkosh this year.
Back to main pageBack to main Corvair page