Back to main Corvair page
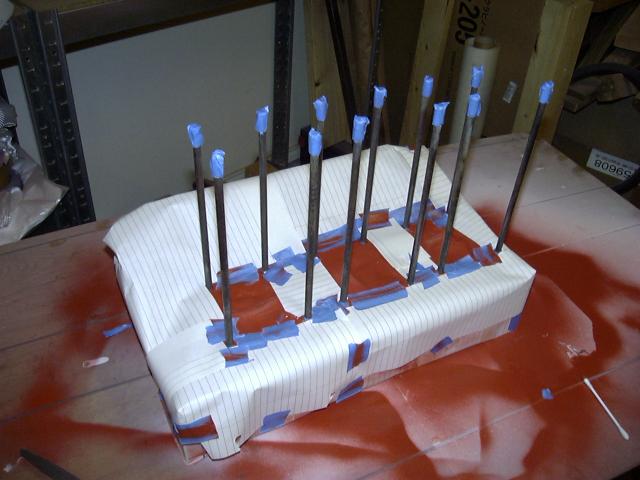
Once I got the case cleaned up (I decided to use the turbo case since I had no way of measuring any problems
that may have been imposed on the first case when the crank broke), I masked it off to paint it.

After painting the case, I painted the studs.
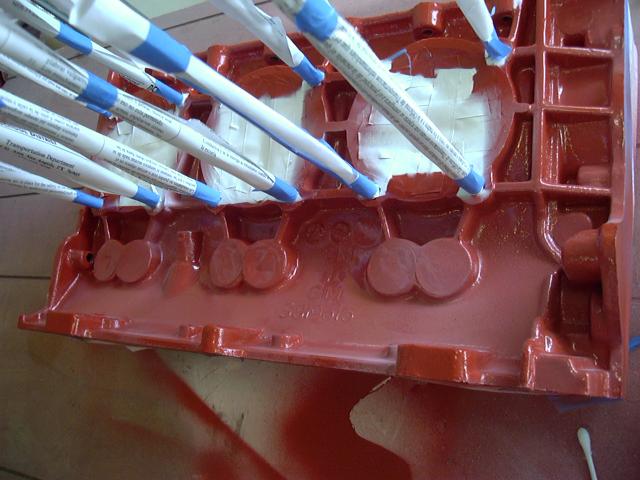
This is what happens when you do not mask very well (I had to repaint).
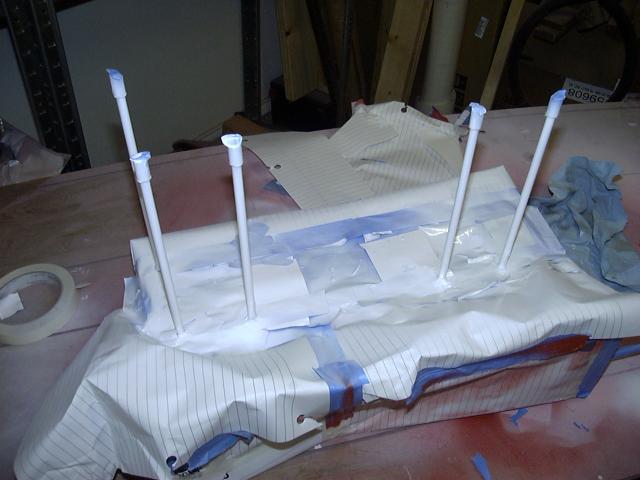
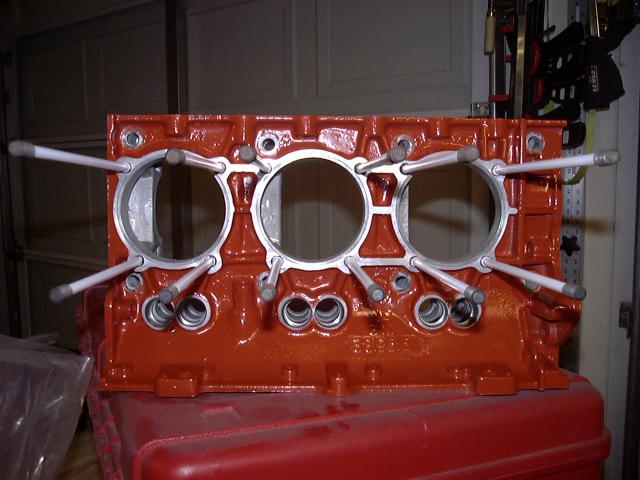
With the second half, I elected to paint the studs first (you'll notice that I also elected to wait until
after painting to replace the missing studs).
Then I masked the studs and the rest of the places I did not want paint (notice I was able to use the same masks for
the holes from the first case).
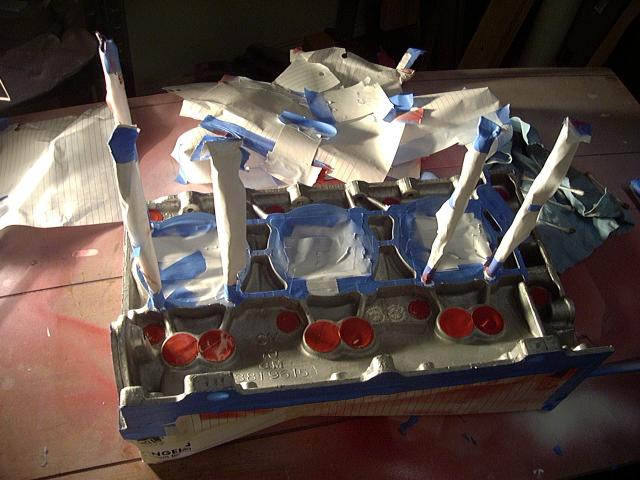
Painted.
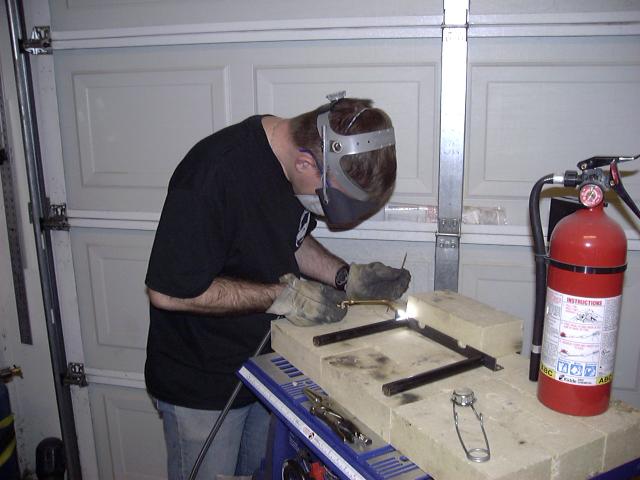
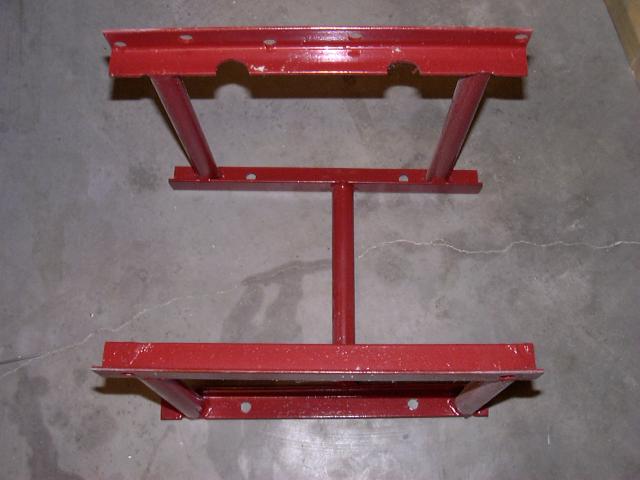
Once I had the case halves painted and cleaned it was time to assemble them. First I needed to build a stand to hold the case
in for assembly. The first picture shows me welding one side and the second is the finished product (I painted it after the
case halves were joined). Notice the cutouts to clear two of the head studs.
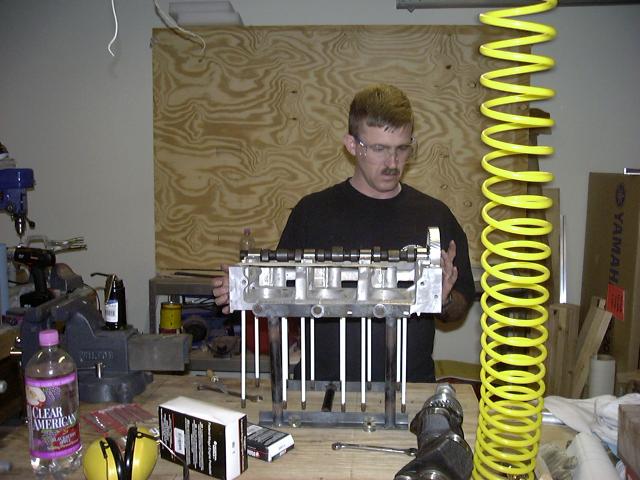
Here I am checking the surface of the case. I did both sides before I began.

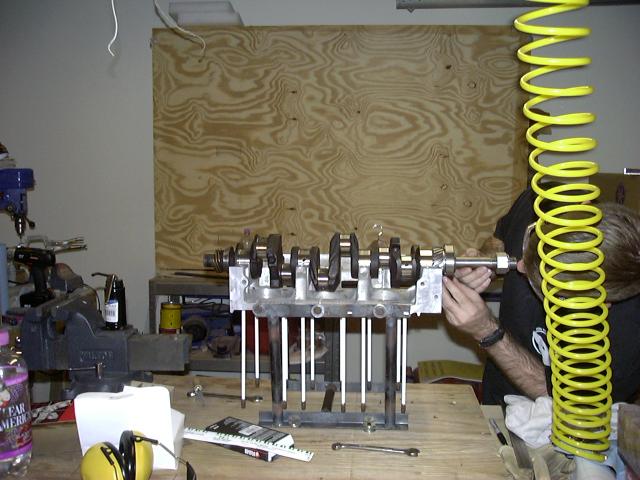
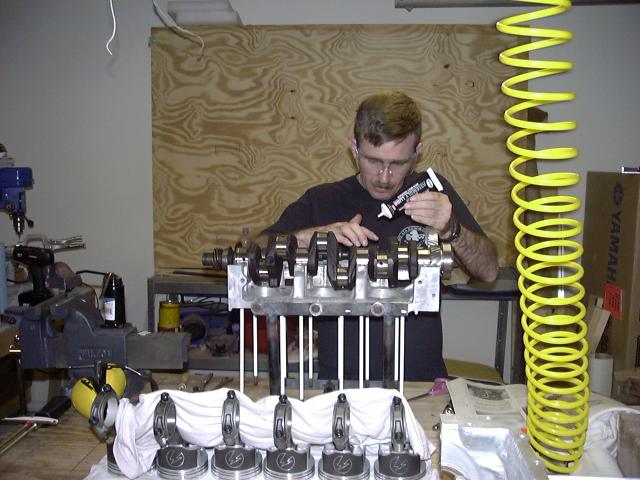
Next I put the camshaft in. Do not use any lubricant at this time since we are going to use plastiguage.
Then the crank (again no lubricant).
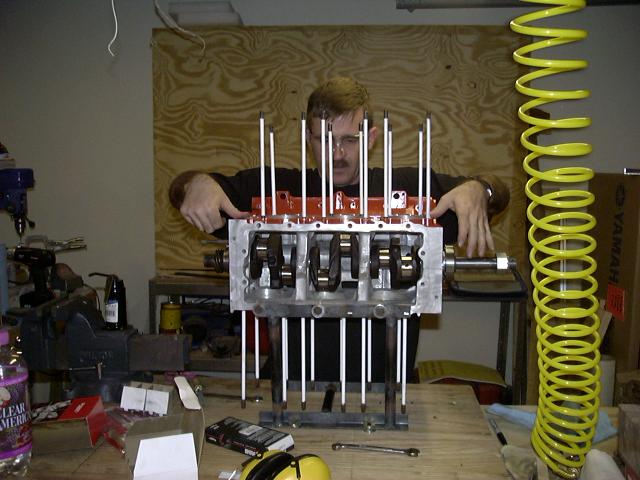
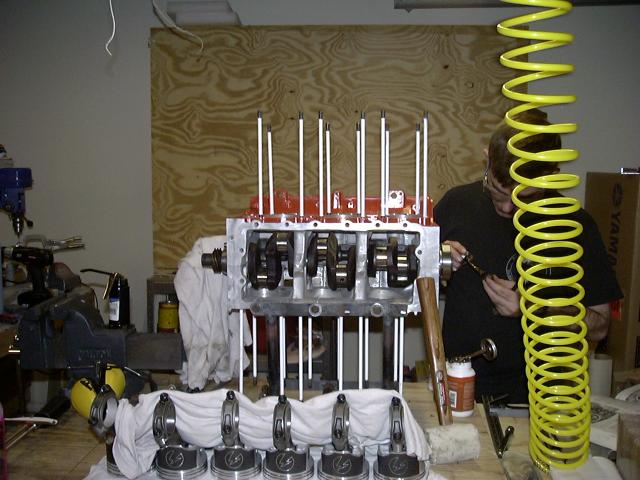
Next, I put small strips of plastiguage on the appropriate parts and then put the second half on.
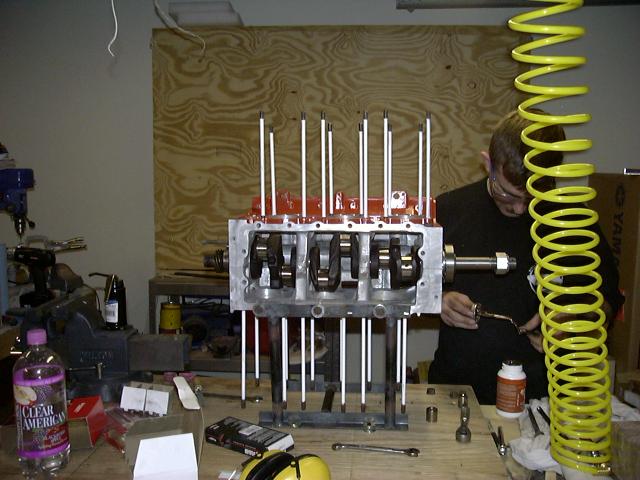
Thread lubricant on the threads and in the nuts.
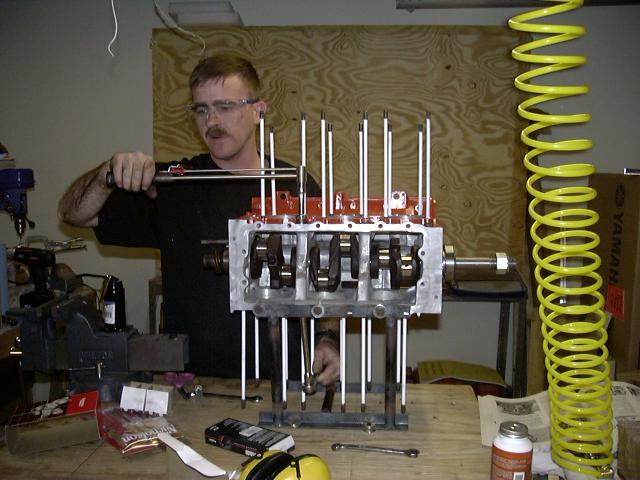
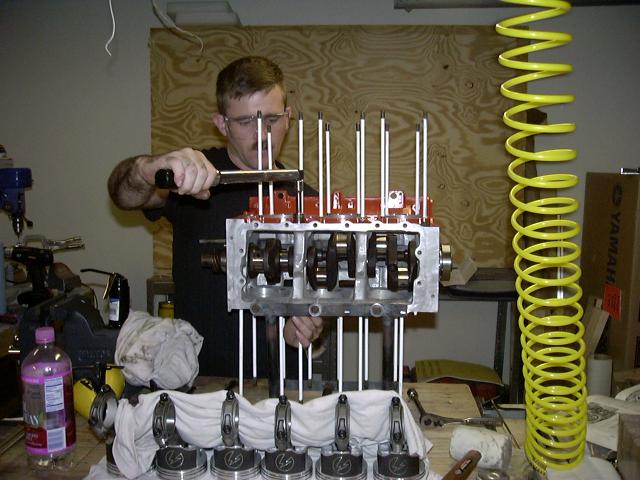
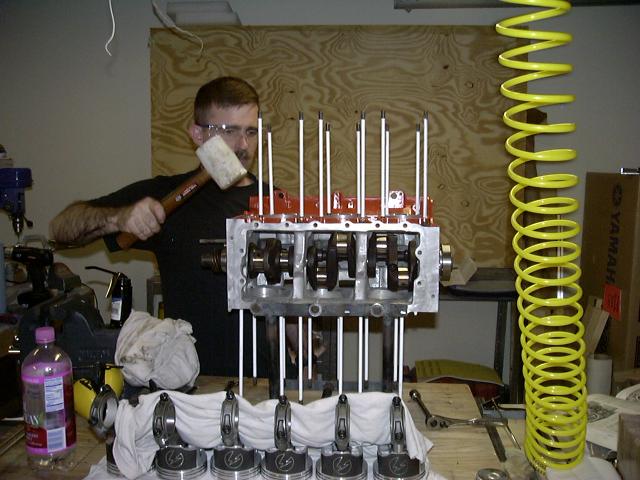
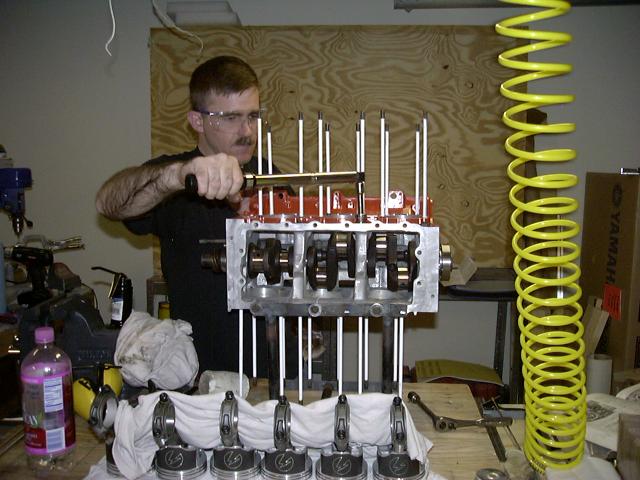
Torque to the required setting in 5 ft/Lb increments while using a dead blow mallet between torque changes.
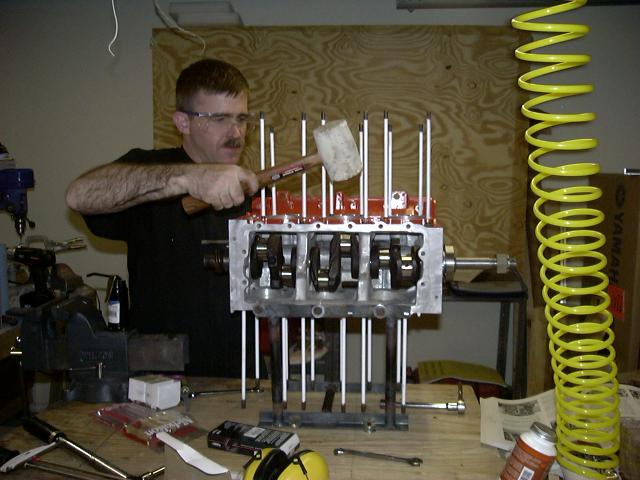
Then undo all bolts and remove case half to check plastiguage.

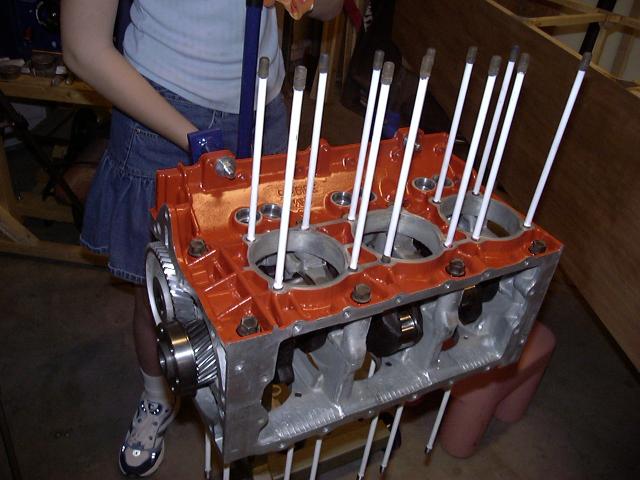
When all is well, you put the crankshaft and the camshaft back in place so that the timing marks line up.
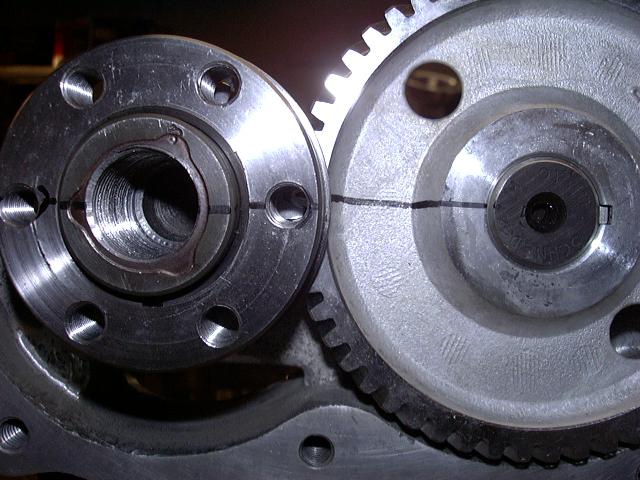
Don't forget to use assembly lube this time!
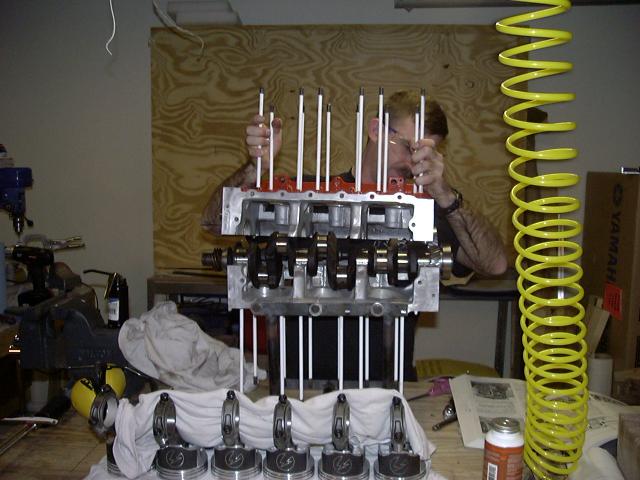
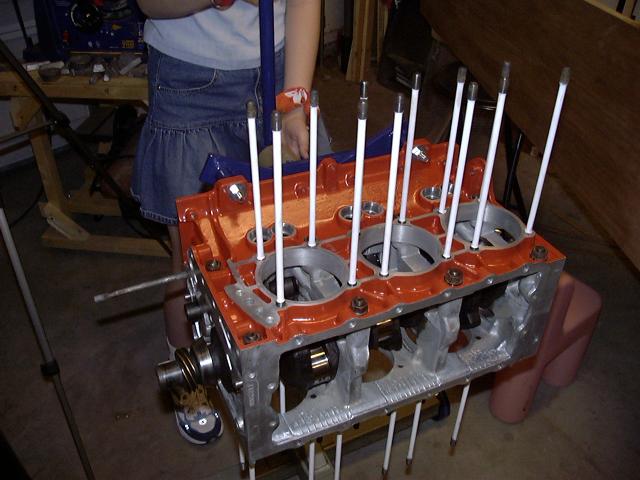
Then repeat previous procedure: top half in place, anti-seize on threads, torque, beat, torque again...
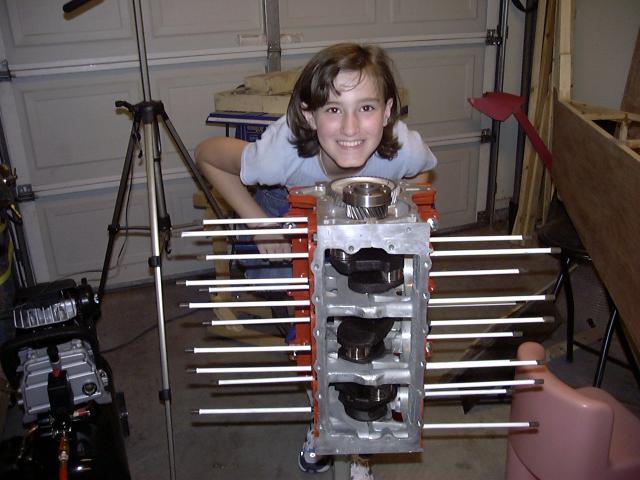
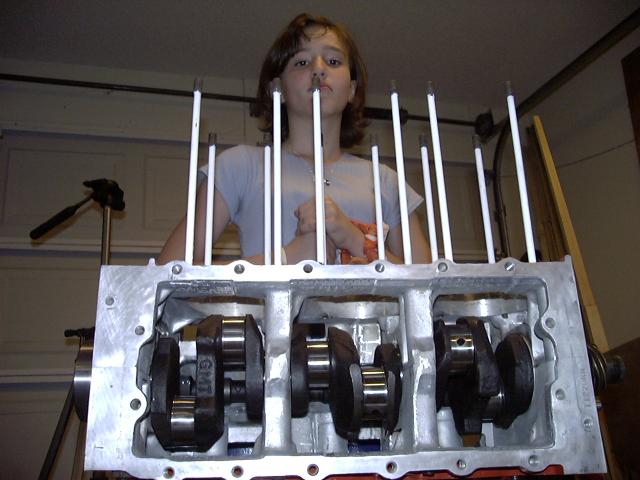
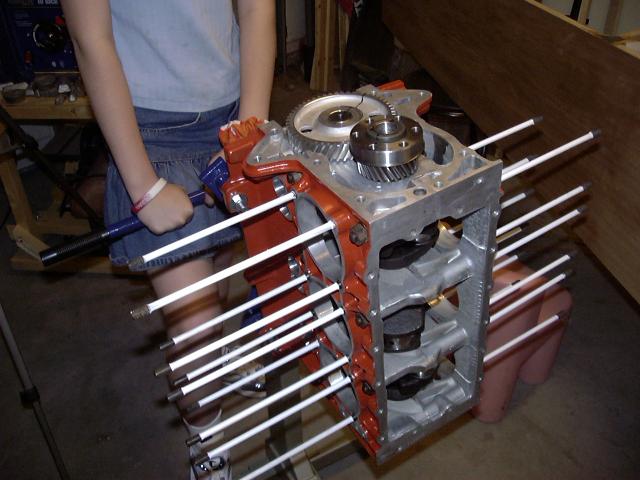
Both halves are now together and my oldest daughter shows off the engine stand she helped assemble.

Back to main Corvair page